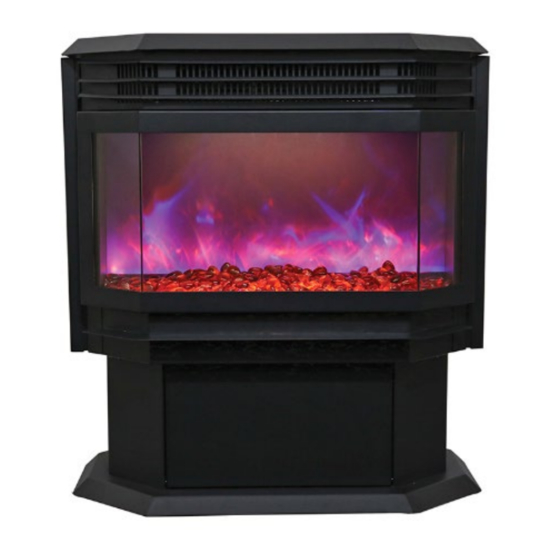
Amantii FS-26-922 Repair Manual
Hide thumbs
Also See for FS-26-922:
- Fixing manual (21 pages) ,
- Assembly, installation and operation instructions (20 pages)
Advertisement
Quick Links
Advertisement

Related Manuals for Amantii FS-26-922


Summary of Contents for Amantii FS-26-922
- Page 1 Repair Guide 12.03.20 -AC...
-
Page 2: Table Of Contents
Contents • Replacing the LED light • Replacing the flicker motor • Replacing the heating element • Replacing the PCB board • Replacing the signal receiver... -
Page 3: Replacing The Led Light
Replacing the LED lights Step 1 To remove the front glass panel, hold tightly and push upwards... - Page 4 Step 2 Left Right Unscrew the two screws on the top of each side (red dots) to remove inner side panels and ember bed glass panel...
- Page 5 Remove screws → remove side panels → remove ember bed glass panel...
- Page 6 Step 3 Replacing the ember bed LED lights Ember bed LED lights are located here Unplug the red circled socket and remove the old LED light with a new To change flame light, see step 4...
- Page 7 Step 4 Unscrew the 4 screws on both sides (circled in red) to remove the plastic board...
- Page 8 Now you can replace the flame light.
-
Page 9: Replacing The Flicker Motor
Replacing the flicker motor Please follow Steps 1 & 2 from the replacing the LED lights section to arrive here... - Page 10 Replacing the ember bed flicker motor Step 1 Unscrew the screw to separate the motor and the flicker rod...
- Page 11 Step 2 Now you can change the motor Unscrew the four screws circled In red to remove the motor...
- Page 12 Replacing the flame effect flicker motor Step 1 Unscrew 4 screws on both sides (circled in red) to remove the plastic board...
- Page 13 Step 2 Unscrew the screw to separate the motor and flicker rod...
- Page 14 Step 3 Unscrew the four screws on both side(circled in red, the larger ones) Left Right...
- Page 15 Step 4 Unscrew the six screws circled in left picture, then you can remove the main body cover...
- Page 16 Step 5 Unscrew the screws to remove the flame effect flicker motor...
-
Page 17: Replacing The Heating Element
Replacing the heating element Please follow steps 1& 2 from replacing the LED light, and steps 3 & 4 in replacing the flame effect flicker motor Step 1 Remove the upper cover Unscrew the four screws circled in pictures, on right and left sides of the fireplace body, to remove upper cover Left... - Page 18 Step 2 After the upper cover has been removed, you can see heating element (as shown be Unscrew 3 screws.
- Page 19 Step 3 In order to remove the heating element, unscrew 4 additional screws that are beneath the heating element and opposite to the three screws you removed at step 2 Right In detail Left...
- Page 20 Step 4 Unplug the heating element to remove it...
-
Page 21: Replacing The Pcb Board
Replacing the PCB board Step 1 Unscrew 4 screws where arrows are marked Zoomed view... - Page 22 Step 2 The PCB board is fixed on the metal cover. Unscrew the 4 screws at the 4 corners on the PCB board and unplug all the wiring, replace it with a new one.
-
Page 23: Replacing The Signal Receiver
Replacing the signal receiver Step 1 To remove the front glass panel, hold tightly and push upwards... - Page 24 Step 2 Unscrew two screws on the top of Left Right each side (where arrows are marked) to remove inner side panels...
- Page 25 Step 3 Unscrew 4 screws on both sides (circled in red) to remove the plastic board...
- Page 26 Step 4 After the plastic board is removed, you can see the signal receiver. Unscrew two screws to replace the signal receiver...
Need help?
Do you have a question about the FS-26-922 and is the answer not in the manual?
Questions and answers