Advertisement
Quick Links
Advertisement

Related Manuals for TRONXY X3A


Summary of Contents for TRONXY X3A
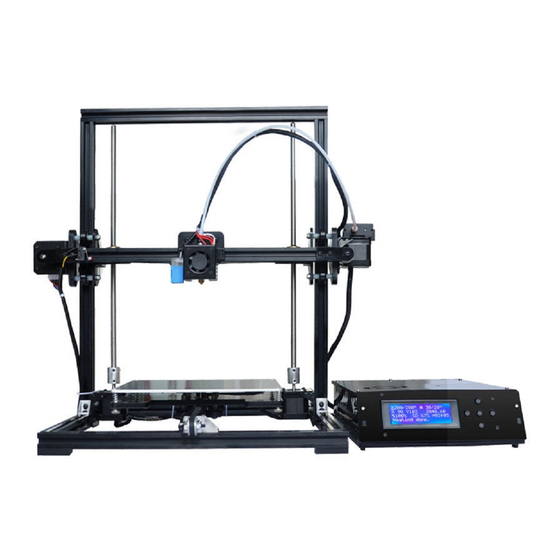
- Page 1 Tronxy X3A Print Bed Calibration...
- Page 2 READ ALL THE WAY THROUGH • Read these instructions all the way through before starting. More than once helps. • Take your time, don’t rush this • If you notice something isn’t right fix it before moving on • Patience!
- Page 3 Print Bed (PB) leveling • After the frame has been built and the “smoke test” has been completed it is time to level the print bed • The printer must be able to be controlled using the keypad to do this •...
- Page 4 PB Leveling Step 1 • Step 1: Turn off printer power • Place the printer on a sturdy solid surface (table) • Ensure the frame is level. Use a bubble or digital level to check it. • Use strips of paper to get the frame as level as you can in BOTH the X and Y axis •...
- Page 5 Bubble Level Use Bubble/Digital level positions #2 X Beam #3 X-Axis Print Bed #1 X-Axis Frame Bracket Week 2...
- Page 6 PB Level Step 2 • Step 2: Using a bubble or digital level we will now level the X-axis beam. • Turn Z drive shafts until level shows the same as the frame • Turn both of the Z-axis screw shafts at the same time so that the print nozzle is about 6mm (1/4”) above the PB.
- Page 7 PB Level Step 3 • Step 3: With the bubble level on the print bed, adjust the knurled nut adjusters so that the screw thread is flush with the bottom of the nut and the bed is level in the X & Y axis. Take your time and recheck the level as each adjustment affects the other.
- Page 8 PB Level Step 4 • Step 4: Turn on the printer • Command HOME ALL / AUTO HOME • The print nozzle moves to the left and then stops • The PB moves to the back and then stops • As soon as the Z axis starts to move down, place a metal object under the blue inductive sensor.
- Page 9 Step 4 cont. • Disable steppers and move the nozzle to the middle of the print bed • Rotate the Z-axis screw drives (both at the same time) until the print nozzle is ~.004” gap. • Recheck X-axis beam level. •...
- Page 10 PB Level Step 5 • Step 5: If not already done, Disable the steppers • Manually move the print nozzle and PB so that the nozzle is close to the left front corner of the PB. Re-measure the Z gap and adjust that corner adjustment nut for .004”...
- Page 11 PB Level Step 6 • Step 6: Carefully push the nozzle assembly to the opposite corner until the nozzle is near the corner of the PB • Verify the Z gap and adjust as necessary Week 2...
- Page 12 PB Level Step 7 • Step 7: Repeat the process for the remaining corners • Go back and recheck all corners until each and every corner Z gap is .004” • Take your time and get this right! Week 2...
- Page 13 PB Level Step 8 • Step 8: Pre-heat for PLA and let the printer come all the way up to temperature • Now re-check the Z gap at all four corners and adjust as necessary • The hot level will need to be checked often until your printer has settled in •...
- Page 14 Step 9-1 PB Z Gap Setting • 1. Pre-Heat PLA 1 if not already done and wait for the printer to reach temperature • 2. Operate keypad enter control->Motion->Z Offset->confirm(fig 7), set Z offset to 0.5mm • 3. Operate keypad enter control->Store memory to save the setting (fig 9).
- Page 15 Step 9-1 cont. Week 2...
- Page 16 Step 9-2 Z-axis Sensor • Now comes the “fun” part…….. • You must be ready to kill power if the print nozzle crashes into the PB. Keep your finger on the switch until you see that the Z-axis sensor has triggered properly. •...
- Page 17 Step 9-3 Z Gap Adjustment. • If the Z-axis successfully stopped and you did not have to kill power, check the Z gap for .004”. • If the Z gap is too large, carefully move the sensor UP ▲. See next slide for what to adjust. •...
- Page 18 Step 9-3 cont. Adjusting the Sensor Sensor height adjustment Sensor and fan cover height adjustment Week 2...
-
Page 19: Step 10 Test Print
– Continue pushing the filament through the PTFE tube until it starts coming out of the print nozzle • Tell the printer to print from SD card • Select “Tronxy Test Print.gcode” • Execute the command. Week 2... - Page 20 Step 10 cont. • Once the extruder and PB have reached temperature the print process will start • The first thing the printer will do is heat up, next it will do a “HOME ALL” • After the Z gap check, the printer will then take nine Z gap height measurements to level the print process.
- Page 21 Step 10 cont. • Always watch the first layer of your print to make sure it has adhered to the PB. The first layer is critical to print success • When the print has completed, let the PB cool to at least 35°C before attempting to remove the print •...
- Page 22 Success? • Was your print successful? • If not, we will need to troubleshoot the printer and setup Week 2...
Need help?
Do you have a question about the X3A and is the answer not in the manual?
Questions and answers