
Related Manuals for Kellfri 27-DC


Summary of Contents for Kellfri 27-DC
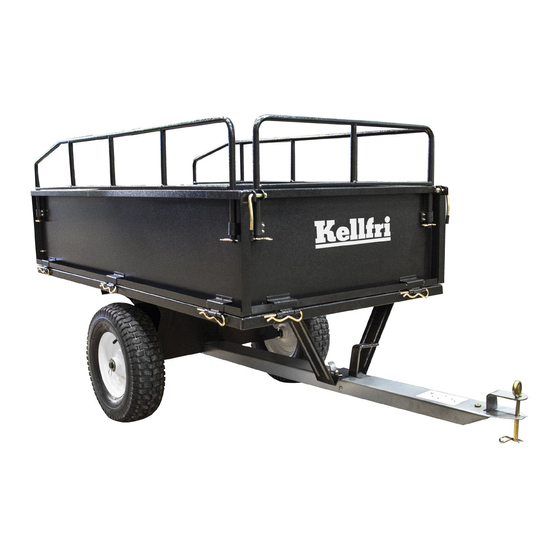
- Page 1 27-DC GARDEN TRAILER WITH TOW BAR READ THIS MANUAL CAREFULLY BEFORE USING THE PRODUCT !!! TRANSLATED FROM THE ORIGINAL...
-
Page 2: Product Information
INTRODUCTION Thank you for choosing a product from Kellfri AB. By following general safety information, operating instructions and common sense, you will have many years of enjoyable use of the product. Kellfris equipment and products are aimed to be use by active farmers with high demands on functionality. -
Page 3: Basic Safety Instructions
Sweden. Tel.: +46 (0)511 242 50 (Pls. contact the retailer) The general safety instruction is also available from Kellfris website: www.kellfri.co.uk Do not use this equipment if you are feeling sick, tired or in influence of alcohol. Nor if you are under the influence of strong medications or drugs, suffering from strong depression or severe mental illness. -
Page 4: Product Safety Information
PRODUCTSAFETY INFORMATION Read the towing vehicle manual. • Always check the performance of the machine combination to be use with the trailer to ensure the safety and function. The trailer is not equipped with any lighting device: mount magnetic tail lights or equivalent if necessary. •... -
Page 5: Warning Labels
WARNING LABELS Make sure that the warning labels are always visible, clean the warning labels if necessary. Do not wash with high pressure washer directly on the warning label. If any part of the decal is worn or label becomes frayed or otherwise unreadable, order new decals. SYMBOL Explanation Read the manual... -
Page 6: Before Use
SURROUNDINGS Check and make sure that the area is clear of people, children and objects before switching on or using the equipment. Risk of serious personal injury. Be especially careful if children are in the area where the equipment is being use or stored. Check that there are no low-hanging power lines within the work area. -
Page 7: After Use
• Check that the trailer is intact before connecting it to the vehicle • Never drive with the rear of the trailer in the tilted position • Always make sure the trailer is properly attached to the towing vehicle and does not come loose •... -
Page 8: Maintenance And Service
MAINTENANCE AND SERVICE Make sure the equipment is stable and not likely to tip over during maintenance and service. Disconnect the trailer from the vehicle while the defects are fixed. Replace damaged and worn parts immediately to reduce the risk of injury. Use only spare parts with equivalent performance to reduce the risk of damage and failure. - Page 9 Position Description Position Description Bottom plate of the bed Platform foot Wheel shaft support Pin - Hitch Tow bar Towing bracket Sidegate - left Handle A Sidegate - right Handle B Side gate Handle sleeve Front door R-pin Ø3 Front gate Flat Washher Ø6 Release lever Flat washer Ø8...
- Page 10 Position Description Bottom plate of the bed The wheel shaft support Tow bar Dropside - left Dropside - right Side gate front gate front door Tailgate Backgate left rail Backgate right rail The wheel shaft Platform foot Wheel...
- Page 11 ASSEMBLY: Prepare all parts before assembly, check that none of the parts are missing. Tools needed for assembly: measuring tape, screwdrivers, 10 mm and 13 mm wrenches 1. Mount platform feet (M) on the platform bottom plate (A), secure with M6x16 (BB) and M6 nylock nut (FF). Do not tighten the bolts yet.
- Page 12 3. Mount tow bar (C) on the wheel shaft support (B). Inserting the wheel shaft through the wheel support (B) and tow bar (C). Tighten all bolts from Step 1-3 4. In the following order, assemble Ø20 flat washer (GG), wheels (N) and the Ø20 flat washer (GG) and secure with R-pin (DD) Ø20 Flatwasher...
- Page 13 6. Install the front gate (G) on the bottom plate (A) and secure with R-pin (AA). Lock the front gate in place on the left and right sides of the gates (D & E) R-pin 7. Push the tailgate in the rails of the dropsides. Note: To lock the tailgate in place, the tailgate pins are mounted into the holes on the side gates.
- Page 14 9. The trailer will not tip when the R-pin Ø3 (DD) is mount- ed on the tow bar In order to tip the trailer, remove the R-pin from the tow- ing bar and tip it manually by hand. R-pin Ø3...
- Page 15 Complaint form We are grateful for your help pointing out any inaccuracies in the Kellfri product delivered to you. Before making a complaint read Kellfris general warranty and sales conditions in our catalog as well as the enclosed User’s manual that comes with the machine.
-
Page 16: Warranty Terms And Conditions
Other equipment must meet the hardware requirements of the Directive. Tina Baudtler, CEO 2015-09-08 Kellfri AB is constantly working on further developing their products and therefore reserves the right to modify, among other things the design and appearance without further notice.
Need help?
Do you have a question about the 27-DC and is the answer not in the manual?
Questions and answers