Table of Contents
Advertisement
Quick Links
Advertisement
Table of Contents

Related Manuals for ElectrIQ eiQTMS60BL


Summary of Contents for ElectrIQ eiQTMS60BL
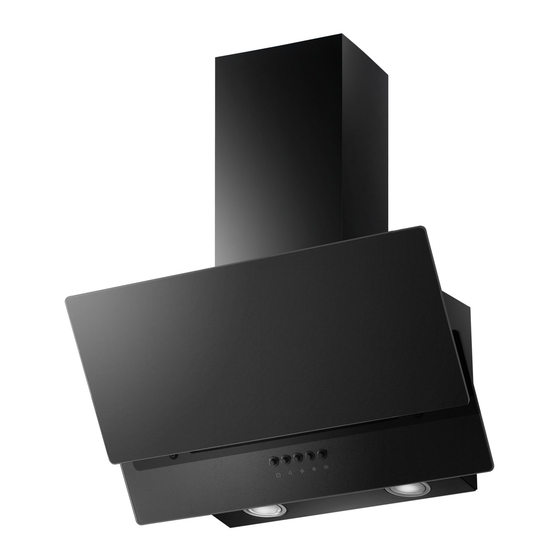
- Page 1 USER MANUAL COOKER HOOD eiQTMS60BL eiQTMS90BL eiQTMS60SS Thank you for choosing electriQ Please read this user manual before using this product and keep it safe for future reference. Visit our page www.electriQ.co.uk for our entire product range...
-
Page 2: Table Of Contents
CONTENTS SAFETY VENTILATION BEFORE USE PRODUCT OVERVIEW INSTALLATION FILTERS OPERATION CLEANING AND MAINTENANCE LIGHT BULB REPLACEMENT TROUBLESHOOTING TECHNICAL SPECIFICATION SUPPORT... -
Page 3: Safety
SAFETY PRECAUTIONS Whilst this product is compliant with all safety requirements, incorrect or inappropriate use can lead to both personal injury and potential damage to property. Please read the contents of this instruction booklet thoroughly before fitting or using this appliance. •... - Page 4 • The minimum distance between the surface of the hob and the lowest part of the hood should be at least 65cm. A distance of between 65cm and 75cm gives peak efficiency. • The air must not be discharged into a flue that is used for exhausting fumes from appliances burning gas or other fuels.
-
Page 5: Ventilation
OPTIONS FOR VENTILATION This hood can be set up for either external venting or recirculation of the air. The type of setup should be decided before commencing installation. EXTERNAL VENTING If you have an outlet to the outside, your cooker hood can be connected as shown in the diagram using any suitable extraction duct (enamel, aluminium, flexible pipe or inflammable material with an interior diameter of 150mm) can... -
Page 6: Before Use
BEFORE USAGE Before usage, read all the instructions and make sure that the voltage (V) and the frequency (Hz) indicated on the identification plate (found inside the cooker hood) and all the data inside the appliance are exactly the same as the voltage and frequency in your home. -
Page 7: Product Overview
PRODUCT OVERVIEW - PARTS SUPPLIED Description Illustration Qty. Cooker hood Chimney Adaptor Cable tie Wall bracket Plate I Plate II Screw (4mm x 30mm) Wall plug Air Flaps Screw (3mm x 10mm) -
Page 8: Installation
INSTALLATION... - Page 9 INSTALLATION Before installation, ensure you have not connected the appliance to the mains supply. 1. The base of the cooker hood should be placed at a distance of 70~80cm above the cooking plane for best performance. 2. Drill 3 holes to accommodate the wall bracket. Screw and tighten the wall bracket onto the wall with the screws (4mm x 30 mm) and wall plugs provided.
- Page 10 7. The 2 x air flaps should be installed at this stage, as access is easier before the unit is wall mounted. On the top of the Hood Unit itself, where the air outlet vent is located, the 2 x flaps should be carefully installed, bending very slightly so the lugs at each end locate into the holes, enabling flaps to pivot upwards when the unit is in operation, opening up the...
-
Page 11: Filters
CARBON FILTER (Available separately) Activated carbon filters can be used to trap odors, and must be used if the hood is not vented to the outside. They are available from the same stockist you purchased the hood from under the following reference: eIQTMCARBONCHIM (Carbon Filter Pack of 2) In order to install the activated carbon filter, the metallic anti-grease filter should first be detached. -
Page 12: Operation
OPERATION Operation of your hood is extremely simple. There are essentially 3 controls: Power On/Off; Fan Speeds (3 separate buttons) and Illumination. Push buttons Off button Used for turning off the fan. Low Speed button Starts the fan in low speed mode. It is suitable for simmering and cooking which do not make much steam. -
Page 13: Cleaning And Maintenance
MAINTENANCE Before cleaning, switch the unit off and pull out the plug, or switch off at the relevant mains switch if the unit has been hard-wired. Make sure the unit has no power being fed to it. REGULAR CLEANING Use a soft cloth moistened with hand-warm mildly soapy water or household cleaning detergent. -
Page 14: Light Bulb Replacement
LIGHT BULB REPLACEMENT Your cooker hood is supplied with 4 long life LED light fittings, although these are designed to have a very long lifespan, should one fail, replacements are available from the supplier of the hood and the guide below can be followed to replace it. Switch the unit off and make sure it is disconnected from the mains supply. -
Page 15: Troubleshooting
TROUBLESHOOTING Fault Cause Solution The fan blade is jammed. Light on, but fan Switch off the unit. Repair to be carried out by does not work qualified service personnel only. The motor is damaged. Both light Halogen light bulb blown and fan do not Replace the bulb with correct rating. -
Page 16: Technical Specification
SPECIFICATION Symbol Value Unit eiQTMS60BL Model identification eiQTMS90BL eiQTMS60SS Annual Energy 37.7 kWh/a hood Consumption Time increase factor Fluid Dynamic 8.27 hood Efficiency Energy Efficiency 77.9 hood Index Measured airflow rate 155.78 at the best efficiency Measured air pressure 109.32... -
Page 17: Support
At the end of its life, the appliance should not be disposed of with general household waste. Check with your Local Authority or retainer for recycling advice. electriQ UK SUPPORT www.electriQ.co.uk/support Call: 0333 043 6692 Office hours: 9AM - 5PM Monday to Friday...
Need help?
Do you have a question about the eiQTMS60BL and is the answer not in the manual?
Questions and answers