
Subscribe to Our Youtube Channel
Related Manuals for Vanco HDEXWIR


Summary of Contents for Vanco HDEXWIR
- Page 1 1080p Wireless HDMI® Extender with IR Vanco Part Number: HDEXWIR Technical Support www.vanco1.com • techsupport@vanco1.com • 800-626-6445...
-
Page 2: Dear Customer
DEAR CUSTOMER Thank you for purchasing this product. For optimum performance and safety, please read these instructions carefully before connecting, operating or adjusting this product. Please keep this manual for future reference. This product is 100% inspected and tested in the United States to verify HDMI performance parameters. -
Page 3: Package Contents
The HDEXWIR does not have to be line of sight, the wireless signal can travel through floors and walls, if the WiFi signal can reach it, the HDEXWIR can. For applications where a cable cannot be run, such as a TV mounted on the mantel or outdoor on a patio, the HDEXWIR is a perfect plug and play solution! 1080p Wireless HDMI®... -
Page 4: Specifications
SPECIFICATIONS HDMI Compliance ............HDMI 1.3 HDCP Compliance ............HDCP 1.4 Video Bandwidth ............6.75Gbps Video Resolution ............1080p, 1080i, 720p, 720i, 480p, 480i, 1920×1080@60Hz, 1920×1200@60Hz(Maximum) Color Space .............. RGB/YCbCr 4:4:4, YCbCr 4:2:2, YUV 4:2:0 Color Depth ............... 8/10/12-bit (1080P60Hz) Audio Formats ............ -
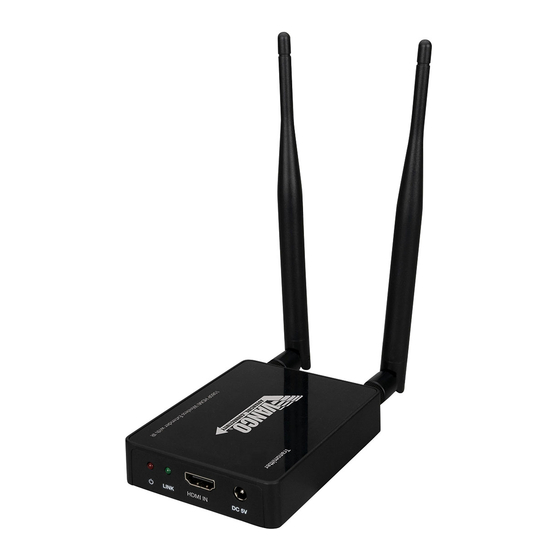
Page 5: Panel Descriptions
PANEL DESCRIPTIONS Transmitting Unit 1. Power LED: Illuminates when the Transmitter (TX) is powered on 2. LINK LED (Green): • Fast Blinking: Pairing mode • Slow Blinking: Transmitter is paired with Receiver; normal operation • Solid illumination: Firmware update mode •... - Page 6 PANEL DESCRIPTIONS Receiving Unit 1. Power LED: Illuminates when the Receiver (RX) is powered on 2. LINK LED (Green): • Fast Blinking: Pairing mode • Slow Blinking: Transmitter is paired with Receiver; normal operation • Solid illumination: Pairing successful • Off: Not paired with Transmitter 3.
-
Page 7: Connect And Operate
CONNECT AND OPERATE Transmitter 1. Connect the Transmitter to an HDMI source 2. OPTIONAL: Connect the provided IR Blaster into the IR OUT port of the Transmitter 3. Connect the Receiver to an HDMI display 4. OPTIONAL: Connect the provided IR Receiver into the IR IN port of the RECEIVER 5. -
Page 8: Pairing Instructions
PAIRING INSTRUCTIONS Connect the Transmitter to the source, and the Receiver to the display, power on both the Transmitter and Receiver units. Press the PAIR button on the transmitter and hold for three seconds.Next, press and hold the PAIR button on the receiver and hold for three seconds. The LINK LEDs on both units will blink rapidly. If the LINK LED of the Receiver illuminates solid, and the LINK LED of the Transmitter blinks rapidly meaning the pairing is successful. - Page 9 IR Pinout 800-626-6445...
-
Page 10: Limited Warranty
If repairs are needed during the warranty period the purchaser will be required to provide a sales receipt/sales invoice or other acceptable proof of purchase to the seller of this equipment. The seller will then contact Vanco regarding warranty repair or replacement. -
Page 11: Liability Statement
TECHNICAL SUPPORT In case of problems, please contact Vanco Technical Support by dialing 1-800-626-6445. You can also email technical support issues to techsupport@vanco1.com. When calling, please have the Model Number, Serial Number (affixed to the bottom of the unit) and Invoice available for reference during the call. - Page 12 Vanco® International 506 Kingsland Drive Batavia, Illinois 60510 call: 800.626.6445 fax: 630.879.9189 visit: www.vanco1.com...
Need help?
Do you have a question about the HDEXWIR and is the answer not in the manual?
Questions and answers