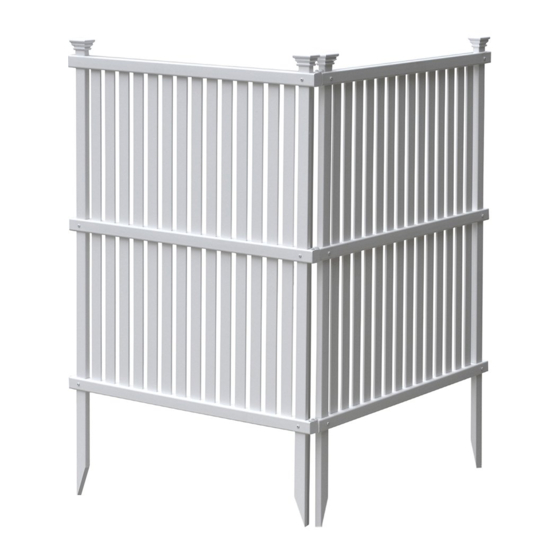
Summary of Contents for Zippity WILMINGTON
- Page 1 Rev.111319 ASSEMBLY INSTRUCTIONS WILMINGTON PRIVACY SCREEN 45 MIN approximate assembly time for 2 screens 6935 Reames Rd. Ste. K. Charlotte, NC 28216 support@zippity-outdoor.com 704-892-5222 / 877-234-6196 zippity-outdoor.com www.zippity-outdoor.com...
-
Page 2: General Information
Although great care has been taken to ensure proper packaging and handling of this product, occasionally problems occur. If you discover any missing, damaged or defective parts, please contact our customer service department. EMAIL: support@zippity-outdoor.com PHONE: 704-892-5222/877-234-6196 Customer service agents are available to take calls weekdays from 8am-5pm EST. - Page 3 STEP 1: LAY OUT MATERIALS WILMINGTON PRIVACY SCREEN (2 PACK) COMPONENTS ¾” Self-Augering Rail End Caps (12) Stainless Steel Post Caps (4) (6 are installed, 6 Screw (24) are loose) (Bag A) Pickets (28) - Post Anchors (4) ¼“ x 1 ¼” x 41”...
- Page 4 Align the pre-drilled holes in the posts and STEP 2.3 the rails and screw the top and middle rails into both sides of both posts using 8 of the 3/4" screws (Part I) provided. Align Holes www.zippity-outdoor.com...
- Page 5 Ensure the post and post anchor are firmly pressed together then fasten together through the pre-drilled holes in the bottom rail with a total of four 3/4" screws. www.zippity-outdoor.com...
- Page 6 2. Add water to loosened soil. 3. Use a block of wood to the protect the top of post and gently hammer the post into the ground. Push down on the top of posts with both hands Option 2: Option 1: Option 3: www.zippity-outdoor.com...
- Page 7 If your ground is really hard, you may need to STEP 4.4 dig a single hole large enough to accommodate one post from each panel. This hole should be approximately 8” in diameter and 10” deep. Backfill and compact the dirt. 8” Dia x 10” Deep www.zippity-outdoor.com...
- Page 8 STEP 5: FASTEN JOINER CLIPS Fasten screens together by joining clips (Part STEP 5.1 K) as illustrated using the 1" self-augering screws (Part J) to secure the clips to both panels. 1” Screw 1” Screw Angled Screens Application Corner Screens Application www.zippity-outdoor.com...
- Page 9 STEP 6: FASTEN POST CAPS Push the post caps (Part A) down over the STEP 6.1 posts to lock into place. 6935 Reames Rd. Ste. K. Charlotte, NC 28216 support@zippity-outdoor.com 704-892-5222 / 877-234-6196 zippity-outdoor.com www.zippity-outdoor.com...


Need help?
Do you have a question about the WILMINGTON and is the answer not in the manual?
Questions and answers