Advertisement
Quick Links
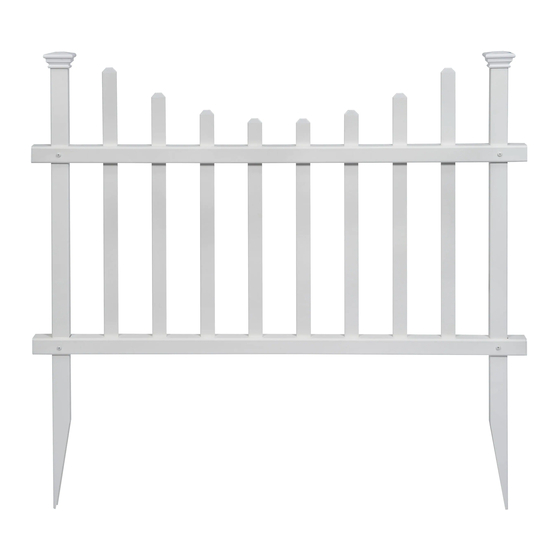
WASHINGTON VINYL PICKET FENCE
45 MIN
6935 Reames Rd. Ste. K. Charlotte, NC 28216
@
support@zippity-outdoor.com
704-892-5222 / 877-234-6196
zippity-outdoor.com
KIT - 2 PACK (30in H x 42in W)
approximate assembly
time for 2 fence panels
ASSEMBLY
INSTRUCTIONS
www.zippity-outdoor.com
1
Advertisement

Related Manuals for Zippity WASHINGTON VINYL PICKET FENCE


Summary of Contents for Zippity WASHINGTON VINYL PICKET FENCE
- Page 1 ASSEMBLY INSTRUCTIONS WASHINGTON VINYL PICKET FENCE KIT - 2 PACK (30in H x 42in W) 45 MIN approximate assembly time for 2 fence panels 6935 Reames Rd. Ste. K. Charlotte, NC 28216 support@zippity-outdoor.com 704-892-5222 / 877-234-6196 zippity-outdoor.com www.zippity-outdoor.com...
-
Page 2: General Information
Although great care has been taken to ensure proper packaging and handling of this product, occasionally problems occur. If you discover any missing, damaged or defective parts, please contact our customer service department. EMAIL: support@zippity-outdoor.com PHONE: 704-892-5222/877-234-6196 Customer service agents are available to take calls weekdays from 8am-5pm EST. -
Page 3: Tools You Will Need
STEP 1: LAY OUT MATERIALS WASHINGTON VINYL PICKET FENCE KIT (2 PACK) COMPONENTS Rail End Caps (8) Post Caps (4) Joiner Clips (4) (4 are installed, 4 are loose) Top Rails (2) - Bottom Rails (2) - 1 ½” x 1 ½” x 41 ¾”... - Page 4 (8) ¾” screws (Part H). Note: Ensure picket holes on the bottom rail are facing up. Align Holes Orient the bottoms of the posts as shown www.zippity-outdoor.com...
- Page 5 Note: The tabs on the bottom of the pickets go into the bottom rail to lock the picket into place. STEP 4: ASSEMBLE THE SECOND FENCE PANEL STEP 4.1 Repeat Steps 2 and 3 to assemble the second fence panel. www.zippity-outdoor.com...
- Page 6 2. Add water to loosened soil. 3. Use a block of wood to protect the top of the post and gently hammer the post into the ground. Push down on the top of posts with both hands Option 2: Option 1: www.zippity-outdoor.com...
- Page 7 STEP 5.3 Level the assembled unit, backfill, and compact dirt around the base of each post to strengthen the unit. Level www.zippity-outdoor.com...
- Page 8 STEP 6: FASTEN JOINER CLIPS Fasten the fence panels together using the joiner clips (Part G) and the 1” self-augering screws (Part I) STEP 6.1 as illustrated below. Angled Fence Application Corner Fence Application www.zippity-outdoor.com...
- Page 9 Push the post caps (Part A) over the top of the posts to complete the assembly. The post caps will lock into place STEP 7.1 when pushed over the posts. 6935 Reames Rd. Ste. K. Charlotte, NC 28216 support@zippity-outdoor.com 704-892-5222 / 877-234-6196 zippity-outdoor.com www.zippity-outdoor.com...
Need help?
Do you have a question about the WASHINGTON VINYL PICKET FENCE and is the answer not in the manual?
Questions and answers