Advertisement
Quick Links
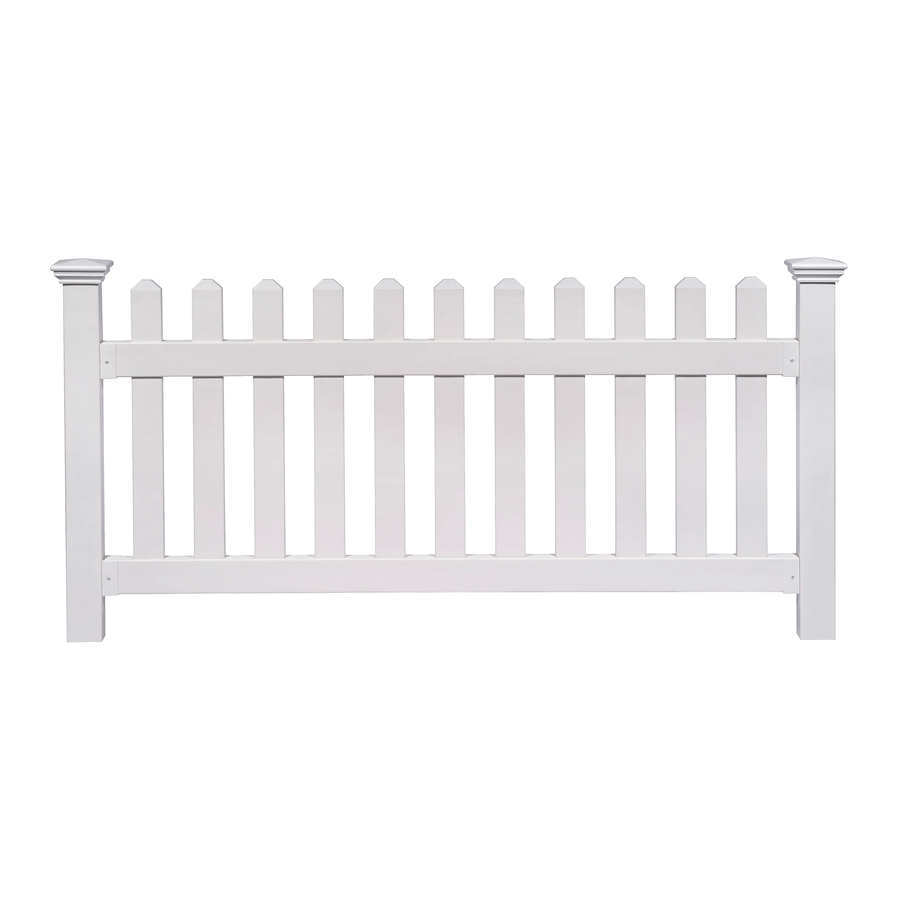
This fence can easily be trimmed
down horizontally to fit your
custom space. Use fine-toothed
circular saw or hack saw.
60 MIN
@
Ver. 072320
FENCE WITH POST AND NO-DIG
Approximate assembly
time of one fence panel
6935 Reames Rd. Ste. K. Charlotte, NC 28216
support@zippity-outdoor.com
704-892-5222 / 877-234-6196
zippity-outdoor.com
INSTRUCTIONS
Finishing Post Kit (ZP19003) sold
separately.
33 1/2 in
22 7/8 in
2 in
24 in
NEWPORT VINYL PICKET
STEEL PIPE ANCHOR KIT
ASSEMBLY
68 1/2 in
2 15/16 in
6 in
Ground
70 3/8 in
72 in
Want to see a video on how to
assemble this product? Scan
the code below!
www.zippity-outdoor.com
36 in
18 1/2 in
4 in
1
Advertisement

Related Manuals for Zippity NEWPORT VINYL PICKET FENCE


Summary of Contents for Zippity NEWPORT VINYL PICKET FENCE
- Page 1 60 MIN Approximate assembly time of one fence panel Want to see a video on how to assemble this product? Scan the code below! 6935 Reames Rd. Ste. K. Charlotte, NC 28216 support@zippity-outdoor.com 704-892-5222 / 877-234-6196 zippity-outdoor.com Ver. 072320 www.zippity-outdoor.com...
-
Page 2: General Information
WEBSITE: nychgroup.com/parts EMAIL: support@zippity-outdoor.com PHONE: 704-892-5222 / 877-234-6196 Customer service agents are available to take calls weekdays from 8am-5pm EST. If you call outside of business hours, please leave a voicemail. - Page 3 2” x 3½” x 38⅝” Note: Top rail has picket holes on both sides. Rail Bracket (4) Top Rail (1) Bottom Rail (1) 1½” x 3½” x 68¼” 1½” x 3½” x 68¼” Pipe Anchor (1) 44¼” ¾” Self-Drilling Stainless Steel Screw (24) www.zippity-outdoor.com...
- Page 4 Check level about every 12”. After about 18”, the trajectory of the pipe anchor is usually established, and you cannot manually pull the pipe back to make it level. 5lb Sledgehammer DO NOT USE Note: Check level in both directions. Hammer www.zippity-outdoor.com...
- Page 5 Using a wood block (or something STEP 3.3 to protect the top of the post), pound the post down another 2” to 4” below the ground to prevent it from twisting on the pipe anchor. Repeat for second post. www.zippity-outdoor.com...
- Page 6 1. Use a level to straighten the post. STEP 4.2 2. Drive a second hex head tek screw into the top of the post using the same pro- cess shown in step 4.1. Adjust until level. www.zippity-outdoor.com...
- Page 7 (H). The rail bracket should be approximately 2” off the ground. 2 in STEP 5.2 Slide another rail bracket over the opposite end of the bottom rail (F), and slide the bottom rail down into the rail bracket installed in step 4.1. www.zippity-outdoor.com...
- Page 8 (E) into illustrated below, and install rail brackets. Use (8) ¾” the top rail brackets. self-drilling stainless steel screws to secure brackets to both rails. www.zippity-outdoor.com...
- Page 9 INCLUDED) to perma- nently install post caps as necessary. Tip: Install one complete panel of fence first. Then proceed to install one or two pipe anchors at a time until you are accustomed to the process. This will prevent repeated mistakes. www.zippity-outdoor.com...
- Page 10 Using a ⁹/64” drill bit for steel (NOT INCLUDED), pre-drill the post and internal pipe anchor. STEP 7.2 Note: Alternatively, you can use self-drilling metal screws (NOT INCLUDED) for steel and avoid having to pre-drill. Install rail bracket on post and pipe anchor. STEP 7.3 www.zippity-outdoor.com...
- Page 11 Warning: If your yard has a severe slope or elevation change greater than approximately 5” to 6” over one panel of fence, you will not be able to install this fence. Your post will not be long enough to accommodate this slope. www.zippity-outdoor.com...
- Page 12 This can be done either during the installation of the pipe anchor or even after the fence is complete. 6935 Reames Rd. Ste. K. Charlotte, NC 28216 support@zippity-outdoor.com 704-892-5222 / 877-234-6196 zippity-outdoor.com...
Need help?
Do you have a question about the NEWPORT VINYL PICKET FENCE and is the answer not in the manual?
Questions and answers