Advertisement
Table of Contents
- 1 General Information
- 2 Step One: Assemble the Gate Frame Bottom and Sides
- 3 Step Two: Assemble the Gate Frame Top & Attach to Sides
- 4 Step Three: Screw Gate Frame/Brackets
- 5 Step Four: Insert Pickets into Gate Frame
- 6 Step Five: Fasten Gate Hinges
- 7 Step Six: Position, Adjust & Align Gate/Secure Hinges to Posts
- 8 Step Seven: Align & Install Latch
- Download this manual
A S S E M B LY I N S T R U C T I O N S
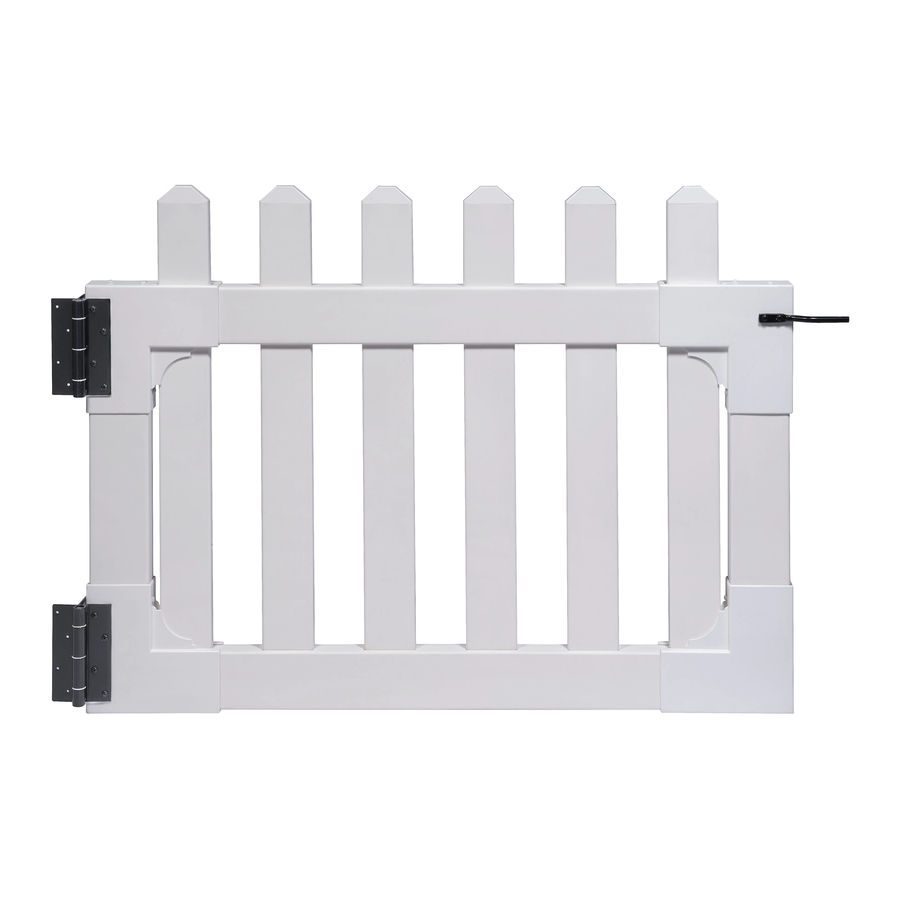
Newport Vinyl Picket Gate
(31"H x 41"W)
This gate can easily be trimmed down horizontally
to fit your custom opening.
Use a fine toothed circular saw or hack saw
This Gate is designed to be integrated with our Newport Vinyl Picket Fence
Please read through before starting assembly.
IMPORTANT: CHECK THE INSIDE OF THE LARGER PIECES IN YOUR BOX FOR OTHER MATERIALS
PACKED INSIDE.
Check Box for These Contents
In the event of missing or defective parts please call our customer service department at 1 877 234 6196 (Mon. to Fri. 8:00 AM to 4:00 PM EST).
1. Top Gate Brackets (2)
2. Top Rail (1) - 1½" x 3½" x 40¾"
3. Vertical Rails (2) - 1½" x 3½" x 18½"
4. Pickets (6) - .875" x 3" x 29¾"
5. Bottom Gate Brackets (2)
6. Bottom Rail (1) - 1½" x 3½" x 40¾"
7. 1-3/8 Self-Auguring Stainless Steel Screw (24)
8. Gate Hardware Kit with Fasteners
Tools You Will Need
• Cordless Drill
• Level
7
Not to Scale
8
1/2 in
1
2
3
4
5
6
Zippity
DO-IT-YOURSELF
FRIENDLY PRODUCTS
3 in
2 in
1/2 in
41 in Gate Width
42 in Opening
33 1/2 in
Ground
1
Ver 1.1/051615
Advertisement
Table of Contents

Related Manuals for Zippity Newport Vinyl Picket Gate


Summary of Contents for Zippity Newport Vinyl Picket Gate
- Page 1 A S S E M B LY I N S T R U C T I O N S Newport Vinyl Picket Gate Zippity DO-IT-YOURSELF (31”H x 41”W) FRIENDLY PRODUCTS 3 in 33 1/2 in Ground 2 in 1/2 in...
- Page 2 G E N E R A L I N F O R M AT I O N Zippity Vinyl Picket Gate Zippity DO-IT-YOURSELF FRIENDLY PRODUCTS 1 - Read Over Fence Instructions First Your gate and fence will work better together as an integrated fence instructions.
- Page 3 Last routed hole on each end of rail should align itself with routed hole in bracket. Zippity DO-IT-YOURSELF FRIENDLY PRODUCTS Z i p p i t y Vi n y l P i c k e t G a t e I n s t r u c t i o n s...
- Page 4 S T E P T W O Zippity DO-IT-YOURSELF Slide top gate brackets with top rail attached down over the FRIENDLY PRODUCTS vertical posts. Completely assembled gate frame shown. S T E P T H R E E Screw Gate Frame/Brackets Fasten brackets into rails as necessary.
- Page 5 S T E P F O U R Zippity Insert Pickets into Gate Frame DO-IT-YOURSELF FRIENDLY PRODUCTS Insert pickets through top rail down into bottom rail. Completed gate with frame shown. S T E P F I V E Fasten Gate Hinges Fasten gate hinges onto the gate brackets with hardware screws.
- Page 6 S T E P S I X Zippity Position, Adjust & Align Gate/ DO-IT-YOURSELF FRIENDLY PRODUCTS Secure Hinges to Posts Use temporary spacers OR blocks to rest the gate on during alignment and installation. Fasten hinges to the post with hardware screws.
- Page 7 S T E P S E V E N Align & Install Latch Align and fasten the gate latch to fit and function with the gate finger. Congratulations, you are finished! Zippity DO-IT-YOURSELF FRIENDLY PRODUCTS 10616 Bailey Road, Unit H, Cornelius NC 28031 www.zippity-outdoor.com...
Need help?
Do you have a question about the Newport Vinyl Picket Gate and is the answer not in the manual?
Questions and answers