Advertisement
Quick Links
ASSEMBLY INSTRUCTIONS
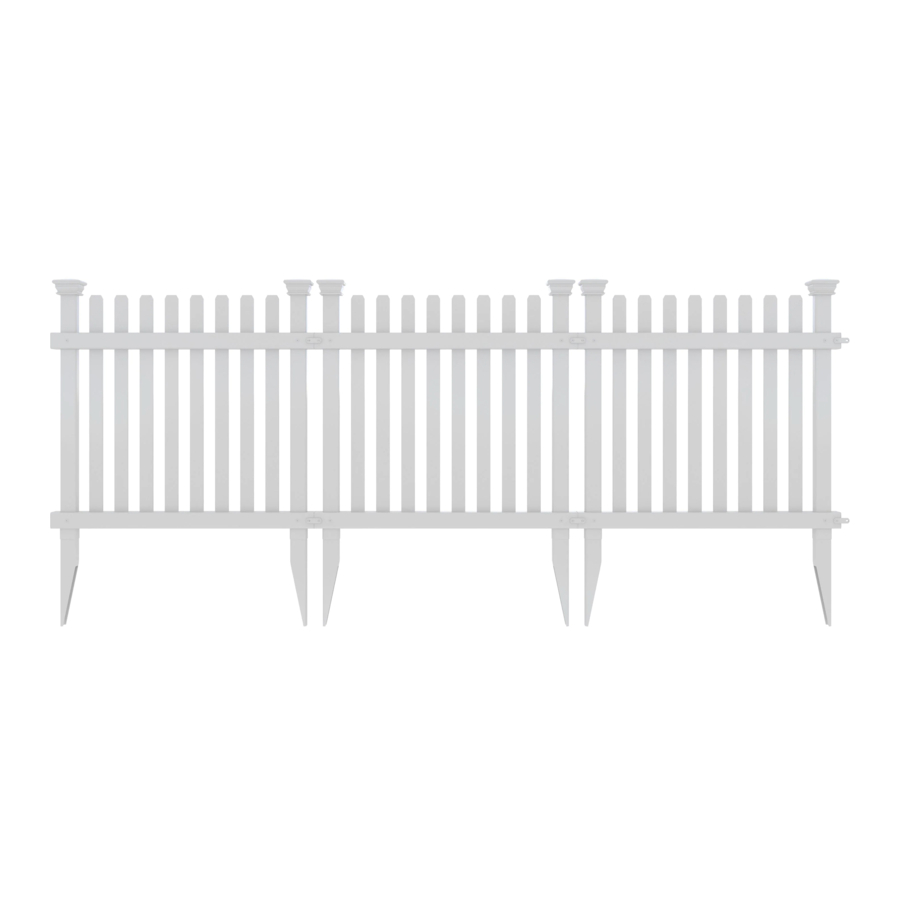
ROGER RABBIT
VINYL GARDEN FENCE
(24" W X 22" H)
WWW.ZIPPITY-OUTDOOR.COM
WWW.ZIPPITY-OUTDOOR.COM
ASSEMBLY
INSTRUCTIONS
3-PACK
ZP19056
30 MIN
Approximate assembly time for 3 fence panels
Want to see a video on how to
assemble this product?
Scan the QR code
ZP19056
1
VER. 111720
Advertisement

Subscribe to Our Youtube Channel
Summary of Contents for Zippity ROGER RABBIT
- Page 1 ZP19056 ASSEMBLY INSTRUCTIONS ROGER RABBIT ASSEMBLY VINYL GARDEN FENCE INSTRUCTIONS 3-PACK ZP19056 (24” W X 22” H) 30 MIN Approximate assembly time for 3 fence panels Want to see a video on how to assemble this product? Scan the QR code WWW.ZIPPITY-OUTDOOR.COM...
- Page 2 If you experience any further trouble with your product, please contact our customer service department. nychgroup.com/parts support@zippity-outdoor.com 704-892-5222 877-234-6196 Customer service agents are available to take calls weekdays from 8am- 5pm EST. If you call outside of business hours, please leave a voicemail.
- Page 3 Bottom Rail (3) 1½” x 1½” x 24” 1½” x 1½” x 24” ¾” Steel Screw (24) Bag A Picket (24) Post (6) 1” Steel Screw (12) ¼” x 1¼” x 21½” ” x 1½” x 23¾” Bag B WWW.ZIPPITY-OUTDOOR.COM...
- Page 4 Slide the post anchors 4” into the bottom of the posts. 8” of the post anchor should be visible beyond the bottom of the posts. Fasten together through the pre-drilled holes in the bottom rail with (4) ¾” steel screws. WWW.ZIPPITY-OUTDOOR.COM...
- Page 5 Rotate the pickets fence frame into the so that the picket holes post tabs are in the top and facing up. bottom rails. ASSEMBLE ADDITIONAL PANELS STEP 4: STEP 4.1 Repeat Steps 1-3 to assemble the other two fence panels. WWW.ZIPPITY-OUTDOOR.COM...
- Page 6 Step 5.1. Loosen the top 6” of ground with claw Block of wood hammer. Add water to loosen soil. Use a block of wood to protect the post, and lightly hammer the posts into the ground. WWW.ZIPPITY-OUTDOOR.COM...
- Page 7 STEP 5.3 If ground is too hard, dig two 8” diameter 8” deep holes to accommodate two posts each as shown below. 8” diameter 8” deep. STEP 5.4 Level the fence panel, backfill excavated dirt, and tamp as necessary. WWW.ZIPPITY-OUTDOOR.COM...
- Page 8 Straight Line Applications: Using (2) joiner clips and (4) 1” steel screws (J), connect the panels as shown below. Corner Applications: Using (2) joiner clips and (4) 1” stainless steel screws connect the panels at a 90° angle as shown below. WWW.ZIPPITY-OUTDOOR.COM...
- Page 10 ZP19056 ASSEMBLY INSTRUCTIONS 6935 Reames Rd. Ste. K. Charlotte, NC 28216 support@zippity-outdoor.com 704-892-5222 877-234-6196 WWW.ZIPPITY-OUTDOOR.COM WWW.ZIPPITY-OUTDOOR.COM...


Need help?
Do you have a question about the ROGER RABBIT and is the answer not in the manual?
Questions and answers