Table of Contents
Advertisement
Quick Links
Tools needed:
Drill with #2 Phillips Bit and
3/32" Drill Bi
t
2 – 7/16" Wrenches or Sockets
File
BENCH RAIL ASSEMBLY
(Refer to Drawing 1)
Lay out the two bench rails as shown, leaving a 1/8" gap between rails. Set the two
brackets over pilot holes on each end of the rails. Fasten brackets to bench rails using the
¾" screws. Apply glue to inside edges of the 7/8 x 1 ½" molded end caps and slide onto
the ends of the center bench rail. Lay the center bench rail over pilot holes in center of rails
and fasten using 2" Screws.
BENCH ASSEMBLY
(Refer to Drawing 2)
Set one of the bench legs with pilot holes for bolts into the bracket as shown, place a second
leg on the inside of the bracket and loosely fasten to bracket with 4" bolts, washers and
nylock nuts. Set the end of the angled bench brace that has pilot hole for bolt on the inside
of the legs. Fasten with 4" bolt, washers and nylock nuts, place 2 washers in between legs
as you push bolt through.
Repeat for opposite end of bench.
Join the opposite ends of the angled bench braces, so they are overlapping in the center of
the bench. Drill two small pilot holes through the overlapping braces and fasten with
2" screws. Tighten all bolts snugly at this time.
FINISHING
Apply glue to inside edges of the 7/8 x 1 ½ x 11 1/8" end caps and push onto the ends of
the bench, making sure edges are flush. Do not slide end caps on from outside ends
of bench. Do the same with the 7 ¼" end caps for the bottom of the legs.
*Upon completion of bench be sure to file or sand
any sharp edges on the end caps to prevent cuts
If you encounter missing or defective parts, please contact manufacturer
Dura-Trel, Inc. ~ PO Box 122, Sheboygan Falls, WI 53085 ~ Toll Free 877-258-6020
assembly instructions
and scrapes.*
direct at toll free # below.
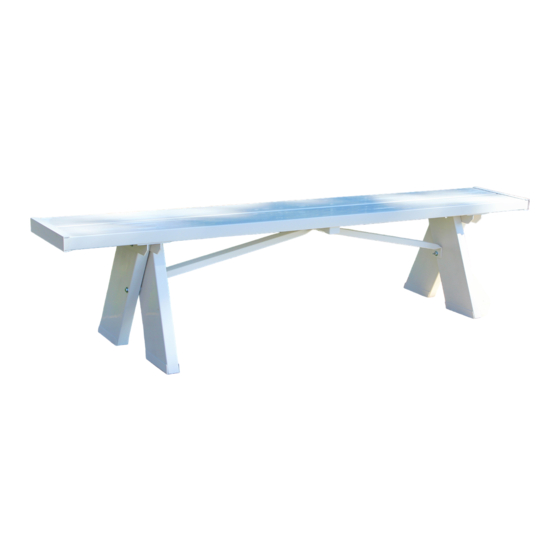
#11125 6' b
ench
Advertisement
Table of Contents

Subscribe to Our Youtube Channel
Related Manuals for Dura Trel 11125


Summary of Contents for Dura Trel 11125
- Page 1 #11125 6' b ench assembly instructions Tools needed: Drill with #2 Phillips Bit and 3/32" Drill Bi 2 – 7/16" Wrenches or Sockets File BENCH RAIL ASSEMBLY (Refer to Drawing 1) Lay out the two bench rails as shown, leaving a 1/8” gap between rails. Set the two brackets over pilot holes on each end of the rails.
- Page 4 PACKING LIST #11125 ench PARTS CONTAINED: QTY. PART NO. PART DESCRIPTION 41555-72004W 1½ x 5½ x 72" BENCH RAIL (w/ wood inserts) 41555-15750 ½ x 5½ x 15¾" LEG 4TBCK-10750 10¾ " BRACKET 47815-10250 ⅞ x 1½ x 10¼" CENTER BRACE 57815-24750 ⅞...
Need help?
Do you have a question about the 11125 and is the answer not in the manual?
Questions and answers