Advertisement
Advertisement
Table of Contents

Related Manuals for zortrax M300


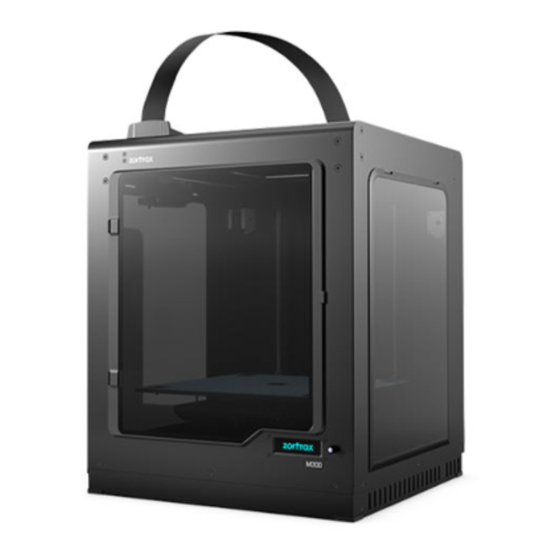
Summary of Contents for zortrax M300
- Page 1 Platform Calibration SOURCE: https://support.zortrax.com/platform-calibration/...
-
Page 2: Table Of Contents
Table Of Content Initiating the Calibration Tightening the Calibration Screws Checking the Points at the Back Checking the Points at the Front Distance Corrections Tightening Platform Screws (M300) -
Page 3: Initiating The Calibration
Initiating the Calibration From the menu select Maintenance -> Autocalibration. Once the printer starts the calibration, the extruder gets very hot. Do not touch it. -
Page 4: Tightening The Calibration Screws
Tightening the Calibration Screws When the extruder is heated up, press the knob to start the autocalibration. Follow the instructions on the display. Tighten all calibration screws and press the knob. The printer will now start to check the distance between the nozzle and the center point of the platform. -
Page 5: Checking The Points At The Back
Checking the Points at the Back The printer will now start to check the distance between the nozzle and the points at the back of the platform. -
Page 6: Checking The Points At The Front
Checking the Points at the Front The printer will now start to check the distance between the nozzle and the points at the front of the platform. -
Page 7: Distance Corrections
Distance Corrections If the printer detects an incorrect distance, it will display instructions on what adjustments should be made. Once you’ve tightened/loosened the screws, push the knob and the printer will recheck the distances. When the proper distance for all the points on the plate is set, the printer will finish the calibration and display the calibration results. -
Page 8: Tightening Platform Screws (M300)
Tightening Platform Screws (M300) In order to correct the difference in values between the center and the side calibration points, you should tighten/loosen the two platform screws placed next to the center point. If the center point value is 0.2 and one of the side points value is -0.2 (the difference equals or exceeds 0.4), you should tighten the screws, whereas you should...
Need help?
Do you have a question about the M300 and is the answer not in the manual?
Questions and answers