Table of Contents
Advertisement
Quick Links
Spare Chassis Replacement Instructions
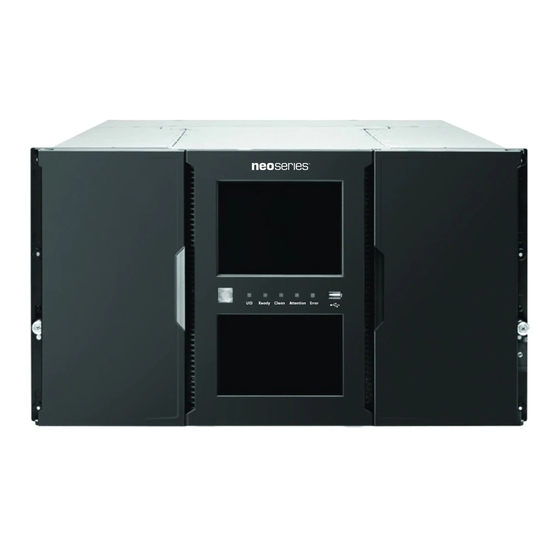
This document describes how to remove and replace a chassis
in a NEO XL-Series library or expansion module from
Overland Storage.
WARNING:
To reduce the risk of electric shock or damage to
equipment, always remove any power cords while working with
the unit.
WARNUNG:
Um das Risiko eines elektrischen Schlags oder
Schäden am Gerät zu vermeiden, ziehen Sie stets den
Netzstecker, bevor Sie an der Einheit arbeiten.
AVERTISSEMENT:
Pour réduire le risque de choc électrique
ou endommagement de l'équipement, retirez toujours les
cordons électriques en travaillant avec l'appareil.
CAUTION:
While working with the unit, observe standard
Electrostatic Discharge (ESD) precautions to prevent damage
to micro-circuitry or static-sensitive devices.
Prepare the Unit
CAUTION:
In the NEOxl library, do not replace both the library controller and the chassis at the same time as the serial numbers
for both cannot be updated when both are replaced simultaneously. If you receive a new library controller and chassis for the
same unit, first install the new library controller in the old chassis as directed in the Spare Library Controller Replacement
Instructions, then follow these instructions to replace the chassis.
The following items are included in the new chassis and should not be removed from the old chassis:
• Center bezel with OCP
• Magazine access doors
• Magazine banks (including mailslot)
• Robotic assembly
• Spooling mechanism
10400661-001
NEO
XL-Series Libraries/Expansion Modules
®
©2015 Overland Storage, Inc.
Page 1 of 8
Advertisement
Table of Contents

Related Manuals for Overland Storage NEO XL Series


Summary of Contents for Overland Storage NEO XL Series
- Page 1 The following items are included in the new chassis and should not be removed from the old chassis: • Center bezel with OCP • Magazine access doors • Magazine banks (including mailslot) • Robotic assembly • Spooling mechanism 10400661-001 Page 1 of 8 ©2015 Overland Storage, Inc.
- Page 2 USB flash drive inserted into the USB front port. • USB Device Rear: Downloads the configuration file to the USB flash drive inserted into the rear USB port. 4. Click Save. 10400661-001 Page 2 of 8 ©2015 Overland Storage, Inc.
- Page 3 2. With a lifter positioned in front of the library, release the rail locks and slide the library out onto the lifter. 3. Place on an ESD-safe surface side-by-side with the new Old Chassis New Chassis chassis. 10400661-001 Page 3 of 8 ©2015 Overland Storage, Inc.
- Page 4 Support the bottom of the tape drive when removing it to avoid damaging any of the internal connections. Set the tape drive aside. 3. Repeat Steps 1–2 for any other tape drives. 10400661-001 Page 4 of 8 ©2015 Overland Storage, Inc.
- Page 5 Install all the tape drives in the same locations as in the old chassis. 2. Using a Phillips screwdriver, remove the half-height drive bay cover. 3. To create access for additional tape drives, repeat Steps 1–2. 10400661-001 Page 5 of 8 ©2015 Overland Storage, Inc.
- Page 6 2. Load the tape cartridges into the new magazine in the same location they were in previously. 3. Push the magazine handle slowly until the magazine release latch snaps into place. The magazine locks into place after it is correctly installed. 10400661-001 Page 6 of 8 ©2015 Overland Storage, Inc.
- Page 7 If you are installing an FC cable: a. Connect the FC cable connector to the connector on the tape drive. b. If you installed a new tape drive, configure the FC interface. 10400661-001 Page 7 of 8 ©2015 Overland Storage, Inc.
- Page 8 1. Place the old part in the anti-static bag and put it in the replacement part’s box. 2. Use the existing packing material to secure it in the box. 3. Use an RMA to return the part to Overland Storage. For return shipping details and RMA number, go to: http://docs.overlandstorage.com/return-instructions.
Need help?
Do you have a question about the NEO XL Series and is the answer not in the manual?
Questions and answers