Table of Contents
Advertisement
Quick Links
Spare Robotic Assembly Instructions
This document describes how to remove and replace an existing
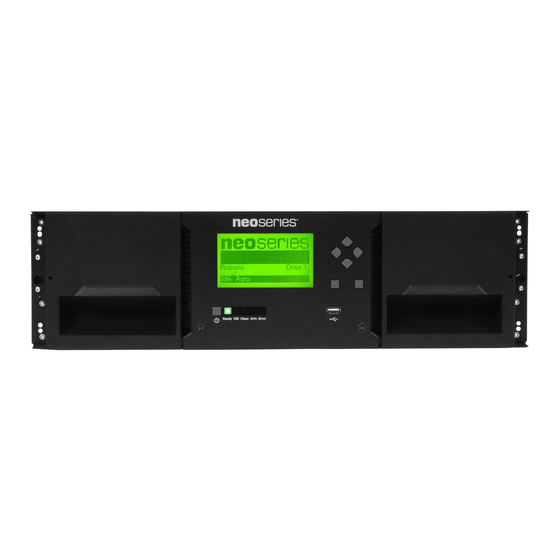
Robotic Assembly in a NEOxl 40 (3U) tape library Base Module
from Overland Storage.
WARNING:
To reduce the risk of electric shock or damage to
equipment, always remove any power cords while working with
the library.
WARNUNG:
Um das Risiko eines elektrischen Schlags oder
Schäden am Gerät zu vermeiden, ziehen Sie stets den
Netzstecker, bevor Sie an der Einheit arbeiten.
AVERTISSEMENT:
Pour réduire le risque de choc électrique
ou endommagement de l'équipement, retirez toujours les
cordons électriques en travaillant avec l'appareil.
CAUTION:
While working with the library, observe standard
Electrostatic Discharge (ESD) precautions to prevent damage
to micro-circuitry or static-sensitive devices.
Overview of Procedure
To replace an existing Robotic Assembly and Spooling
Mechanism:
a. Remove tape magazines (with cartridges) and power off
the library.
b. Disconnect the power cords and cables.
c. Remove the tape drives.
d. Remove the module from the rack.
e. Unpack the new Robotic Assembly.
2. Remove the old Robotic Assembly:
a. If present, remove the Base Module top cover.
b. Unlock the Robotic Assembly and extract it from the
module.
c. Remove the old Spooling Mechanism.
3. Install the new Robotic Assembly:
a. Install the new Spooling Mechanism.
b. Insert the new Robotic Assembly into the module and
relock it.
c. If present, reinstall the top cover.
a. Insert the module to the rack and align it.
b. Reinstall the tape drives.
c. Reattach the power cords and cables.
d. Reinsert the tape magazines (with cartridges).
a. Power on the library and verify the operation.
b. Return the old Robotic Assembly.
10400853-001
Special Handling Notice
Each NEOxl 40 Base Module weighs more than 44 lbs
(20 kg) without drives or tapes and more than 77 lbs
(35 kg) with three tape drives and 40 tapes.
Before moving or lifting the Base Module, remove the
tape magazines and drives to reduce the weight.
Tools Needed:
• #2 Phillips screwdriver
• Small flat-head or Torx screwdriver
©2018 Overland Storage, Inc.
NEOxl
40 Tape Library
®
Page 1 of 8
Advertisement
Table of Contents

Related Manuals for Overland Storage NEOxl 40


Summary of Contents for Overland Storage NEOxl 40
- Page 1 ® Spare Robotic Assembly Instructions This document describes how to remove and replace an existing Robotic Assembly in a NEOxl 40 (3U) tape library Base Module from Overland Storage. WARNING: To reduce the risk of electric shock or damage to equipment, always remove any power cords while working with the library.
- Page 2 3. Remove and label any Ethernet management cables (3). 4. Remove and label SAS/FC cables (4) from the drives. 5. If present, remove the optional USB device (5). 10400853-001 Page 2 of 8 ©2018 Overland Storage, Inc.
- Page 3 3. Carefully slide the Base Module out onto a mechanical lifter. 4. Place the Base Module on a secure ESD surface. 5. Unpack the new Robotic Assembly and Spooling Mechanism, placing them next to the module. 10400853-001 Page 3 of 8 ©2018 Overland Storage, Inc.
- Page 4 Assembly and slowly pull it up (about 1/2 inch [13mm] per second) until clear. 2. Place the assembly on top of the module on the right side (opposite the Spooling Mechanism) and slightly to the front. 10400853-001 Page 4 of 8 ©2018 Overland Storage, Inc.
- Page 5 3. Push the Spooling Mechanism in and then to left until the plug is connected and the mechanism snaps into place. It may help to push the right side with your other hand. 10400853-001 Page 5 of 8 ©2018 Overland Storage, Inc.
- Page 6 2. Slide the module onto the rack rail flanges and into the rack. 3. Tighten the recessed screws only one turn to hold it. 10400853-001 Page 6 of 8 ©2018 Overland Storage, Inc.
- Page 7 1. Using the magazine access handle and supporting it underneath, position the magazine on the alignment rails of the appropriate bay. 2. Slide the magazine into the module. 3. Repeat Steps 1–2 for the other magazine. 10400853-001 Page 7 of 8 ©2018 Overland Storage, Inc.
- Page 8 1. Place the old Robotic Assembly in the box that the new replacement Robotic Assembly came in. 2. Use the existing packing material to secure it in the box. 3. Use an RMA to return the part to Overland Storage. For return shipping details and RMA number, go to: http://docs.overlandstorage.com/return-instructions.
Need help?
Do you have a question about the NEOxl 40 and is the answer not in the manual?
Questions and answers