Table of Contents
Advertisement
Quick Links
PARTS LIST
Qty Description
A
1
Body Cover
B
1
Front Bulk Head (With Hinges)
C
1
Rear Bulk Head (With Handle)
D
4
Flush End Gate Screws
E
4
Standard Pin Nuts
F
1
HexCap Insert
G
2
Bracketed Ball Stud & Assemblies
H
2
Ball Stud Bracket Spacers
J
2
Ball Studs & Assemblies
K
4
Hinge Tek Screws (SM)
L
2
Gas Lifts
M
2
Latch Plates
N
2
Weather Stripping
P
4
Weather Stripping Tex Screws (LG)
Q
4
Cover Bands
R
2
Band Springs
M6 Hex Key
5/32in Hex Key
3/16in Hex Key
Step 1:
TOOL REQUIRED: 13mm or 1/2in Wrench
Starting with one End Gate
corner of the trailer only. Remove
the existing Black End Cap from
one corner of the Trailer End
Gates. Save this End Cap for
later replacement.
Loosen the existing corner bolt
and remove it. This bolt can be
discarded.
Remove the existing Metric Pin
Nut. This Pin Nut can also be discarded.
[Figure 1 & 2]
HEXCAP MANUAL 081419
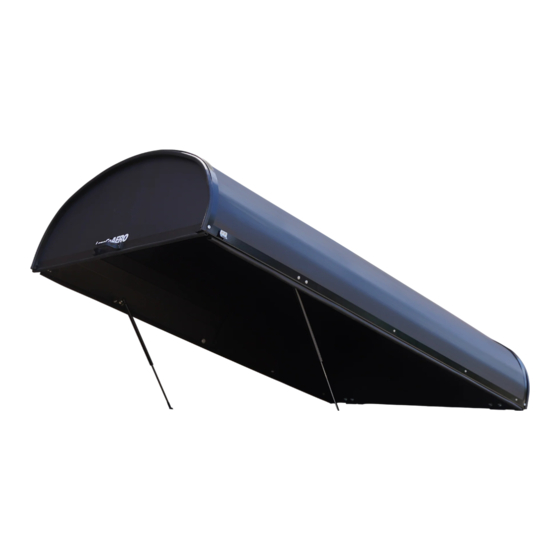
HexCap Hardshell Tonneau Cover
Tonneau Cover For LittleGiant & SPEC Ops Trailers
A
TOOLS REQUIRED:
5/16in Hex Driver
13mm Wrench
1/2in Wrench
EXISTING
BOLT
[Figure 2]
Page 1 of 7
J
G
N
B
L
7/16in Wrench
3/8in Wrench Driver
5/16in Drill Bit
EXISTING
END CAP
EXISTING
PIN NUT
P/N T00482
D
E
R
H
K
P
C
Q
M
F
Drill
Phillips Screw Driver
[Figure 1]
Advertisement
Table of Contents

Subscribe to Our Youtube Channel
Related Manuals for Let's Go Aero HexCap


Summary of Contents for Let's Go Aero HexCap
- Page 1 HexCap Hardshell Tonneau Cover Tonneau Cover For LittleGiant & SPEC Ops Trailers P/N T00482 PARTS LIST Qty Description Body Cover Front Bulk Head (With Hinges) Rear Bulk Head (With Handle) Flush End Gate Screws Standard Pin Nuts HexCap Insert Bracketed Ball Stud & Assemblies Ball Stud Bracket Spacers Ball Studs &...
- Page 2 Keepers. Be sure the hardware (handles and hinges) on BOTH Bulk heads faces away from the HexCap Body Cover. Install two (2) Joint Connector Bolts removed from Step 3 into the holes at each corner of the Hexcap Cover [A] securing the JOINT LATCH CONNECTOR BOLT Pin Nuts in both Bulk Heads to the Cover as shown.
- Page 3 Tightly roll both Bulk Heads [B & C] into the grooves of the HexCap Body Cover [A]. [Figure 7] Install the remaining two (2) Joint Connectors Bolts through the corners of the HexCap Body to secure the Bulk Heads to the cover.
- Page 4 IMPORTANT - THIS STEP REQUIRES TWO PEOPLE FOR PROPER INSTALLATION. Lift and hold open the HexCap Cover open. Locate the pair of holes on each side of the HexCap Cover. Using the Screws and Washers included on the Bracketed Ball Stud [G], insert the Button-Head Bolts and one (1) washer through the outside of the trailer.
- Page 5 Step 10: IMPORTANT - THIS STEP REQUIRES TWO PEOPLE FOR PROPER INSTALLATION. Lift and hold open the HexCap Cover Assembly open. Snap the Gas Lifts [L] onto the Ball Stud Assemblies [J] and Bracketed Ball Stud Assemblies as shown [G].
- Page 6 Bulk Head [B & C] and then re-install the Joint Connector Bolt securing one end of the Cover Band Assembly [Q & R] to the edge of the Cover. [Figure 25 & 26]. Repeat this Step for the remaining three corners of the HexCap Cover to fully secure each Cover Band.
- Page 7 WARNING ALWAYS BE SURE THE LATCHES ARE FULLY LOCKED AND SECURE BEFORE TRANSIT. FAILURE TO PROPERLY LOCK AND SECURE THE HEXCAP LATCHES MAY RESULT BODILY INJURY, DEATH, AND/OR PROPERTY DAMAGE. NEVER BEGIN TRANSIT WITH THE HEXCAP COVER LATCHES UNLOCKED WARNING ALWAYS BE SURE ALL CONNECTIONS ARE SNUG AND FULLY SECURE BEFORE TRANSIT.
Need help?
Do you have a question about the HexCap and is the answer not in the manual?
Questions and answers