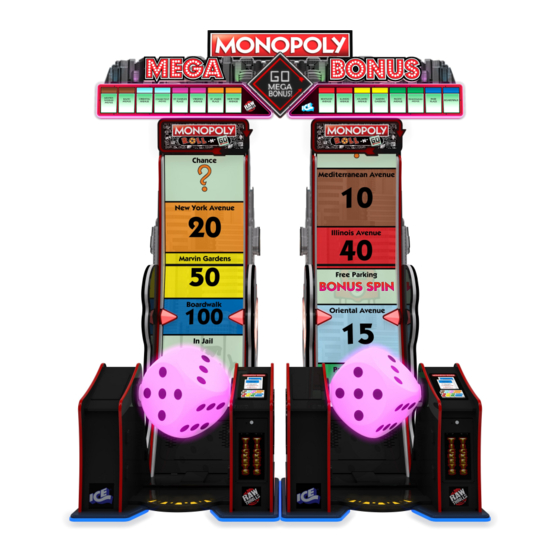
Summary of Contents for Innovative Concepts in Entertainment Monopoly Roll -N- Go
- Page 1 Monopoly Roll -N- Go Marquee Three Cabinet Assembly Guide Innovative Concepts in Entertainment 10123 Main Street Clarence, NY 14031 (716) 759 0360 Service Department...
- Page 2 What is included with your Marquee for A Three Cabinet Install Network switch, AC adaptor and 3 network cables. Another network cable for the upper sign. You should have a total of three. AC Splitter for Network Switch adaptor. Long AC power Cable. Long extension cable.
- Page 3 Installing the Marquee on top of three games. Step 1: Position the two games leaving 1/2” between them at the front. 1/2” 1/2” Step 2: Unlock the back covers from the left and right mounts. Facing the back of the game, the cabinet to the right will have the mount that contains all the electronics.
- Page 4 Step 3: Secure the cabinet mounts to the top of the cabinets. Use four AA6220 bolts and AA6070 washers. Make sure the mount with the electronics are on top of the cabinet on the left looking at the front of the game (right if from the back!).
- Page 5 Step 4: Slide the right upper assembly over and onto the mounts as shown. Step 5: Secure it to the mounts using three AA6212 bolts and three AA6281 washers. Attach harnesses shown.
- Page 6 Step 6: Slide the left upper assembly over and onto the mounts as shown. Then secure using three AA6281 bolts and three AA6212 washers. Attach harnesses shown. Step 7: At each side of the center display are the mounting inserts. They are shown within the circles.
- Page 7 Step 8: Secure the display using two AA6281 bolts and AA6212 washers. Location is shown with the yellow circles with arrows. Attach harnesses shown. Step 9: Slide the sign onto the poles.
- Page 8 Step 11: Plug the long AC cord in to the side of the cabinet. Make sure switch is set to on (1). GAME 3 GAME 2 GAME 1 Step 12: Plug in the USB cable and DVI to display port cable into the marquee electronics box.
- Page 9 Step 13: Attach the two wire channel covers. Carefully wire tie all wires and neatly tuck them inside this channel. Secure the wire channel using two bolts and washers. Step 14: At the back of the game 1, connect the display port connector (DVI to display port cable) to the video card’s display port connection (NOT MOTHERBOARD!).
- Page 10 Step 15: Unplug one of the AC connections at the bottom of the game and next to the power module. Then plug the AC Y-splitter into where you unplugged the AC connector. You should now have a AC outlet to plug the network switch power adaptor into. Step 16: Plug the AC power adaptor for the network switch into the AC outlet you just added.
- Page 11 Step 22: Open the operator panel at the bottom of the cabinet. Press the program button to enter the main menu. Navigate to the system settings of each game. On the left game set mega marquee master to on and then set machine ID to 1. On the middle game set Mega marquee master to off and set machine ID to 2.
- Page 12 MY DISPLAY IS UPSIDE DOWN!! Open the operator panel at the bottom of the cabinet. Press the program button to enter the main menu. Navigate to the system settings of each game. On the left machine navigate to the system settings and increase the value of the mega marquee LED angle.


Need help?
Do you have a question about the Monopoly Roll -N- Go and is the answer not in the manual?
Questions and answers