Sam4s ER180U Quick Setup Manual
Hide thumbs
Also See for ER180U:
- User manual ,
- Operation and programming manual (95 pages) ,
- Operator's and programming manual (95 pages)
Advertisement
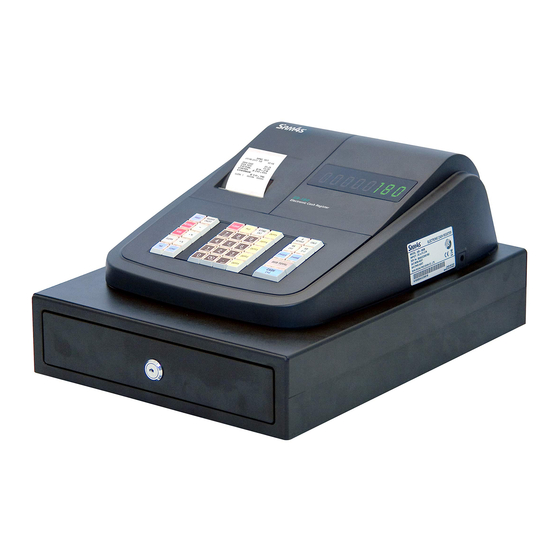
SAM4s ER180U Quick Setup Guide
1. IMPORTANT - Before you Begin
a.
The Cash Register is already setup for 10% GST on ALL departments. You can change this later on if you need a
Department that is GST FREE. Instructions are in the main user guide.
b.
Please unpack all items and DO NOT power up the Register.
c.
You do not need to complete any steps after Step 3. You only need Step 4 and beyond if you want to customise your
Receipts, Departments etc.
d.
Follow each step below slowly and carefully to avoid making any mistakes.
2. Insert Paper
a.
Remove the Tape that is holding the Printer Cover in place.
b.
Using your Finger, lift the Cover upwards gently. It will pivot and pop open.
c.
Now remove the Tape holding the Release Bar in place.
Advertisement
Table of Contents

Subscribe to Our Youtube Channel
Related Manuals for Sam4s ER180U


Summary of Contents for Sam4s ER180U
- Page 1 SAM4s ER180U Quick Setup Guide 1. IMPORTANT - Before you Begin The Cash Register is already setup for 10% GST on ALL departments. You can change this later on if you need a Department that is GST FREE. Instructions are in the main user guide.
- Page 2 SAM4s ER180U Quick Setup Guide Now, lift the Printer Release bar. It is fixed at the other end and will pivot open. Remove and dispose of the Small Piece of Receipt Paper Prepare a Roll of Thermal Paper and simply drop it in the paper holder in the position shown.
- Page 3 SAM4s ER180U Quick Setup Guide Now feed the paper through the Printer Cover as shown. Now replace the printer cover ensuring you locate the plastic tabs then snapping shut. 3. Cash Register FULL Reset Ensure the Power is On at the wall but the Small Power Plug is NOT inserted into Register.
- Page 4 SAM4s ER180U Quick Setup Guide You have now Reset your Cash Register Press the MODE|CALC button until the screen is displaying the “REG” Position. The Register is ready for use! Continue to Step 4 to Add Receipt Names etc. 4. Receipt Header Programming (Add Shop Name, TAX Invoice, Phone Number etc) Register should be ON.
- Page 5 SAM4s ER180U Quick Setup Guide 5. Department Name Programming (Change the Name of Departments: Food, Drinks, Coffee etc) Register should be ON. Press the MODE|CALC button until the screen is displaying the “P” Position. To Rename Department 1 of the Register...
- Page 6 SAM4s ER180U Quick Setup Guide 6. Sample Transaction - You sell 1 x Coffee at $3.00 and 1 x Salad Roll for $6.00 Press the MODE|CALC button until the screen is displaying the “REG” Position. Enter the numbers 3 0 0 on the Grey Buttons. (This will enter $3.00 into the Register – You don’t insert the decimal point) Now press Department 2 on the White Keys –...
Need help?
Do you have a question about the ER180U and is the answer not in the manual?
Questions and answers