Winmate Elegant Design W10IB3S-EHH2 Quick Start Manual
Human machine interfaces
Hide thumbs
Also See for Elegant Design W10IB3S-EHH2:
- Quick start manual (28 pages) ,
- User manual (64 pages) ,
- User manual (64 pages)
Table of Contents
Advertisement
Quick Links
E-Series HMI
Intel® Celeron® Bay Trail-M N2930, 1.83 GHz
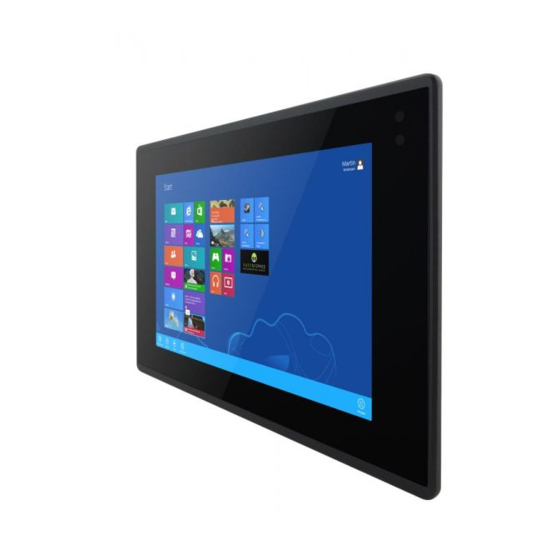
Elegant Design
Model No.: W07IB3S-EHT1
W10IB3S-EHH2
R15IB3S-EHC3
W15IB3S-EHA4
Quick Start Guide
Document Version 1.4
Document Part No. 9152101I1003
Please read this instructions before operating the device and retain them for future reference.
Advertisement
Table of Contents

Related Manuals for Winmate Elegant Design W10IB3S-EHH2


Summary of Contents for Winmate Elegant Design W10IB3S-EHH2
- Page 1 E-Series HMI Intel® Celeron® Bay Trail-M N2930, 1.83 GHz Elegant Design Model No.: W07IB3S-EHT1 W10IB3S-EHH2 R15IB3S-EHC3 W15IB3S-EHA4 Quick Start Guide Document Version 1.4 Document Part No. 9152101I1003 Please read this instructions before operating the device and retain them for future reference.
-
Page 2: Table Of Contents
2.3 Changing Serial Port Settings 2.4 How to Enable Watchdog Chapter 3: Installation 3.1 Wiring Requirements 3.2 Mounting Solution 3.2.1 Panel Mount 3.2.2 VESA Mount APPENDIX Appendix A: Hardware Specifications Appendix B: Cleaning the Monitor Appendix C: Winmate Software Development Kit... - Page 3 Chapter 1: Introduction FCC Statement This device complies with part 15 FCC rules. Operation is subject to the following two conditions: This device may not cause harmful interference. This device must accept any interference received including interference that may cause undesired operation. This equipment has been tested and found to comply with the limits for a class "B"...
- Page 4 Brand and product names are trademarks or registered trademarks of their respective owners. Disclaimer Winmate Inc. reserve the right to make changes, without notice, to any product, including circuits and/or software described or contained in this manual in order to improve design and/or performance.
- Page 5 Chapter 1: Introduction Advisory Conventions Four types of advisories are used throughout the user manual to provide helpful information or to alert you to the potential for hardware damage or personal injury. These are Notes, Important, Cautions, and Warnings. The following is an example of each type of advisory. Note: A note is used to emphasize helpful information Important:...
-
Page 6: Chapter 1: Introduction
7~15.6" E-Series HMI Quick Start Guide Chapter 1: Introduction Congratulations on purchasing Winmate® E-Series HMI. Winmate® continues developing new generation of Human Machine Interfaces for Industry 4.0 and Internet of Things (IoT). You can choose the most suitable operating system for you application. Thereby wide customization possibilities are available to satisfy the needs of industrial automation. -
Page 7: Product Overview
Chapter 1: Introduction 1.3 Product Overview E-Series HMI 7” Unit: mm № № Description Description ① 12V DC Power Jack ④ HDMI 1.4a ② RS-232/422/485 ⑤ RJ-45 Gbe LAN x 2 ③ USB 3.0 x 1, USB 2.0 x 1... - Page 8 7~15.6" E-Series HMI Quick Start Guide E-Series HMI 10.1” Unit: mm № № Description Description ① ④ 12V DC Power Jack HDMI 1.4a ② RS-232/422/485 ⑤ RJ-45 Gbe LAN x 2 ③ USB 3.0 x 1, USB 2.0 x 1 E-Series HMI 15”...
- Page 9 Chapter 1: Introduction E-Series HMI 15.6” Unit: mm № № Description Description ① ④ 12V DC Power Jack HDMI 1.4a ② ⑤ RS-232/422/485 RJ-45 Gbe LAN x 2 ③ USB 3.0 x 1, USB 2.0 x 1...
-
Page 10: Chapter 2: Getting Started
7~15.6" E-Series HMI Quick Start Guide Chapter 2: Getting Started 2.1 Turning On/ Off Your Device Follow the following steps to turn on your HMI device: 1. Connect the AC adapter to the DC-in jack connector on the back side of the HMI device. -
Page 11: Connecting To Other Devices
Chapter 2: Getting Started 2.2 Connecting to Other Devices 2.2.1 Power Connector DC power source input is a power jack connector. Power input is 12V DC. Pin № Pin № Signal Name Signal Name DC_IN Minimum Voltage 11.4V Maximum Voltage 12.6V Maximum Current 4.2A Voltage 2.2.2 Serial Port Connector... -
Page 12: Usb Connector
7~15.6" E-Series HMI Quick Start Guide 2.2.4 USB Connector E-Series HMI has USB 2.0 and USB 3.0 connectors. Use USB cable to connect the HMI to other external devices such as a keyboard or mouse. Pin № Pin № Signal Name Signal Name USB_D- USB_D+... -
Page 13: Changing Serial Port Settings
Chapter 2: Getting Started 2.3 Changing Serial Port Settings Serial port COM1 can be configured for RS-232, RS-422 or RS-485. Jumpers are located on the motherboard. You need to open the housing in order to access the jumpers. Caution/ Attention It is recommended to use factory jumper settings. -
Page 14: How To Enable Watchdog
2.4 How to Enable Watchdog To enable Watchdog, you need to download Winmate Watchdog utility. Find more information on Watchdog in “Watchdog Guide” that you can download from Winmate Download Center or File Share. Refer to the User Manual for more details. -
Page 15: Chapter 3: Installation
Chapter 3: Installation Chapter 3: Installation 3.1 Wiring Requirements The following common safety precautions should be observed before installing any electronic device: Strive to use separate, non-intersecting paths to route power and networking wires. If power wiring and device wiring paths must cross make sure the wires are perpendicular at the intersection point. -
Page 16: Mounting Solution
7~15.6" E-Series HMI Quick Start Guide 3.2 Mounting Solution 3.2.1 Panel Mount In addition to elegant design, panel mount solution is making the HMI unit easy to clean and maintain. The HMI device is secured to the fixture from the rear by using the mounting brackets included in the package. -
Page 17: Vesa Mount
3.2.2 VESA Mount VESA Mount is a widely used mounting solution suitable for all kinds of applications. Notice that VESA mounting solution applies only to 7” E-Series HMI. Notice that VESA mounting kit is not supplied by Winmate. Dimensions Screw Hole Diameter... -
Page 18: Appendix
7~15.6" E-Series HMI Quick Start Guide APPENDIX Appendix A: Hardware Specifications Model Name W07IB3S-EHT1 W10IB3S-EHH2 R15IB3S-EHC3 W15IB3S-EHA4 Display 7” (Wide) 10.1” (Wide) 15” Size/ Type 15.6" (Wide) Resolution 1024x600 1280 x 800 1024 x 768 1366 x 768 Brightness 320 nits 350 nits 300 nits 400 nits... -
Page 19: Appendix B: Cleaning The Monitor
Don not use water or oil directly on the display screen. If droplets are allowed to drop on the screen, permanent staining or discoloration may occur. Appendix C: Winmate Software Development Kit Winmate® provides Software Development Kit (SDK). The table below lists SDK provided by Winmate for E-Series HMI with processor: Item... - Page 20 Winmate Inc. 9F, No.111-6, Shing-De Rd., San-Chung District, New Taipei City 24158, Taiwan, R.O.C www.winmate.com Copyright © Winmate Inc. All rights reserved.
Need help?
Do you have a question about the Elegant Design W10IB3S-EHH2 and is the answer not in the manual?
Questions and answers