Sign In
Upload
Download
Table of Contents
Contents
Add to my manuals
Delete from my manuals
Share
URL of this page:
HTML Link:
Bookmark this page
Add
Manual will be automatically added to "My Manuals"
Print this page
×
Bookmark added
×
Added to my manuals
Manuals
Brands
Craftex Manuals
Power Tool
CX06SC
User manual
Craftex CX06SC User Manual
6” & 8” parallelogram with spiral cutter-head
Hide thumbs
1
Table Of Contents
2
3
4
5
6
7
8
9
10
11
12
13
14
15
16
17
18
19
20
21
22
23
24
25
26
27
28
29
30
page
of
30
Go
/
30
Contents
Table of Contents
Bookmarks
Table of Contents
Table of Contents
General Safety Instructions
Specific Safety Instructions
CX06SC Features
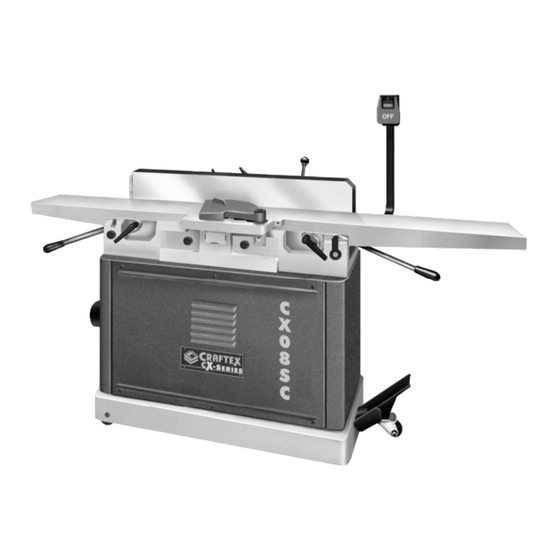
Cx08Sc
Physical Features
Setup
Unpacking
Proper Grounding
Assembly
Mobile Base
Jointer Bed
Extension Table
Fence
Tilt Knob and Fence Lock Handle
Cutter-Head Guard
Dust Hood
Pedestal Switch
V-Belt
Operations & Adjustments
Basic Controls
Test Run
Work-Piece Inspection
Connecting to a Dust Collector
Surface Planing
Bevel Cutting
Edge Jointing
Inspecting the Cutter-Heads
Adjusting/ Replacing Cutter-Head Knives
Setting the Out-Feed Table
Setting the In-Feed Table Height
Parts Breakdown & Parts List
Warranty
Advertisement
Quick Links
Download this manual
CX06SC & CX08SC
6" & 8" PARALLELOGRAM JOINTERS
with SPIRAL CUTTER-HEAD
User Manual
1
Table of
Contents
Previous
Page
Next
Page
1
2
3
4
5
Advertisement
Table of Contents
Need help?
Do you have a question about the CX06SC and is the answer not in the manual?
Ask a question
Questions and answers
Related Manuals for Craftex CX06SC
Saw Craftex CX Series User Manual
9" wood band saw with laser (45 pages)
Planer Craftex CX series User Manual
15 inch & 20 inch mobile planers (42 pages)
Lathe Craftex CX Series User Manual
14" x 20" heavy duty vs wood lathe (38 pages)
Power Tool Craftex CX Series User Manual
6” helical jointer (38 pages)
Saw Craftex CX200 User Manual
10 inch heavy duty table saw with riving knife (38 pages)
Power Tool Craftex CX Series User Manual
8" bench top jointer with helical cutterhead (36 pages)
Lathe Craftex CX Series Owner's Manual
13 inch x 24 inch metal lathe (35 pages)
Saw Craftex CX100 User Manual
14” ultimate band saw (32 pages)
Sander Craftex CX Series Manual
6”×9” belt disc sander (25 pages)
Planer Craftex CX-Series Instructions Manual
13” bench top helical thickness planer 2 speed (24 pages)
Lathe Craftex CX Series User Manual
12" x 18" mini wood lathe with variable speed & digital readout (20 pages)
Grinder Craftex CX Series Manual
8" slow speed grinder (20 pages)
Air Cleaner Craftex CX407N User Manual
Super 3 speed air cleaner (16 pages)
Air Cleaner Craftex CX Series User Manual
3 speed air cleaner with remote control (13 pages)
Dust Collector Craftex CX series User Manual
1-1/2 hp metalworking dust collector (13 pages)
Water Filtration Systems Craftex CX Series Manual
Portable cyclone separator (11 pages)
This manual is also suitable for:
Cx series
Cx08sc
Table of Contents
Print
Rename the bookmark
Delete bookmark?
Delete from my manuals?
Login
Sign In
OR
Sign in with Facebook
Sign in with Google
Upload manual
Upload from disk
Upload from URL


Need help?
Do you have a question about the CX06SC and is the answer not in the manual?
Questions and answers