Advertisement
Quick Links
• Please read and understand the instructions prior to assembly.
Incorrect installation of this product could possibly result in
personal injury or physical damage.
• WallBeds Australia recommends two people to safely assemble
and install the wall bed - It is not recommended you try to install
this bed on your own.
• The wall bed MUST be securely fastened to the wall. Failure to do
so will cause the bed to tip over & may cause damage to the
cabinet or serious personal injury.
• All additional cabintery must be securely fasten to the Wall Bed
cabinet.
• Whilst these products are DIY it is recommended the wall bed be
installed by a qualified trades person if you are not comfortable
with the installation of this product.
WallBeds Australia is not responsible for any damages
©2019 WallBeds Australia
Important Safety Advice Sheet
PLEASE READ BEFORE YOU BEGIN:
or injuries incurred by incorrect installation of this
product.
1
Advertisement

Summary of Contents for Wallbeds Australia AB-6
- Page 1 Incorrect installation of this product could possibly result in personal injury or physical damage. • WallBeds Australia recommends two people to safely assemble and install the wall bed - It is not recommended you try to install this bed on your own.
- Page 2 Most of the stickers are placed on the “back” or underside of the cabinet and will not be seen once assembled. AB-6 Pull Out / Drawer Table Cabinetry Panels End Right...
-
Page 3: Hardware Parts
AB-6 Hardware Parts Pull Out Drawer/Table Runners Small Handle Drawer Clip Handle Fixing Screw Door Hinge Door Hinge Clip Euro Screw Cam Lock Cam Pin Done Head Screw 28mm Wood Screw Step 1 – Inserting Cabinetry Hardware Cam Locks – Insert all Cam Locks into the following panels as described by the cabinet part located on the cabinet sticker. - Page 4 Insert these into the drawer front ensuring the up & down arrows on the drawer clips are facing the outside edge of the drawer panel. Fix these into the drawer front by tapping them in gently with a hammer. Refer to image 10 page 10 ©2019 WallBeds Australia...
- Page 5 Attaching the handles Place the handle over the pre-drilled holes in the door and drawer fronts panels. Insert the handle screws through the pre-drilled holes in the door panel and tighten using a Phillips head screw driver. ©2019 WallBeds Australia...
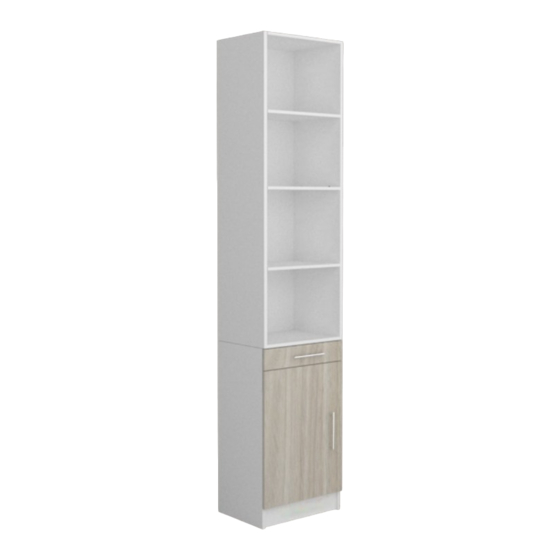
- Page 6 AB-6 Bookcase Assembly Instructions Note: If you have two of the same cabinet each cabinet will have a different cabinet number. Prior to assembly, separate and group all matching panels panel numbers. Panel Stickers/Labels –Do not remove any cabinet stickers from the panels until the units have been built, as these will assist with assembly.
- Page 7 End Panel NOTE: In the Bottom Panel Insert the cam pins on the opposite side to the Cam Lock. Top Panel NOTE: In the Top Panel Insert the cam pins on the opposite side as the Cam Lock ©2019 WallBeds Australia...
-
Page 8: Important Safety Information
Avoid using a razor blade as you may damage the cabinetry. IMPORTANT SAFETY INFORMATION All WallBeds Australia Bookcases and Cabinets must be securely attached to the WallBed before use. Ensure that children DO NOT climb or hang on any part of the Bookcase or Cabinet. - Page 9 Image 1 Image 2 Image 3 Image 5 Image 4 ©2019 WallBeds Australia...
- Page 10 Image 7 Image 6 Image 8 Image 10 Image 9 ©2019 WallBeds Australia...
- Page 11 Image 11 Image 12 Image 14 Image 13 NOTE: Image 12 and 13 demonstrate how to place the Top unit onto Lower unit. These images may not represent each individual product. ©2019 WallBeds Australia...


Need help?
Do you have a question about the AB-6 and is the answer not in the manual?
Questions and answers