Table of Contents
Advertisement
Quick Links
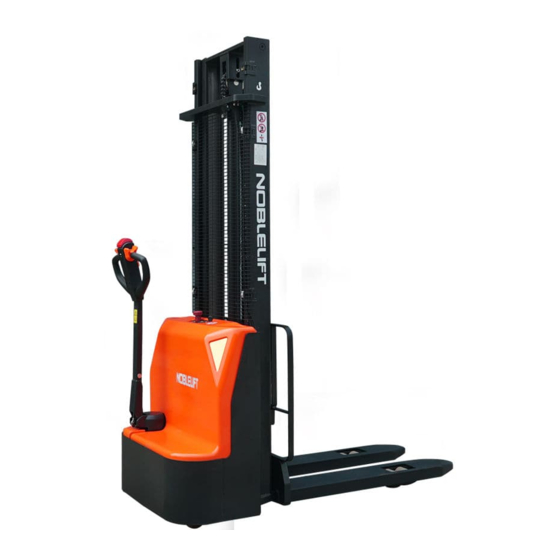
INSTRUCTION MANUAL
Electric Stacker
WARNING
Do not use the electric truck before reading and
understanding these operating instructions.
NOTE:
●
Please check the designation of your present type
at the last page of this document as well as on the
ID-plate.
●
Keep for future reference.
This truck should be used in factories,
tourist attractions and playgrounds only.
PSE15L-C
Scan it, for more
Information
Version 09/2020
PSE15L-C-SMS-002-EN
Advertisement
Table of Contents


Need help?
Do you have a question about the PSE15L-C 1600 and is the answer not in the manual?
Questions and answers