Table of Contents
Advertisement
Quick Links
_____________________________________________________________________
Product Description:
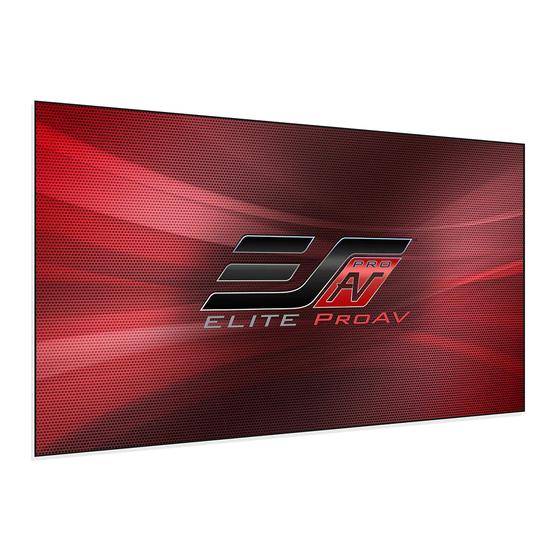
The Pro Frame Thin Series is a fixed frame projection screen that uses Elite ProAV's EDGE FREE®
technology. The EDGE FREE® design resembles a giant size flat panel TV display. The Pro Frame Thin
includes a micro-thin aluminum bezel trim to further enhance the frame appearance. An LED kit is also
included for mood lighting.
The screen material included is our CineWhite®, which is a matte white tensioned front projection material for
environments with controlled lighting.
For optimum projection qualities and performance, please refer to the list below for proper maintenance and
cleaning.
• Use a dry microfiber cloth to remove dust from the screen's surface.
• When cleaning, use a damp microfiber cloth with warm water to remove any marks.
• Never rub or apply pressure when cleaning the surface.
• Never attempt to use any solutions, chemicals or abrasive cleaners on the screen surface.
• In order to avoid damaging the screen, avoid touching it directly with your fingers, pens/pencils or any
other sharp or abrasive objects.
Qty
Main Frame Parts
item
Part
A.
½ horizontal frame
Part
B.
½ horizontal frame
Part
C.
V03182021-JA
EDGE FREE® Matte White Fixed Frame Screen
1. Frame and Edge TrimParts List
2 pcs
vertical frame
www.eliteproav.com
Pro Frame Thin Series
USER'S GUIDE – E Type
Qty
Edge Trim Parts
item
Part
D.
Part
E.
Part
F.
2 pcs
1
Advertisement
Table of Contents

Summary of Contents for Elite ProAV Pro Frame Thin Series
- Page 1 _____________________________________________________________________ Product Description: The Pro Frame Thin Series is a fixed frame projection screen that uses Elite ProAV’s EDGE FREE® technology. The EDGE FREE® design resembles a giant size flat panel TV display. The Pro Frame Thin includes a micro-thin aluminum bezel trim to further enhance the frame appearance. An LED kit is also included for mood lighting.
- Page 2 2. Hardware Parts List Item Parts List 100H 110H 120H 135H 150H Center Joints (1) Elbow Joints (2) M4x6 Screws Spring Hook Spring Top wall brackets M5x50 Wall Screws Hollow Wall anchors Bottom wall brackets Angle cover LED light strip clip Center Support Bar White gloves Fiberglass rods...
- Page 3 Step 3: Remove the foam on all frame ends before assembling the frame. Step 4: Insert the center joint (a) connectors into one-half of the horizontal frame (b/c) and secure with the M4x6 screws (c). Step 5: Connect the elbow joints (b) to the top and bottom sections of the vertical frame. Once inserted, connect the vertical sections of the horizontal frame sections.
- Page 4 Screen Material Step 7: Put on the white gloves(m) and carefully unroll the screen material on a clean surface from the roller to the other side as shown below. The back side of the screen material should be placed upwards. Back side RFront Step 8: Insert the fiberglass rods (n) through the openings.
- Page 5 Note (after all springs have been attached): Correct material installation –Corners of the screen material are properly wrapped around the corner edges of the frame and material is evenly tensioned and flat, creating a nicely taut surface. Incorrect material installation –Thecorners of the screen material are not properly wrapped along the edge of the frame leaving the material with unbalanced tension and an uneven finish.
- Page 6 How to avoid getting ripples on the screen material’s projection surface. Solution: Pull and smooth out the material using your hand from the center to the corners, creating a nicely taut surface as shown below. Attention: Do not proceed with the Edge Trim installation until making sure there are no ripples in the material.
- Page 7 Step 16: With the frame slightly tilted outward; connect the bottom brackets onto the bottom groove of the frame. Then secure them by screwing onto the wall. For Technical Support or an Elite ProAV contact in your area, visit www.eliteproav.com V03182021-JA www.eliteproav.com...


Need help?
Do you have a question about the Pro Frame Thin Series and is the answer not in the manual?
Questions and answers