Advertisement
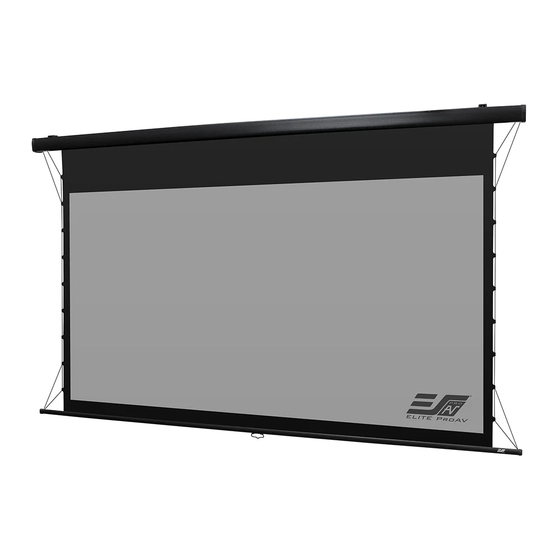
Thank you for choosing the Manual Tab-Tension Pro Series projection screen! This tab-tensioned
manual screen is best for rooms with minimal control over room lighting. It utilizes our GREENGUARD
GOLD® and ISF Certified CineGrey 5D® front projection ceiling ambient light rejecting material. It is
precisely formulated to increase brightness, produce accurate colors, and improve contrast. The CineGrey
5D® is best for family rooms, educational facilities, conference rooms, house of worship or any
applications in which incident light is a factor. Compatible only with standard throw projectors.
In order for the CineGrey 5D® to maintain its projection qualities and optimum performance please
refer to the list below for proper maintenance and cleaning.
• Use a dry microfiber cloth to remove dust from the screen's surface.
• When cleaning, use a damp microfiber cloth with warm water to remove any marks.
• Never rub or apply pressure when cleaning the surface.
• Never attempt to use any solutions, chemicals, or abrasive cleaners on the screen surface.
• To avoid damaging the screen, avoid touching it directly with your fingers, pens/pencils or any
other sharp or abrasive objects.
Please be sure to read the precautions and operating instructions carefully before operating the screen.
Proper maintenance and handling will ensure a longer lifespan of the product.
Note: Wall screws included with this product are complimentary and may not be adequate for all mounting
surfaces. Consult with a professional installer or hardware store for proper mounting screws and anchors.
Regardless of the mounting method, the screen should be securely supported so that the vibration or pulling on the
viewing surface will not cause the screen case to become loose or fall. The installer must ensure that proper
mounting hardware and the fasteners used are of adequate strength and suitable for the mounting surface.
Hardware Parts List
Please make sure all parts listed below are included before proceeding with the installation.
A. Wall Bracket B. Eyebolt C. 5x50 Wall
Item
A
Wall Bracket
B
Eyebolt
C
5x50 Wall screws
D
Drywall anchors
E
M5 Nut
F
M5 Screws
G.
Snap link
H.
Bracket connector (installed on housing)
09142022JA
Manual Tab-Tension Pro Series | CineGrey 5D®
D. Drywall
Screws
anchors
Part List
www.eliteproav.com
Ceiling Ambient Light Rejecting
Manual Pull-Down Projector Screen
User's Guide – M Type
E.M5 Nut F. M5 Screws G. Snap link
106" Screen
125" Screen
2
2
4
4
2
4
2
2
V1.0
H. Bracket
connector
140" Screen
2
3
2
3
4
6
4
6
2
3
4
6
2
3
2
3
U00258
1
Advertisement
Table of Contents

Related Manuals for Elite ProAV Tab-Tension Pro Series


Summary of Contents for Elite ProAV Tab-Tension Pro Series
- Page 1 User’s Guide – M Type V1.0 Thank you for choosing the Manual Tab-Tension Pro Series projection screen! This tab-tensioned manual screen is best for rooms with minimal control over room lighting. It utilizes our GREENGUARD GOLD® and ISF Certified CineGrey 5D® front projection ceiling ambient light rejecting material. It is precisely formulated to increase brightness, produce accurate colors, and improve contrast.
- Page 2 Notice to Installer Please use the following installation instructions to obtain superior optical performance from the CineGrey 5D® Angular Reflective ALR (Ceiling Ambient Light Rejecting) Screen Make sure to follow these instructions for the CineGrey 5D® to perform correctly. A. Ambient Light must not come from the same direction as the projector’s light Minimum Lens Throw Ratio of 1.5x image width Not compatible with Ultra/Short-Throw Projectors Projector Ceiling Installation: Make sure the projector (light in) is angled (ϴ1) to reflect (ϴ2) at the...
- Page 3 Installation Instructions For installation assistance, please consult a professional Installer. Elite ProAV is not liable for faulty installations. A. Wall Mount | Brackets (movable position) Step1: Determine where the screen will be installed. Mark the screw hole locations, drill the holes and insert the hollow wall anchors (D) [if installing on drywall] and secure with a screw(C).
- Page 4 B. Wall Mount | End caps (not movable) Step1: Determine where the screen will be installed. Measure the distance between each keyhole at end of end caps. Mark the screw hole locations, drill the holes and insert the hollow wall anchors (D) [if installing on drywall] and secure with a screw (C).
- Page 5 Please contact Elite ProAV for assistance to avoid damaging the screen and voiding your warranty. For Technical Support or an Elite ProAV contact in your area, visit www.eliteproav.com 09142022JA www.eliteproav.com...
Need help?
Do you have a question about the Tab-Tension Pro Series and is the answer not in the manual?
Questions and answers