Advertisement
Quick Links
Quick Start Guide
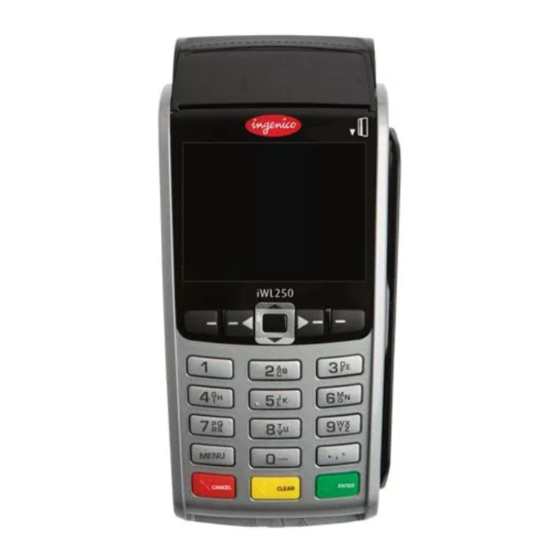
iWL2x1
GETTING STARTED
Base Unit
Set up your base unit in a convenient location close to a power
Terminal
Power socket
source.
charging port
Connect the power supply unit into the power socket on your
base unit and to the mains power. After a short initialisation
process, the terminal will display READY or an idle logo. The
terminal is ready to use.
Note: Press and hold the yellow clear key and the dot key
together to turn the terminal off.
The terminal will automatically select a mobile network.
Should you wish to select the network manually please
Terminal guides
follow steps below:
From READY screen press menu key twice and select
SUPERVISOR (F3). Terminal will prompt for your
password, if you haven't setup own supervisor password
please use the default password provided in the
paragraph below. In SUPERVISOR menu select CONFIG
(F3) then press menu key once and select SEL GSM N/W
(F1). The terminal will search for networks and display the
available network list. Select appropriate network and
press enter key to connect to a chosen provider.
SUPERVISOR PASSWORD
01483
The default Supervisor Password is 01483. Please note: The
terminal will require you to change this to a new password of
your choosing before you can process any transactions.
FUNCTION KEYS
F1-F4 Keys: The function keys enable you to choose options
on screen and correspond to the labels displayed on the screen.
Menu Key: To enter the application menus press the Menu
key from the idle (READY) screen. Pressing the key again
moves to the next menu (if available).
Correction Keys: When entering numbers or letters, the
yellow clear key deletes one character at a time, while the red
cancel key deletes the entire line (this key also cancels
transactions).
Confirmation Key: The green enter key is used to confirm
anything that has been typed into the terminal.
Paper Feed Key: To test the feeding of the paper through the
printer press and hold the clear key.
See page 4 for instructions to change the paper roll.
Advertisement

Summary of Contents for Ingenico iWL2x1
- Page 1 Quick Start Guide iWL2x1 GETTING STARTED Base Unit Set up your base unit in a convenient location close to a power Terminal Power socket source. charging port Connect the power supply unit into the power socket on your base unit and to the mains power. After a short initialisation process, the terminal will display READY or an idle logo.
- Page 2 THE CHIP CARD READER Customer cards must be inserted as shown, with the chip upwards. Push the card fully into the slot below the keypad and follow the instructions on screen. If you see a BAD READ message, check the card orientation and try again.
- Page 3 CONTACTLESS - SALE From the idle screen, enter the sale amount for the transaction and press the enter key. For example enter £12.34 as 1234. If you make a mistake, press the clear key and re-enter the amount. The cardholder should present their card/payment device against the contactless symbol on the terminal display.
- Page 4 This Quick Start Guide (DIV434773A) relates to terminal software APACS 4048 97.11.01 Whilst every effort has been made to ensure that the content of this document is accurate, Ingenico will not accept responsibility for any loss, damage or injury that may be incurred as a result of any errors or inaccuracies. The product is varied to suit an acquirer’s individual requirements and as such some features may vary or be disabled.


