Advertisement
Quick Links
Advertisement

Related Manuals for XAG XMISSION


Summary of Contents for XAG XMISSION
- Page 1 Version1.0...
- Page 3 www.xa.com...
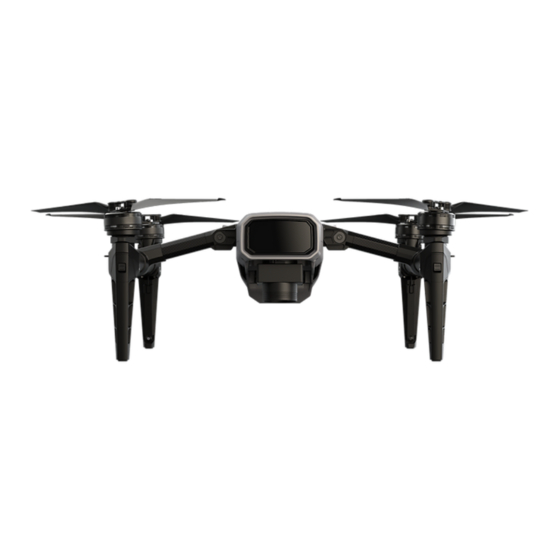
- Page 4 XMISSION Smart battery Charger XCAM 2000s multispectral XCAM 2000s mapping camera ACB1 CommBack camera (optional) (optional) (optional) XSTATION ACS1 ControlStick ARC1 Agricultural Remote controller (optional) (optional) (optional) www.xa.com...
- Page 5 Expand Frame Arms gently until you hear a “click’ sound, and Expand Landing Skid Landing Skid gently until you hear a Mount the Camera Insert the camera into the slot, then rotate the buckle clockwise from left to Mount the Battery Insert the battery into the battery compartment from the back of the aircraft.
- Page 6 My device Wanning My device Bind a device or activate a new device Enter your phone number or XAG account number Password Full-coverage service Unlimited warranty times will be provided SMS quick login Forget password once you purchase our product XMISSION No.1 aircraft...
- Page 7 Solid White: Normal Slow Flash (Red): Low temperature Quick Flash (Red): High ON/OFF temperature 100% Double Flash (Red): Malfunction Battery indicator light Power button www.xa.com...
- Page 8 LED light display Battery level 1 LIGHT FLASHING 0%-12% 1 SOLID LIGHT 12%-37% 2 SOLID LIGHT 37%-65% 3 SOLID LIGHT 65%-87% 4 SOLID LIGHT 87%-100% 2 LIGHT FLASHING Self-locking Battery is locked due to low voltage, please contact customer support to unlock device 3 LIGHT FLASHING Remote locked...
- Page 9 LED light display State Battery level ONE RED + ONE GREEN WEAK GPS SIGNAL LIGHT FLASH Manual TWO LIGHT FLASHING GOOD GPS SIGNAL (Green) THREE LIGHT FLASHING GPS MODE (Green) Auto TWO LIGHT SLOW FLASH GPS MODE (RED) Flight controller is not initiated yet or is being SOLID RED preheated after being...
- Page 10 www.xa.com...
- Page 11 www.xa.com...
- Page 12 Please scan by WeChat for more details. www.xa.com...
- Page 13 www.xa.com...
- Page 14 Log on to our website for more information xa.com www.xa.com...
- Page 16 All information of this user manual (including but not limited to any text description, illustrations, photos, methods and processes, etc.) belongs to XAG Co., Ltd. and is protected by copyright law. Without written authorization, no individual or institution shall reproduce, extract, translate, distribute or otherwise reproduce or quote all contents of this manual in any other way.
Need help?
Do you have a question about the XMISSION and is the answer not in the manual?
Questions and answers