Advertisement
Quick Links
Advertisement

Related Manuals for ESP Enterview VX


Summary of Contents for ESP Enterview VX
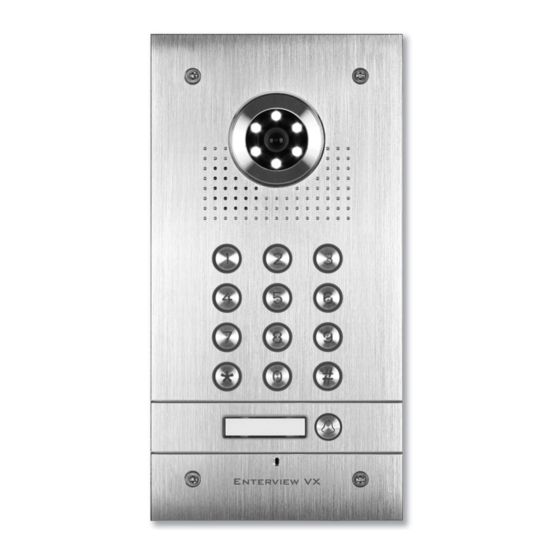
- Page 1 D O O R S T A T I O N W I T H P R O X I M I T Y R E A D E R...
-
Page 2: Table Of Contents
Table of contents Planning and installing the Enterview VX ......3 Wiring Diagram ........... . . 5 Fitting the external call station . -
Page 3: Planning And Installing The Enterview Vx
Planning and installing the Enterview VX External call station How many Entry Doors (Front or/and Rear) Mounting: flush or surface. Equipment required External call station (one required per door) Maximum of 4 call buttons External call station power supply DC 12 volts (EVBPS) (one required per door) - Page 4 Basic cabling 240 VAC mains feed to external door and lock control power supply (EVBPS) 240 VAC mains feed to each handset (via transformer- supplied) 4 core from each external call station (front/rear) to its own power supply (EVBPS) CAT5e from each external call station (front/rear) to each handset 4 core from push to exit button to EVBPS (power supply) 4 core from lock to EVBPS (power supply) 4 core from EVBPS (power supply) to emergency break glass (if fitted)
-
Page 5: Wiring Diagram
Wiring diagram Fig. 1... -
Page 6: Fitting The External Call Station
Fitting the external call station Select a location close to the FLUSH MOUNTING door to be controlled Recommended mounting height 1.45 meters (camera lens) Secure back plate to the wall paying attention to the upward facing arrow located on the back plate Feed cables from each apartment and the power... -
Page 7: Fitting And Wiring The Handset
Removing name tag To remove name tag: 1) Push in name tag on the left-hand side 2) Slide name tag from right to left Fitting and wiring the handset On all types of handsets fitted to a EVVX system please remove the jumper labeled J3. - Page 8 Fig. 5 Fig. 6...
-
Page 9: Programming The Enterview Vx Proximity Reader
Item 1 Fig. 7 Programming the Enterview VX Proximity Reader All system programming requires the EVVX remote control. System programming cannot be performed without it. To enter programming mode press * # followed by the 4 digit programing code (The factory default programming code: 4567) followed by #, the indication light on the reader will change from red to amber and a long single confirmation tone will be heard. - Page 10 Swipe the new card/tag to be added, a double confirmation tone will be heard. To add further cards simply swipe the next card/tag. If the error tone is emitted (4x beeps), this indicates that this card/tag is already registered Press the ** key to exit programming mode. Deleting user cards/tags Enter programming mode.
-
Page 11: Troubleshooting Guide
Reset a forgotten programming code Turn-off power for 60seconds Turn-on power again and press # for 3 seconds - a single confirmation tone will be heard. Code is now reset to factory default. Trouble Shooting Guide No picture appears on the monitor (blue or white screen) Check that all wires are connected and connected in the correct configuration Check that the voltage at the back of the monitor across terminals 5 and 6. -
Page 12: Optional Accessories For Enterview Vx
Optional accessories for Enterview VX EVH5C-HF – Hands Free Colour EVH5C – Colour Handset EVHF10W and EVHF10B - Handset Colour handsfree 10" monitor I High resolution colour 4” monitor I High resolution colour 7” monitor I High resolution colour 10” monitor...
Need help?
Do you have a question about the Enterview VX and is the answer not in the manual?
Questions and answers