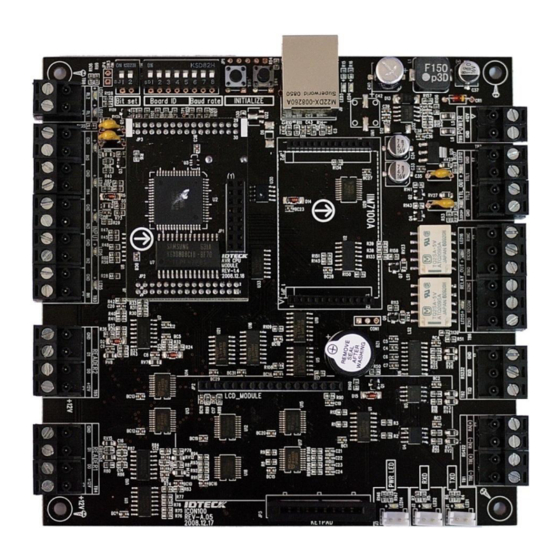
IDTECK Star iCON100 Quick Install Manual
Hide thumbs
Also See for Star iCON100:
- User manual (44 pages) ,
- Quick installation manual (25 pages) ,
- Quick installation manual (20 pages)
Summary of Contents for IDTECK Star iCON100
- Page 1 Quick Install Guide 1. Check Environment 1.1 Check the power source Before wiring, please check the voltage/current (DC12V/350mA) that will be input to the iCON100. 1.2 Connection Diagram...
-
Page 2: Setup Hardware
Quick Install Guide 2. Setup Hardware 2.1 Backup Battery setup and Hardware Initialization 2.1.1 It explains how to operate the switch for connecting the backup battery in order to keep the memory data. For normal use, the switch should be connected as the picture below so that there is no any data loss. Figure: JUMPER SETTING Figure: Jumper location 2.1.2 Toggle the DIP switch ‘8’... -
Page 3: Reader1 Mode
Quick Install Guide 3. Setup Controller parameter STAR iCON100 [F1] Enter Default Master No. READER1 MODE (00000000) 01/01 00:00:15 RF ONLY Start Display Enter the setup mode Key ‘4’ or ‘6’: Left/Right Key ‘2’ or ‘8’: Up/Down ENT: Change or Enter ESC: Cancel ☞... - Page 4 Quick Install Guide 3.3.1. Registration with the Card 12345678 Scanning … Card approach <1>Select PW____ TS__ RD_ * Input the ID information PW (4 digit) + <ENT> TS Code + <ENT> ID Registered Use Door or not + <ENT> * Refer to the Manu setup Registration completed 3.3.2.
-
Page 5: Normal Operation
Quick Install Guide 4. Normal Operation 4.1 Power ON When the power is applied to iCON100, the Red LED (LED1) is turned on. 4.2 Registered card reading When a registered card (or PIN) is read, the Door (Relay 1) will be opened for 3 seconds (Default) with the Green LED (LED2) light on.


Need help?
Do you have a question about the Star iCON100 and is the answer not in the manual?
Questions and answers