
Related Manuals for Coemar Fiera 575 EB


Summary of Contents for Coemar Fiera 575 EB
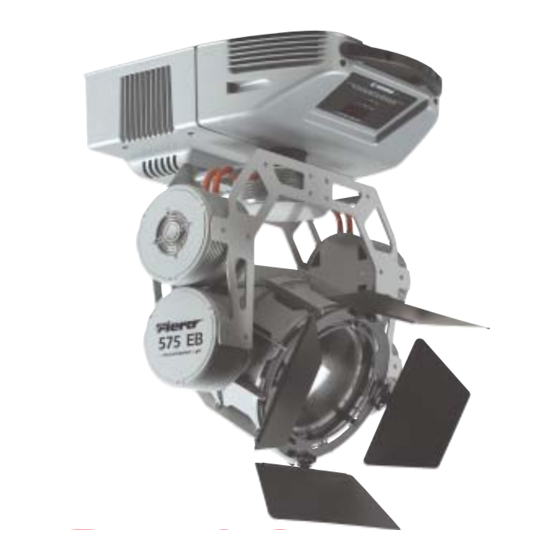
- Page 1 manuale di istruzioni instructions manual edizione, ottobre 2003 edition, october 2003...
- Page 2 Prendete nota, nello spazio apposito, dei dati relativi al modello e al rivenditore del vostro Fiera 575 EB : in caso di richiesta di informazioni, pezzi di ricambio, servizi di riparazione o altro ci permetteranno di assistervi con la massima rapidità...
-
Page 3: Table Of Contents
11.4 Rapid scrolling 12. DMX 512 operation 13. Aligning the lamp in the optical path and adjusting the beam 14. Turning on the Fiera 575 EB without articulated movement 15. Resetting the counter 16. Automatic repositioning functions 17. Altering the operating voltage (reserved for technical staff) 17.1 Selecting the operating voltage... -
Page 4: Packaging Pag
3. Important safety information Fire prevention: 1. Fiera 575 EB utilises a Philips 575 MSD, 575 MSR or 575 MSR/2 lamp; the use of any other lamp is not recommended and will null and void the fixture’s warranty. 2. Never locate the fixture on any flammable surface. -
Page 5: Lamp: Installation And Replacement
English 4. Lamp: installation and replacement Fiera 575 EB utilises a Philips 575 MSD or Philips 575 MSR(/2) 575W lamp with a GX 9,5 lampbase. The lamp is available from your coemar service centre: Philips 575 MSD Philips 575 MSR/2 coemar cod. -
Page 6: Operating Voltage And Frequency
240 V. The operating voltage of the projec- main at: 115V tor is noted on the base of the unit, as shown in the diagram. Fiera 575 EB may operate at either 50 or 60 Hz without the need to adjust any settings. 200/208V 230V 240V... -
Page 7: Mechanical Installation
Fiera 575 EB may be suspended or floor mounted. For the purposes of floor mounting, Fiera 575 EB is fitted with four pads on the base. For suspending the fixture from lighting truss, coemar has included two cam-lock devices (A). -
Page 8: Mains Connection
10 mm, rated 300/500V, tested to 2KV, operating temperature -40° +180°, coemar cod. CV5309). mains connection Fiera 575 EB may operate at 100/115/200/208V-230V-240V at either 50 or 60Hz (operating voltage should be selected as discussed in section 5 of this manual). -
Page 9: Signal Connection
Control signal is digital and is transmitted via two pair screened ø 0,5cable. Connection is serial, utilising XLR 3 male and female sockets on the base of the Fiera 575 EB , labeled DMX 512 In and OUT (see diagram). -
Page 10: Powering Up
1 though 8 of your DMX 512 controller. A second projector should be addressed as 9, a third as 17 and so on until the final Fiera 575 EB , in relation to the number of channels addressable by your controller. -
Page 11: Display Panel Functions
English 11. Display panel functions By using the display panel located on the Fiera 575 EB you are able to display and set function information and to alter various configuration parameters. Incorrectly altering the coemar factory settings may vary the functioning of the projector, causing it to not respond to external DMX 512 control signal;... -
Page 12: Measure And Test
English 11.2. Measure and test (MEAS) Fiera 575 EB The electronic pcbs of the allow for various digital and auto-diagnostic measurements to be made. You may, in this section, record a home position to which the projector will return when it is turned on in the absence of dmx signal. -
Page 13: Quick Guide To Menu Navigation
+o– 11.4. Rapid scrolling Fiera 575 EB Via the display of the it is possible to quickly alter the numerical values associated with the various parame- ter settings. There are three methods for doing this: 1) Pressing and holding the + or - buttons will cause the display to scroll rapidly in sequence through the numerical values. -
Page 14: Dmx 512 Operation
If all the procedures have been carried out correctly to this point, the 8 channels of your DMX 512 controller will have control over all the functions of the Fiera 575 EB as described in the table below: canale funzione... -
Page 15: Aligning The Lamp In The Optical Path And Adjusting The Beam
Lamp alignment should be undertaken within 5 minutes of the lamp being turned on. During this procedure, do not touch the body of the projector. 14. Turning on the Fiera 575 EB without articulated movement This procedure may be useful in situations... -
Page 16: Resetting The Counter
16. Automatic repositioning feature An encoder system based on 4 position indicators allows the Fiera 575 EB to return to its correct position if it is accidental- ly moved during operation. This is particularly useful if the projector is to be mounted on the floor in a position where the performer or artist may accidentally bump the unit. -
Page 17: Altering The Operating Voltage (Reserved For Technical Staff)
(Reserved for technical staff) If the operating voltage set by coemar does not correspond to that is use in your country of operation, or if the projectors are destined for use in another country, a new operating voltage selection may be made as described below. -
Page 18: Mechanical Adjustments
English 18. Mechanical adjustments After having powered up the unit and checked all the functions via DMX 512 control signal, you may need to effect some mechanical adjustments to the projector to suit your particular installation. 18.1 Adjusting the beamspread using optional filters There are several optional filters which can be utilised to alter the dimensions of the output of the projectors to suit specific lighting applications. - Page 19 Never expose yourself directly to the light output from the front of the unit. Make sure that the lenses are not cracked or chip- ped. Use only coemar approved lenses. 1) Using a flat screwdriver, loosen the 4 screws which affix the lense and barndoor retaining ring.
-
Page 20: Adjusting Barndoors
English 18.2 Adjusting the barndoors The 4 leaf barndoors allow the beam output of the projector to be masked and adjusted to suit your requirements. The barndoors may be adjusted individually and may be rotated as a group. 18.2.1 Individual leaf adjustment 1) Each of the 4 leaves may be individually adjusted by pushing it towards or away from the lense, allowing for more or less masking of the beam output. -
Page 21: Automatic Internal Functions
NOTE: it is then necessary to remove the fixture from mains power and replace the lamp. temperature controlled cooling fans A thermal sensor in the body of the Fiera 575 EB constantly monitors the internal temperature of the fixture to ensure that it remains at an optimal level. -
Page 22: Electronic Motor Alignment
Reserved for technical staff The display panel of the Fiera 575 EB . allows for the electronic alignment of the projector’s motors. This procedure is perfor- med by coemar at the factory. It may be useful to perform this procedure in the case of internal components being replaced. - Page 23 Inghilterra 46042 Castelgoffredo (Mantova) Italy Tel. 0376/77521 Fax 0376/780657 coemar si riserva il diritto di apportare modifiche senza preavviso. coemar reserves the right to effect modifications without notification manuale istruzioni instruction manual Fiera 575 EB 1^ edizione: ottobre 2003...
Need help?
Do you have a question about the Fiera 575 EB and is the answer not in the manual?
Questions and answers