Advertisement
Quick Links
Advertisement

Related Manuals for Flycam FLCM-JR


Summary of Contents for Flycam FLCM-JR
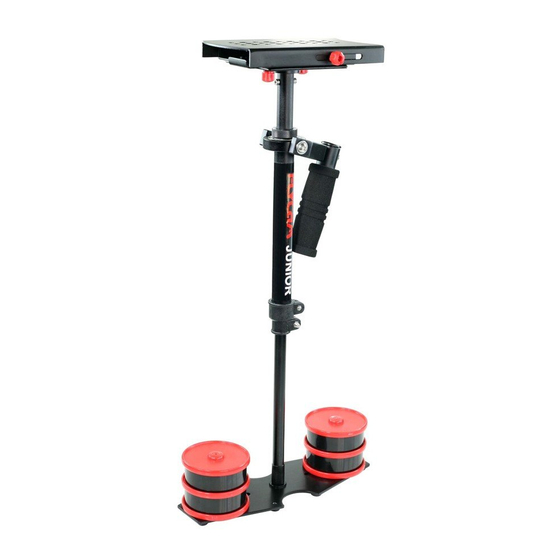
- Page 1 Flycam Junior Camera Stabilizer (FLCM-JR) Instruction Manual...
- Page 2 At Flycam, our goal is to ensure 100% Customer Satisfaction in all that we do. We back our sales with a 1 year warranty from the date of purchase and work hard to resolve any problems in the unlikely event one should arise.
- Page 3 Flycam family. By purchasing your Flycam Junior DSLR Camera Stabilizer, you have just joined a host of designers, engineers, machinists, assembly, customer service and office staff that take great pride in all that they do.
- Page 4 In order to master the capabilities of your Junior, please read the following set up and operation guide. Remember to acquaint yourself with your Flycam Junior by practicing proper use. Once mastered, your Flycam Junior will become an indispensible production tool for shooters from amateur to professionals alike.
- Page 5 Note: The threaded stud is located in the center of the base plate for attach it with central post. CENTRAL POST Warning: The Gimbaled control unit, handle and yoke have been factory set for optimum performance. Do not attempt to adjust them. HEAD ASSEMBLY ...
- Page 6 Attaching The Head Plate to Central Post Loosen the 2x allen bolts at bottom of the camera plate and align the holes with the top of the central post. Retighten the allen bolts securing the head to the stalk. ...
- Page 7 After proper alignment, tighten the 2x Knobs to secure the camera. The many slots located on the head plate and bottom plate allow you to easily adjust the X & Y axis for perfect balance. Once achieved, tighten the knobs to secure. Further ‘fine tuning’...
- Page 8 Adding Weights and Positioning for Proper Balance Continuing the assembly and balance requirements to make your flycam Junior fully functional you will note that the base platform has a provision to mount the balance weights in their cups via a slot found on both sides of the post.
- Page 9 When testing for horizontal balance start from a flat and level surface like a table. This will allow the flycam junior to hang freely as you hold it. If your flycam junior is correctly balanced on its horizontal axis, then it will be both level & upright, with the central post in a perfect vertical position.
- Page 10 Head Plate. If the flycam junior leans to the right, then loosen the screws on the bottom of the bottom plate and then gently slide the Mid Plate to the left. If it leans to the left from the operator’s point of view, then adjust the Mid Plate to the right.
- Page 11 Remove the top plate of the flycam and line up your camera so that its center of gravity is as close to the center of the plate as possible (basically hold the camera in your hand until it feels balanced both left and right as well as forward and back).
- Page 12 Check to see if your camera is sitting level. If not, repeat the necessary steps until it does. Practice walking/movements ensuring your body motion is not transmitted to your hands and then the flycam and camera. HOLDING FLYCAM JUNIOR When handling your junior one hand holds onto the handle while the other is used to gently guide the camera in the direction you wish to shoot and frame the shot.
- Page 13 & clean up any over spill. CLEANING Do not use solvents or harsh cleaners of any kind on your flycam junior. If the unit becomes dirty, use a damp soft cloth or sponge and a mild detergent to gently clean external parts.
- Page 14 FLYCAM JUNIOR CAMERA STABILIZER ALL DRESSED UP AND READY TO GO! (SHOWN WITH OPTIONAL ACCESSORIES) WARRANTY We offer a one year warranty for our products from the date of purchase. We will repair or replace your product, free of charge, in the event of a defect in materials or craftsmanship obtained during normal use or handling based on the user manual.
Need help?
Do you have a question about the FLCM-JR and is the answer not in the manual?
Questions and answers