Advertisement
Quick Links
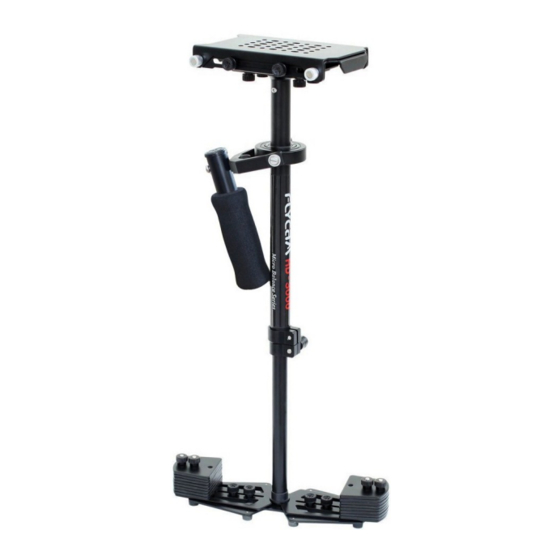
Handheld Video Stabilizer
I N S T R UC TI O N M AN UA L
All rights reserved
No part of this document may be reproduced, stored in a retrieval system, or transmitted by any form or by any
means, electronic, mechanical, photocopying, recording, or otherwise, except as may be expressly permitted
by the applicable copyright statutes or in writing by the publisher.
Advertisement

Related Manuals for Flycam HD-5000


Summary of Contents for Flycam HD-5000
- Page 1 Handheld Video Stabilizer I N S T R UC TI O N M AN UA L All rights reserved No part of this document may be reproduced, stored in a retrieval system, or transmitted by any form or by any means, electronic, mechanical, photocopying, recording, or otherwise, except as may be expressly permitted by the applicable copyright statutes or in writing by the publisher.
- Page 2 Please inspect the contents of your shipped package to ensure you have received all that is pic- tured and listed below. Note: . If you have purchased FLYCAM HD -5000 (FLCM-HD5-QT) or FLYCAM HD-3000 (FLCM- HD-3-QT), you will receive all the items mentioned below: Quick Release Head, Mid &...
-
Page 3: Base Platform
FLYCAM HD HA NDHELD VIDEO STABILIZER H E A D A S S E M B L Y Head Plate Mid Plate Bottom Plate Head Plate Bottom Plate Mid Plate These three individual pieces are shipped as one assembled unit. - Page 4 You will note a number of mounting holes that can be used to adapt to various cameras. Now Center the Head Plate on the camera and secure it properly. Note: you can also mount your camera using quick release plate. YOUR FLYCAM HD VIDEO STABILIZER ALL DRESSED UP AND READY TO GO...
- Page 5 A D D I N G W E I G H T S A N D P O S I T I O N I N G F O R P R O P E R B A L A N C E Continuing the assembly and balance requirements to make your Flycam HD Stabilizer fully functional you will note that the base platform has a provision to mount the balance weights via 2x BH bolts secured with knobs on both sides of the post.
- Page 6 When testing for horizontal balance start from a flat and level surface like a table. This will allow Flycam HD Hand held video stabilizer to hang freely as you hold it. If your Flycam HD Handheld video Stabilizer is correctly balanced on its horizontal axis, then it will be both level & upright, with the Central Post in a perfect vertical position.
- Page 7 Then, look at the Flycam HD Handheld video stabilizer from the front. If the post is not ver- tical, adjust bottom plate until the center post is vertical. You can also adjust weight discs closer to & further away from the sled as per requirement till the post is not vertical.
- Page 8 Remove top plate of FLYCAM and line up your camera so that its center of gravity is as close to the center of the plate as possible (basically hold the camera in your hand until it feels balanced both left and right as well as forward and back).
- Page 9 Be sure to keep oil away from your camera, & clean up any over spill. Cleaning Do not use solvents or harsh cleaners of any kind on your Flycam HD Hand held video stabilizer. If the unit becomes dirty, use a damp soft cloth or sponge and a mild detergent to gently clean external parts.
- Page 10 FLYCAM HD HA NDHELD VIDEO STABILIZER PRACTICE MAKES PERFECT - WALKING THE LINE Practice this simple exercise to master your Flycam HD Hand held video stabilizer with professional results. Using masking or gaffers tape, create a cross mark on a flat and even wall. The mark becomes your framing center.
-
Page 11: Warranty
FLYCAM HD HA NDHELD VIDEO STABILIZER WARRANTY We offer a one year warranty for our products from the date of purchase. We will repair or replace your product, free of charge, in the event of a defect in materials or craftsmanship obtained during normal use or handling based on the user manual.
Need help?
Do you have a question about the HD-5000 and is the answer not in the manual?
Questions and answers