Advertisement
Quick Links
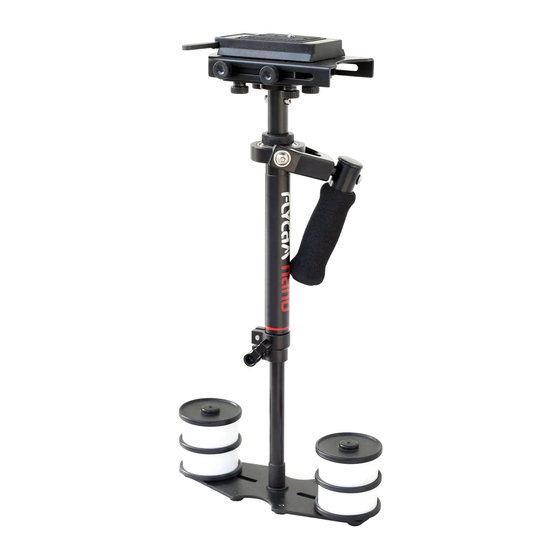
Nano Camera Stabilizer System
(FLCM-NANO-QR)
INSTRUCTION MANUAL
All rights reserved
No part of this document may be reproduced, stored in a retrieval system, or transmitted by any form or by any
means, electronic, mechanical, photocopying, recording, or otherwise, except as may be expressly permitted by
the applicable copyright statutes or in writing by the publisher.
Advertisement

Related Manuals for Flycam FLCM-NANO-QR


Summary of Contents for Flycam FLCM-NANO-QR
- Page 1 Nano Camera Stabilizer System (FLCM-NANO-QR) INSTRUCTION MANUAL All rights reserved No part of this document may be reproduced, stored in a retrieval system, or transmitted by any form or by any means, electronic, mechanical, photocopying, recording, or otherwise, except as may be expressly permitted by...
- Page 2 FLYCAM Nano Camera Stabilizer System INTRODUCTION Your Flycam Nano Camera Stabilizer System comes unassembled. This step-by-step user’s guide is designed to show how to assemble, maintain and use your new Nano Camera Stabilizer. Properly cared for it should provide years of service while adding a dimension to your work that is sure to please.
-
Page 3: Head Assembly
FLYCAM Nano Camera Stabilizer System Note: The threaded stud is located in the center of the base plate for attach it with central post. CENTRAL POST Warning: The Gimbaled control unit, handle and yoke have been factory set for optimum performance. - Page 4 FLYCAM Nano Camera Stabilizer System ASSEMBLING YOUR NANO CAMERA STABILIZER SYSTEM Note: Included in the hardware package are two different sized V-shaped adaptors used to attach the camera to the head plate. Choose the one that is suitable for your camera. A locking pin located at the front of the adaptor prevents camera rotation on the head.
- Page 5 ‘fine tuning’ will probably be required. Slide the release lever to open position and insert the camera set up into quick release adapter. Return the lever to its original locked position. YOUR FLYCAM NANO CAMERA STABILIZER SYSTEM FULLY ASSEMBLED Shown with optional accessory...
- Page 6 FLYCAM Nano Camera Stabilizer System Should you wish to bypass the quick release plate, the camera can be directly attached to the Head Plate by using following assembly sequence: Remove the Head plate from the 3-piece head assembly in preparation to attach it to your camera.
- Page 7 Head Plate Y adjustment ADDING WEIGHTS AND POSITIONING FOR PROPER BALANCE Continuing the assembly and balance requirements to make your Flycam Nano Camera Stabilizer System fully functional you will note that the base platform has a provision to mount the balance weights in their cups via a slot found on both sides of the post.
- Page 8 When testing for horizontal balance start from a flat and level surface like a table. This will allow the Flycam Nano Camera Stabilizer System to hang freely as you hold it. If your Flycam Nano Camera Stabilizer System is correctly balanced on its horizontal axis, then it will be both level &...
-
Page 9: Balancing The Vertical Axis
Then, look at the Flycam Nano from the front. If the post is not vertical, adjust the bottom plate until the center post is vertical. ... - Page 10 Remove the top plate of the Flycam and line up your camera so that its center of gravity is as close to the center of the plate as possible (basically hold the camera in your hand until it feels balanced both left and right as well as forward and back).
-
Page 11: Maintenance
Storage Should you need to store your Flycam Nano for a long period of time then place the unit upright in a dry or low to normal humidity area whenever possible. If you are unable to find this kind of environment then we suggest you store the unit in an airtight plastic container or bag. -
Page 12: Warranty
FLYCAM Nano Camera Stabilizer System Practice this simple exercise to master your Flycam Nano Camera Stabilizer System with professional results. Using masking or gaffers tape, create a cross mark on a flat and even wall. The mark becomes your framing center.
Need help?
Do you have a question about the FLCM-NANO-QR and is the answer not in the manual?
Questions and answers