Sign In
Upload
Download
Table of Contents
Contents
Add to my manuals
Delete from my manuals
Share
URL of this page:
HTML Link:
Bookmark this page
Add
Manual will be automatically added to "My Manuals"
Print this page
×
Bookmark added
×
Added to my manuals
Manuals
Brands
BRAMIDAN Manuals
Trash Compactor
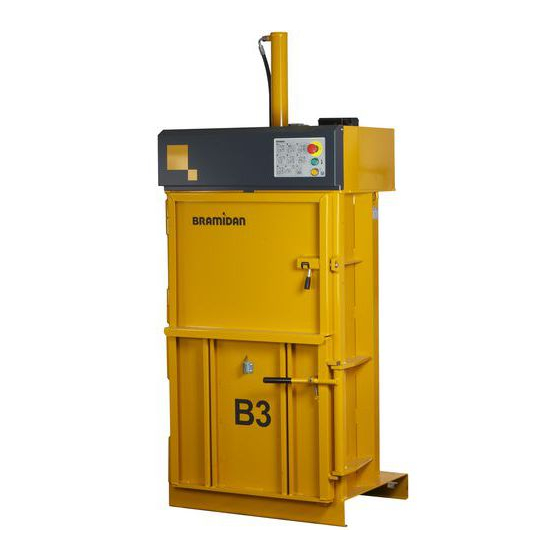
B3
Operating instructions manual
BRAMIDAN B3 Operating Instructions Manual
Baler
Hide thumbs
1
2
Table Of Contents
3
4
5
6
7
8
9
10
11
12
13
14
15
16
17
18
19
20
21
22
23
24
25
26
27
28
29
30
31
32
33
34
35
36
37
38
39
40
page
of
40
Go
/
40
Contents
Table of Contents
Troubleshooting
Bookmarks
Table of Contents
Table of Contents
1 EU Conformity Declaration
2 Conditions
Explanation of Symbols
3 Personal Safety
4 Use and Function
Bale Size
Worth Knowing
5 Transport
Lashing
Centre of Gravity
The Baler Should Not be Tipped over on Its Side
Transport Using a Fork-Lift Truck, Etc
Transport Using a Crane
Moving an Installed Baler
6 Installation
Indoor or Outdoor Location
Clearances and Working Area
Connection
Single Phase Motor with Socket
7 Cords, Straps, or Steel Wire
8 Operating Principles
Power Interruption
Emergency Stop
The Start Button
Two-Hand Control
The Bale-Ejection Is Blocked
Additional Functions
9 The Operating Panel
Description
Push Buttons with Light Signal
The Function of the Push Buttons
10 Mounting Cords or Straps
11 Filling and Compression
Distribution of Waste
Compression
Finishing the Bale Prematurely
Cancelling of Finishing the Bale Prematurely
12 Binding
13 Ejecting the Bale
14 Maintenance
Daily Check
Weekly Check
Biannual Check
Annual Check
Damage to Paintwork
Cleaning
Spare Parts
Disposal
15 Troubleshooting
The Bale Press Does Not Start
The Bale Press Cannot Start and the Start Button Is Flashing
The Bale Press Is very Noisy
The Bale Press Cannot Eject the Bale
Leakage
16 Checklist for Safety Check
Advertisement
Quick Links
1
Operating Principles
2
The Bale Press Does Not Start
3
The Bale Press Cannot Start and the Start Button Is Flashing
4
Troubleshooting
Download this manual
Operating
instructions
Baler
B3 and B4
Manual no. 7995-041
Version 01-09-2018
USA- English edition
Table of
Contents
Previous
Page
Next
Page
1
2
3
4
5
Advertisement
Table of Contents
Need help?
Do you have a question about the B3 and is the answer not in the manual?
Ask a question
Questions and answers
Related Manuals for BRAMIDAN B3
Trash Compactor BRAMIDAN B4 Operating Instructions Manual
Baler (40 pages)
This manual is also suitable for:
B4
Table of Contents
Save PDF
Print
Rename the bookmark
Delete bookmark?
Delete from my manuals?
Login
Sign In
OR
Sign in with Facebook
Sign in with Google
Upload manual
Upload from disk
Upload from URL


Need help?
Do you have a question about the B3 and is the answer not in the manual?
Questions and answers