bouncepad VESA Assembly Instructions
Hide thumbs
Also See for VESA:
- Assembly instructions manual (60 pages) ,
- Assembly instructions (2 pages) ,
- Assembly instructions (2 pages)
Table of Contents
Advertisement
Quick Links
VESA
Assembly Instructions
Follow these instructions for
the successful assembly of your
Bouncepad VESA.
Sheet Code:
BP-OR-IM-017_REV2
Release Date:
17/07/2018
Copyright 2017 Spotspot Ltd. (T/A
Bouncepad) all rights reserved.
Confidential, no part of this publication
may be reproduced or transmitted in any
form without the written permission of the
copyright holder.
Position & mark the mounting surface
1A
on which the Bouncepad VESA is to
be located. Ensure the VESA is level.
Case Washer
M4 Button-head screw
T20 Driverbit
M4 Split Washer
Attach the Bouncepad Case to the
4A
Mounting Arm. Take care to ensure
correct & full thread engagement.
If fixing from behind:
Ø 4.0mm
If fixing from front:
Ø Determined by
your chosen fixings.
Drillbit
Socket
Drill
Driver
*fixings to mounting surface not provided
Tools if mounting to a
0A
surface
Drill the fixing holes in your surface.
2A
Refer to your chosen fixings for the
appropriate hole depth & diameter.
4x Tablet Supports
1x Cable Clip
5A
kit is specific per tablet device and
Bouncepad Case.
Socket
Driver
*M4 fixings to VESA arm
not provided
Tools if
0B
0
mounting to
a VESA arm
3A
4x Corner Pieces
6A
Faceplate
Case
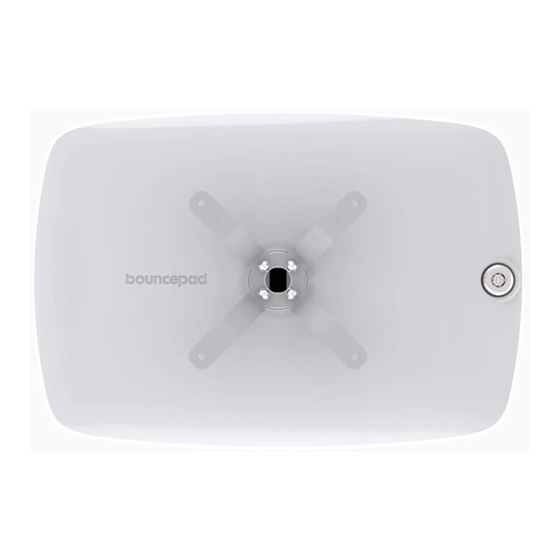
VESA Mount
Tablet Set-up Kit
Fixings Kit
VESA - In the Box
Secure the Bouncepad VESA mount to
the mounting surface.
Feed the tablet cable through the
Case. Connect it to its power supply.
Install your tablet into the case.
Advertisement
Table of Contents

Related Manuals for bouncepad VESA


Summary of Contents for bouncepad VESA
- Page 1 Position & mark the mounting surface Drill the fixing holes in your surface. Secure the Bouncepad VESA mount to on which the Bouncepad VESA is to Refer to your chosen fixings for the the mounting surface. be located. Ensure the VESA is level.
- Page 2 M4 Button-head screw T20 Driverbit M4 Split Washer * Bouncepad VESA to third party VESA mount fixings not provided. Image shown for illustrative purposes & may bare zero resemblance to fixings specified for your VESA mount. Refer to specifications provided by the third party VESA mount for the recommended fixings.
Need help?
Do you have a question about the VESA and is the answer not in the manual?
Questions and answers