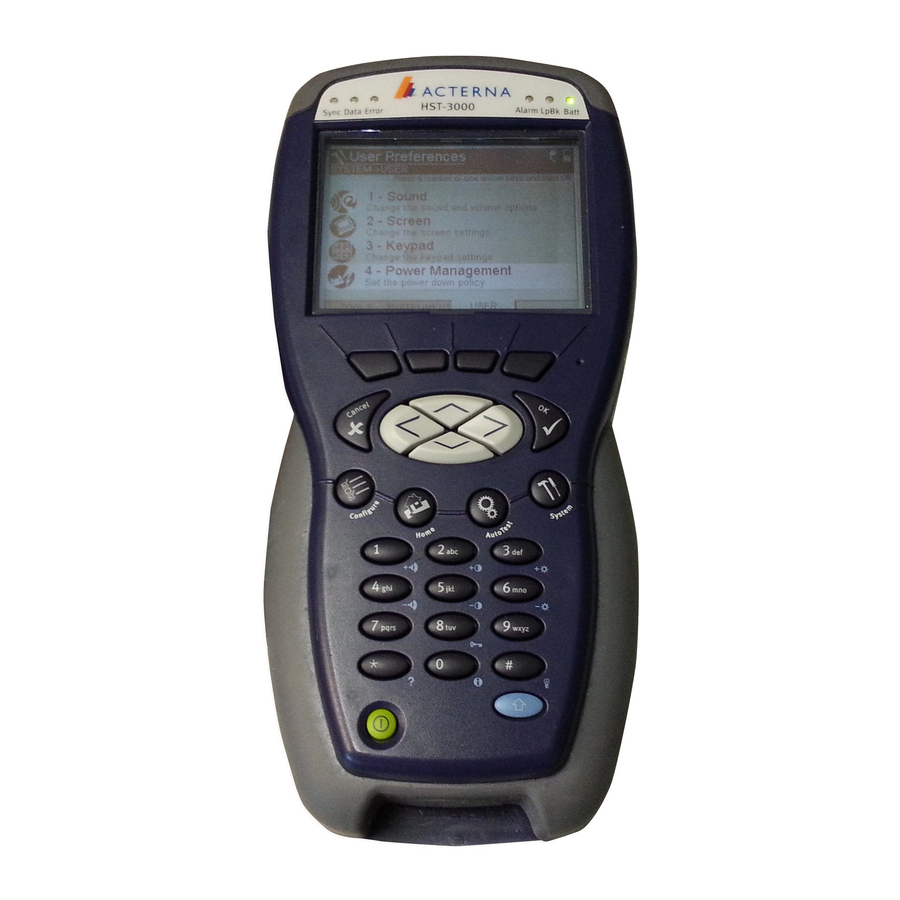
JDS Uniphase HST-3000 Quick Card
Hide thumbs
Also See for HST-3000:
- User manual (356 pages) ,
- Testing manual (24 pages) ,
- Instruction manual (14 pages)
Advertisement
HST Optical Ethernet Quick Card
The document describes how to test Optical Ethernet links using the HST-3000 and Fiber
Inspection and Cleaning Gear.
1 Proper Method for Cleaning Fibers
Step
1
Install the correct bulkhead or patch cord tip to the
probe microscope.
Note: Standard Tips require barrel assempbly
2
Insert the probe into the bulkhead or attaché the patch
cord to inspect.
3
Press the Results key to display the results of the scope image
4
Turn the focus control on the probe to focus the image on the display.
5
There should not be any dirt on the image. If there is
dirt, clean the fiber and then reconnect the fiber. If
one is not certain if the fiber is acceptable, clean the
fiber and then repeat this step to ensure there is no
back reflection or unnecessary attenuation on the link.
6
If needing to clean the fiber, use an IBC cleaner and
remove the tip before cleaning.
7
Insert the IBC cleaner into the bulkhead and patchcord
until you clear a click two times for each piece of gear.
Directions
Pass
Fail
Advertisement
Table of Contents

Related Manuals for JDS Uniphase HST-3000


Summary of Contents for JDS Uniphase HST-3000
- Page 1 HST Optical Ethernet Quick Card The document describes how to test Optical Ethernet links using the HST-3000 and Fiber Inspection and Cleaning Gear. 1 Proper Method for Cleaning Fibers Step Directions Install the correct bulkhead or patch cord tip to the probe microscope.
- Page 2 2 Setup for Testing an Optical Link with the HST-3000 This section describes setup and testing when the location in the field is an optical drop.
- Page 3 The tester is now ready to receive loop commands or proceed to Quick Testing using the HST-3000 (Section 3) 3 Quick Testing Using the HST-3000 This section describes how to quickly check an active link exists between two test sets. This test proves that the link exists and will detect if errors occur.
- Page 4 Tap right to select the Ethernet Filter Tab. Make sure that Destination Type -> Don’t Care Source Type -> Don’t Care Encapsulation -> Don’t Care Payload Analysis -> On Rx Payload -> Acterna Next press the home key. Then select Restart. Now to Loop up the far end select the Action Key, then select #2 Loop and then Select #1 Loop Up.
- Page 5 Quick test is now complete. Please proceed to the next section RFC 2544 testing. 4 RFC 2544 Testing Using the HST-3000 This section describes how to validate the link between two locations. The output of this test is a go or no go on the quality of the link and the results can be saved for further analysis.
- Page 6 Tap right to select the RFC 2544 Settings. Make sure that Load Format -> Bit Rate Auto Save Report -> Enable Auto Restore Cfg* -> Disable You can also enter the customer, location, technician and any comments you have that you wish to be stored on the final report.
- Page 7 Tap right to select the Latency. Make sure that Number of Trials -> 1 Trial Dur. -> 120 sec Show Pass/Fail -> No Tap right to select the Jitter. Make sure that Number of Trials -> 1 Trial Dur. -> 120 sec Show Pass/Fail ->...
- Page 8 This section describes how to download results via USB from the HST-3000 Step Directions Connect the USB Flash Drive to the HST-3000’s USB port on the top of the mainframe. Press the green Power Key to turn on the HST-3000.
Need help?
Do you have a question about the HST-3000 and is the answer not in the manual?
Questions and answers