JDS Uniphase HST-3000 Testing Manual
Sip trunk
Hide thumbs
Also See for HST-3000:
- User manual (356 pages) ,
- Testing manual (24 pages) ,
- Instruction manual (14 pages)

Related Manuals for JDS Uniphase HST-3000


Summary of Contents for JDS Uniphase HST-3000
- Page 1 Page 1 of 14 JDSU HST-3000 SIP Trunk Testing Guide Version 1.1 May 4, 2013 Technical Assistance Center tac@jdsu.com 855-ASK-JDSU...
-
Page 2: Table Of Contents
PBX and validate the performance of a SIP trunk. In this document, the device that the HST-3000 is connected to is referred to as the Session Border Controller (SBC). It may also be an Integrated Access Device (IAD), layer 2 switch, or other network element. -
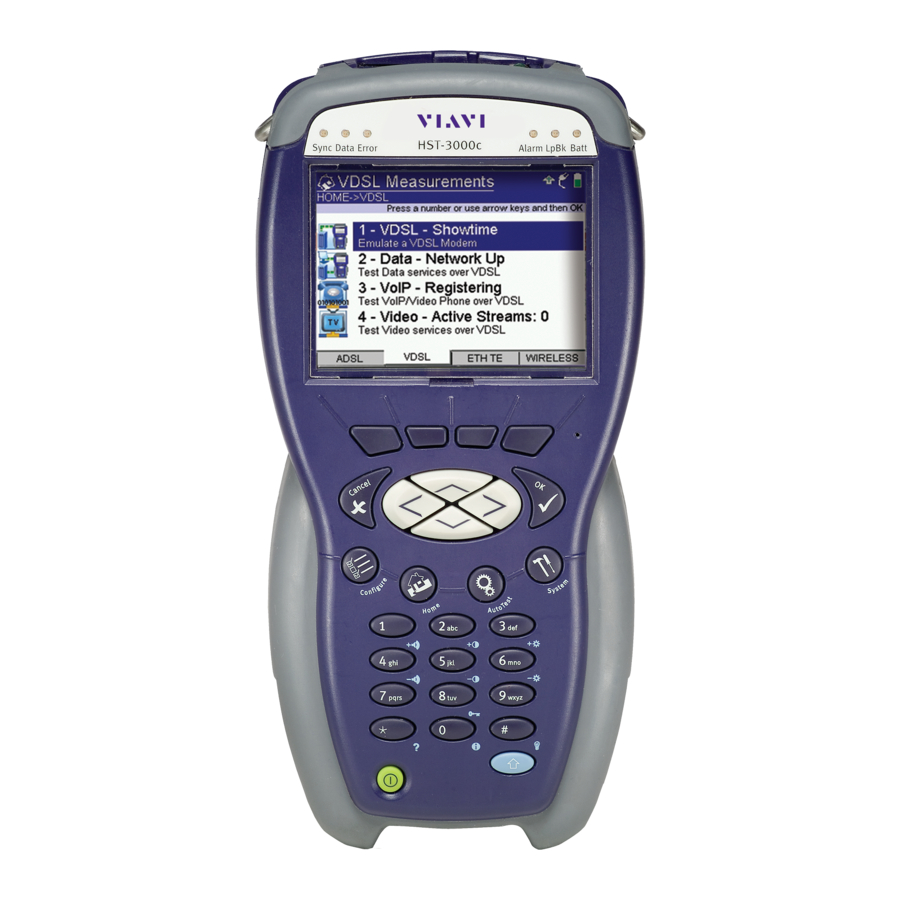
Page 3: Hardware Description
(SIMs) to support Ethernet, T1/T3, Copper/DSL and other access technologies. A SIM is not required for this test. Menu selections are made from the HST-3000 front panel by using the keypad to select the option number or by using the arrow keys to scroll to the desired selection and pressing the OK key. -
Page 4: Sip Trunk Test Procedures
Configure Ethernet TE and VoIP/Video Phone Step Action Details Power On Press the green Power Key to turn on the HST-3000. Launch Test App Press the ETH TE Soft key. Press the OK key to launch the Ethernet TE test application. Load Config Press the Configure Navigation key to configure Ethernet TE test setting. - Page 5 Press “*” four times enter “;” • Press “#” eleven times to enter “=” • Alternately, a standard USB Keypad may be connected to the HST-3000 USB port. For Registering Trunks select “Dial by Phone Outbound Number”. For Non-Registering Trunks select “Dial by...
- Page 6 • The SBC LAN port is enabled and configured for the correct speed and duplex (auto negotiate or fixed speed/duplex) • Cables are good quality and properly connected. If the Sync LED is still not green, the HST-3000 cannot establish an Ethernet link with the SBC. Contact VoIP Technical Support. Test For Registering Trunks, proceed to Section 2.3.
-
Page 7: Verify Registration With The Proxy Server
Action Details Check Reg. status After establishing a datalink with the SBC, the HST-3000 sends a REGISTER message to the proxy server. Registration status is displayed in the VoIP Phone results screen. “Proxy Registration Successful” indicates that the HST-3000 is registered with the Proxy Server. -
Page 8: Inbound Call Testing
Using your cell phone, dial the Telephone Number ( BTN) of the HST 3000/PBX. Answer When an inbound call reaches the HST-3000, allow the call to ring at least 2 times. Confirm the Ring back tone is heard on your cell phone, and press the OK key to answer to call. -
Page 9: Outbound Call Testing
• Press “1” seven times to enter “@” • Press “*” once to enter “.” Press OK again to go off hook and place the call. The HST-3000 will send an INVITE message to set up the call. Call status is displayed in the VoIP Phone results screen. - Page 10 Page 10 of 14 View Results After the Call is connected for at least 1 minute, use the Right Arrow key or the Display soft key to review the Audio Quality of Service (Delay, Jitter, Loss) and Quality Scores (MOS). Ensure scores are good, as indicated by a green checkmark.
-
Page 11: Call Plan Testing
Page 11 of 14 Call Plan Testing Step Action Details Add Entries If a speed dial list hasn’t been added yet, press the Speed soft key, select Manage Entries, and select Add. Enter a name, alias, and IP Address at the prompts. - Page 12 • 911 (emergency services) Dial Using the HST-3000 Speed soft key, select the first entry in the dial plan and press OK. Press OK again to dial. The HST-3000 sends an INVITE message to set up the call. Call status is displayed in the VoIP Phone results screen.
-
Page 13: Saving Test Results
Press the Results soft key, select Save Results, and enter a filename to save the test results. Press OK after “File Saved!” is displayed. Connect Connect the USB Flash Drive to the HST-3000’s USB port on the top of the mainframe. System Tools Press the System Navigation key, and press the TOOLS soft key. -
Page 14: Saving Configuration Template
New Config, enter a Filename at the prompt, and press OK. Shutdown Press the green power button to turn the unit off. Disconnect Disconnect the USB Flash Drive from the HST-3000’s USB port on the top of the mainframe. Technical Support tac@jdsu.com...
Need help?
Do you have a question about the HST-3000 and is the answer not in the manual?
Questions and answers