Eaton 93PM Install Instructions
Seismic mounting bracket installation
Hide thumbs
Also See for 93PM:
- Installation manual ,
- Installation and operation manual (158 pages) ,
- User and installation manual (126 pages)
Advertisement
S S e e i i s s m m i i c c B B r r a a c c k k e e t t I I n n s s t t a a l l l l I I n n s s t t r r u u c c t t i i o o n n s s
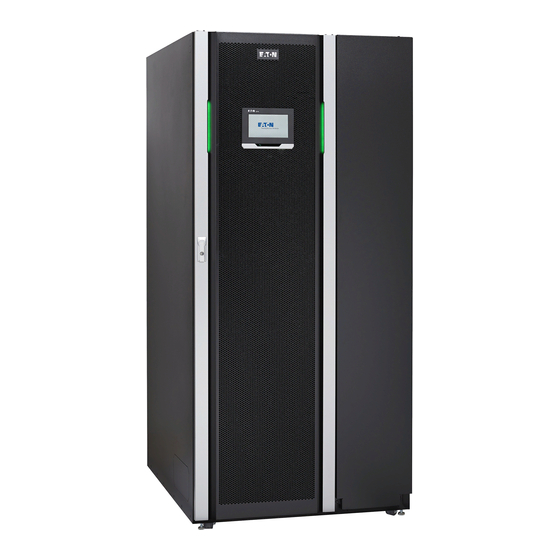
E E a a t t o o n n 9 9 3 3 P P M M U U P P S S ( ( 4 4 0 0 0 0 k k W W F F r r a a m m e e ) ) S S e e i i s s m m i i c c M M o o u u n n t t i i n n g g B B r r a a c c k k e e t t I I n n s s t t a a l l l l a a t t i i o o n n I I n n s s t t r r u u c c t t i i o o n n s s
Use these instructions to install front and rear seismic mounting brackets to secure the Uninterruptible Power
Supply (UPS) to the facility floor.
NOTE
Seismic Mounting Bracket Kit Contents
Front Mounting Bracket
Rear Mounting Bracket
Hex Bolts
To install the brackets:
1.
Unload and mechanically install the UPS according to the instructions in the applicable installation and
operation manual.
2.
Drill holes in the floor for the mounting brackets. Size the holes for the type of customer-supplied hardware
being used to secure the brackets to the floor. See
3.
Remove the front seismic mounting brackets from the kit and secure to the UPS cabinet base using the
bolts supplied with the kit. See
4.
Remove the rear seismic mounting brackets from the kit and secure to the UPS cabinet base using the
bolts supplied with the kit. See
5.
Secure the cabinet to the floor with customer-supplied hardware.
F F o o r r M M o o r r e e I I n n f f o o r r m m a a t t i i o o n n
Refer to the Eaton 93PM UPS (400 kW Frame) Installation and Operation Manual for the following additional
information:
•
Installation instructions, including site preparation, planning for installation, wiring and safety information,
and detailed illustrations of cabinets with dimensional and connection point drawings
Visit
www.eaton.com/powerquality
copies of these manuals.
Refer to the applicable installation and operation manual supplied with UPS for
dimensions and required clearances.
Figure 2
for mounting bracket installation location.
Figure 3
for mounting bracket installation location.
or contact an Eaton service representative for information on how to obtain
Eaton 93PM UPS (400kW Frame) Seismic Mounting Bracket Install Instructions
2
2
16
Figure 1
for the bracket mounting hole locations.
P-164000774—Rev 01
1
Advertisement
Table of Contents

Related Manuals for Eaton 93PM


Summary of Contents for Eaton 93PM
- Page 1 F F o o r r M M o o r r e e I I n n f f o o r r m m a a t t i i o o n n Refer to the Eaton 93PM UPS (400 kW Frame) Installation and Operation Manual for the following additional information: •...
- Page 2 Eaton 93PM UPS (400kW Frame) Seismic Mounting Bracket Installation Instructions R R e e f f e e r r e e n n c c e e I I m m a a g g e e s s Figure 1.
- Page 3 Eaton 93PM UPS (400kW Frame) Seismic Mounting Bracket Installation Instructions Figure 2. Front Seismic Mounting Bracket Installation Front Seismic Brackets (2) Floor Mounting Seismic Mounting Holes (4 places per bracket) Bracket Bolts (4 places per bracket) Figure 3. Rear Seismic Mounting Bracket Installation...
- Page 4 Please use the following e-mail address for comments, suggestions, or to report an error in these instructions: E-ESSDocumentation@eaton.com Eaton is a registered trademark of Eaton or its subsidiaries and affiliates. All other trademarks are property of their respective companies. ©Copyright 2018 Eaton, Raleigh, NC, USA. All rights reserved. No part of this document may be reproduced in any way without the express written approval of Eaton.
Need help?
Do you have a question about the 93PM and is the answer not in the manual?
Questions and answers