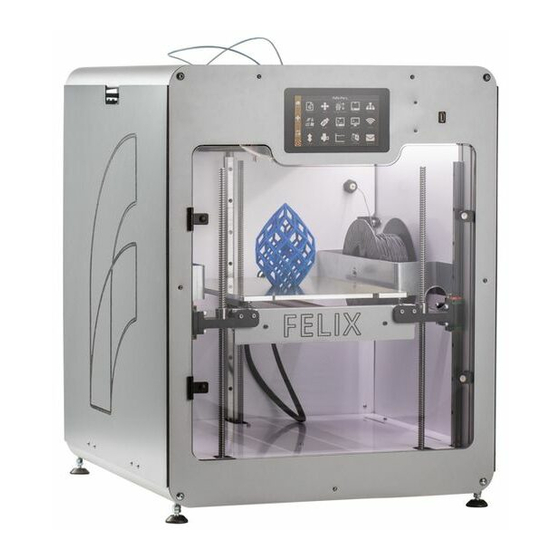
Felix printers Pro Series Calibration Manual
Hide thumbs
Also See for Pro Series:
- User manual (51 pages) ,
- Quick start manual (48 pages) ,
- Troubleshooting manual (21 pages)
Table of Contents
Advertisement
Quick Links
Advertisement
Table of Contents

Summary of Contents for Felix printers Pro Series
- Page 1 10 december FELIX Pro Series 2019 Calibration guide Revision 2...
-
Page 2: Safety
Printer placement - Place the FELIXprinter on a stable surface. - Place the printer out of reach of children. Use the FELIXprinter in a dry environment at room temperature. FELIX Pro Series Page... -
Page 3: Table Of Contents
SAFETY ............. 1 ............ 1 ED LEVELING ........4 RRORS DURING LEVELING INTRODUCTION ..........2 Z CALIBRATION ..........5 CONTENTS ............2 ............. 6 RRORS CALIBRATION GUIDE ........1 XY CALIBRATION ..........8 BED LEVELING AND FIRST LAYERS ....1 FELIX Pro Series Page... -
Page 4: Calibration Guide
5 Bed leveling and first layers Intro All the Pro series come with automatic bed leveling and this usually works right out of the box, but when changing hot ends or after sometime, fine tuning might be required to get that perfect first layer again. -
Page 5: Bed Leveling
To start the bed leveling routine press the bed leveling button in the printer calibration menu Touchscreen Follow these steps to start the bed leveling, make sure the bed is clean before starting. FELIX Pro Series Page... - Page 6 Follow these steps to adjust the height of the first layer. By adjusting the coating thickness you can bring the nozzle closer or farther away from the bed, - brings it closer and + moves farther. FELIX Pro Series Page...
- Page 7 Examples Too far away, set it closer. You can see the loose layers Perfect first layer. Just a little too close. You can see it start to build up at the edges FELIX Pro Series Page...
-
Page 8: Errors During Leveling
If this happens first check if the machine can home normally. If the machine refuses to go up, check the troubleshooting part down below. FELIX Pro Series Page... -
Page 9: Calibration
To start the process follow these instructions. After this the machine will heat up and begin probing the heads and comparing the results. FELIX Pro Series Page... -
Page 10: Errors
This is easily adjusted see the instructions. This can only be done in the touchscreen or when connected to the machine by USB. You can see the red one is higher than the white one. FELIX Pro Series Page... - Page 11 To make it easier – is further away + is closer to the bed so if we were to change the value of -0.908 with 0.05 to make it -0.858 it would print 0.05 closer than before. FELIX Pro Series Page...
-
Page 12: Xy Calibration
After this the machine will heat up and start printing the example. Insert the best matching points into the screen, you usually have to do this twice to match the offset correctly. See the example below. FELIX Pro Series Page... - Page 13 The middle point or 5 in this case should match, press the number that best matches, into the screen and repeat the process if it’s not 5. FELIX Pro Series Page...
- Page 14 > info, do not turn off the machine during a update it will restart when done. First check if you can do it with the normal calibrations. FELIX Pro Series Page...
- Page 15 Adjust the Y offset to make the right head print closer or further away from the left head the machine calculates this and compares it to the left nozzle and makes them print on the same level as each other. To FELIX Pro Series Page...


Need help?
Do you have a question about the Pro Series and is the answer not in the manual?
Questions and answers