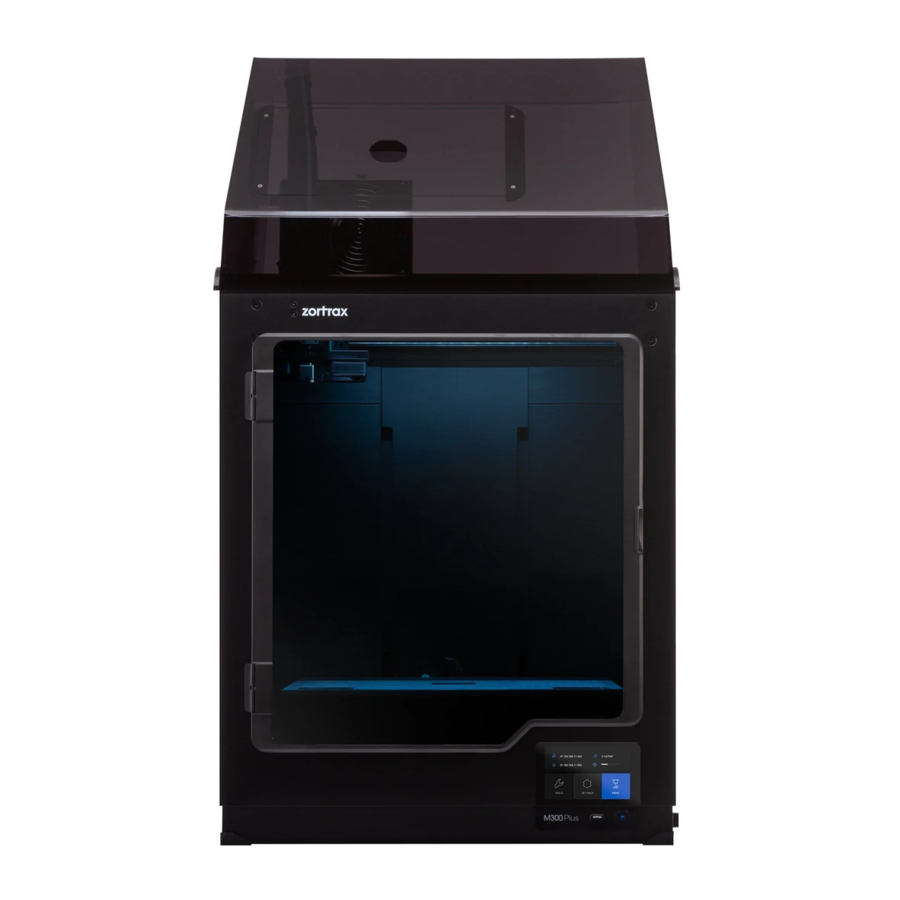
zortrax M300 Plus Unpacking & First Use
Hide thumbs
Also See for M300 Plus:
- Parts installation (11 pages) ,
- Maintenance manual (9 pages) ,
- Manual (26 pages)
Summary of Contents for zortrax M300 Plus
- Page 1 Unpacking & First Use SOURCE: https://support.zortrax.com/m300-plus-unpacking-first-use/...
-
Page 2: Table Of Contents
Table Of Content In the Box Unpacking Setting Up Firmware Update Z-SUITE Installation Material Loading First Print... -
Page 3: In The Box
In the Box The graphic shows the whole box content. - Page 4 Unpacking Open the box and remove the upper cushioning. Take the printer out of the box*. When lifting or moving the printer, do not grab:...
- Page 5 A.belts B.shipping clips C.extruder *Due to the printer's weight, the Zortrax M300 Plus should be taken out of the box or moved by two people. Place the 3D printer on a flat and stable surface.
- Page 6 Remove the foil and fillers.
- Page 7 Remove the protection elements (shipping clips and safety belt). Remove the foam with accessories.
- Page 8 Lower the heatbed mount by pressing the places marked in the graphic.
-
Page 9: Setting Up
Setting Up Install the build platform onto the bolts marked in the graphic. Remember to install the platform with the perforated plate with its silver calibration squares directed up. - Page 10 Plug the heatbed cable into the platform and into the adapter placed in the Z-axis cover. Plug in the perforated plate small cable as well. Install the extruder cable clamps in the holes at the back of the printer. Place the extruder cable in the clamps.
- Page 11 Detach the extruder upper printed cover and plug in the extruder cable. Next, reattach the upper printed cover. Attach the material guide to the extruder and to the material endstop. Next, attach the guide to the extruder cable using material guide clamps.
- Page 12 Remove the protective cap from the camera inside the printer. Next, install all side covers. For more details, see the manual: side covers installation...
- Page 13 Plug in the power cable. Attach the spool holder to the back of the printer. Next, place the spool onto the holder. The spool should rotate anti-clockwise. Feed the material into the extruder through the material endstop and the material guide.
- Page 14 To install the firmware in your printer, download the latest firmware version from support.zortrax.com/downloads/. Transfer the Update.zar file to a USB flash drive and plug it into the port at the front of the device. To start the installation, select Refresh.
-
Page 16: Firmware Update
Firmware Update If your printer is connected to the Internet using either Wi-Fi or an Ethernet Cable, if automatically checks for available firmware updates every time you turn it on. If the firmware needs to be updated, follow the instructions displayed on the screen. -
Page 17: Z-Suite Installation
Z-SUITE Installation The latest Z-SUITE update can be found at the Zortrax Support Center in the Downloads section. To download and install Z-SUITE, enter the serial number of your printer. The serial number can be found in the printer’s menu: Settings -> About Printer, and on the... -
Page 18: Material Loading
Material Loading To load the material, select Material and Load material from the Tools menu. Next, select the type of material which you are going to use. Follow the instructions displayed on the screen. Once the printer finished loading the material, it is ready to print. Remove material remains using tweezers. -
Page 21: First Print
First Print To choose the model for printing, open the Models menu. Select the model in the .zcodex format and select the Print button. Next, the printer will start to heat up. Once the heating is completed, the printing process starts automatically.


Need help?
Do you have a question about the M300 Plus and is the answer not in the manual?
Questions and answers