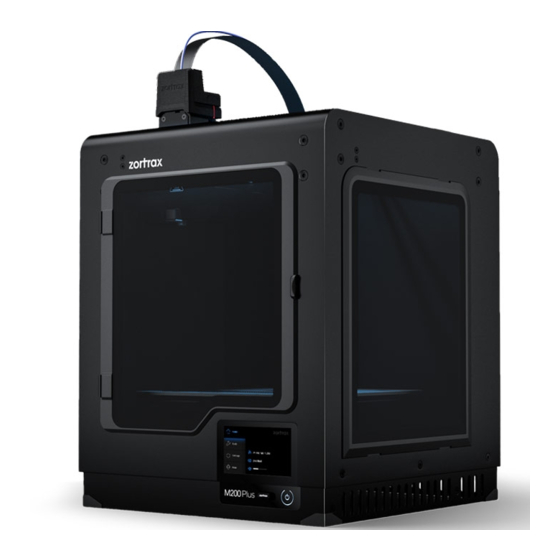
zortrax M200 Plus Replacement
Nozzle replacement
Hide thumbs
Also See for M200 Plus:
- User manual (60 pages) ,
- Unpacking and setup manual (23 pages) ,
- First use preparations (20 pages)
Summary of Contents for zortrax M200 Plus
- Page 1 Nozzle Replacement SOURCE: https://support.zortrax.com/m200-plus-nozzle-replacement/...
-
Page 2: Table Of Contents
Table Of Content Unloading the Material Nozzle Cover Removal Nozzle Removal Unplugging the Power Cable Nozzle Assembly Nozzle Cover Installation... -
Page 3: Unloading The Material
Unloading the Material To unload the material, open the Tools menu and select “Material” and “Unload material.” Wait until the extruder heats up and select “Continue” to confirm. To complete the procedure, remove the material from the endstop placed at the back of the printer. -
Page 7: Nozzle Cover Removal
Nozzle Cover Removal Remove the nozzle cover. YOU CAN USE A FLATHEAD SCREWDRIVER TO REMOVE THE COVER. -
Page 8: Nozzle Removal
Nozzle Removal Unscrew the nozzle counterclockwise using the nozzle key (when viewed from below). Remove the nozzle while the extruder is hot. -
Page 9: Unplugging The Power Cable
Unplugging the Power Cable Turn off the printer and unplug the power cable. Wait about 15 minutes and let the machine cool down. -
Page 10: Nozzle Assembly
Nozzle Assembly Install the new nozzle in the hotend and screw it in clockwise using the nozzle key (when viewed from below). SCREW IN THE NOZZLE GENTLY; DO NOT USE TOO MUCH FORCE. -
Page 11: Nozzle Cover Installation
Nozzle Cover Installation Install the nozzle cover on the nozzle.


Need help?
Do you have a question about the M200 Plus and is the answer not in the manual?
Questions and answers