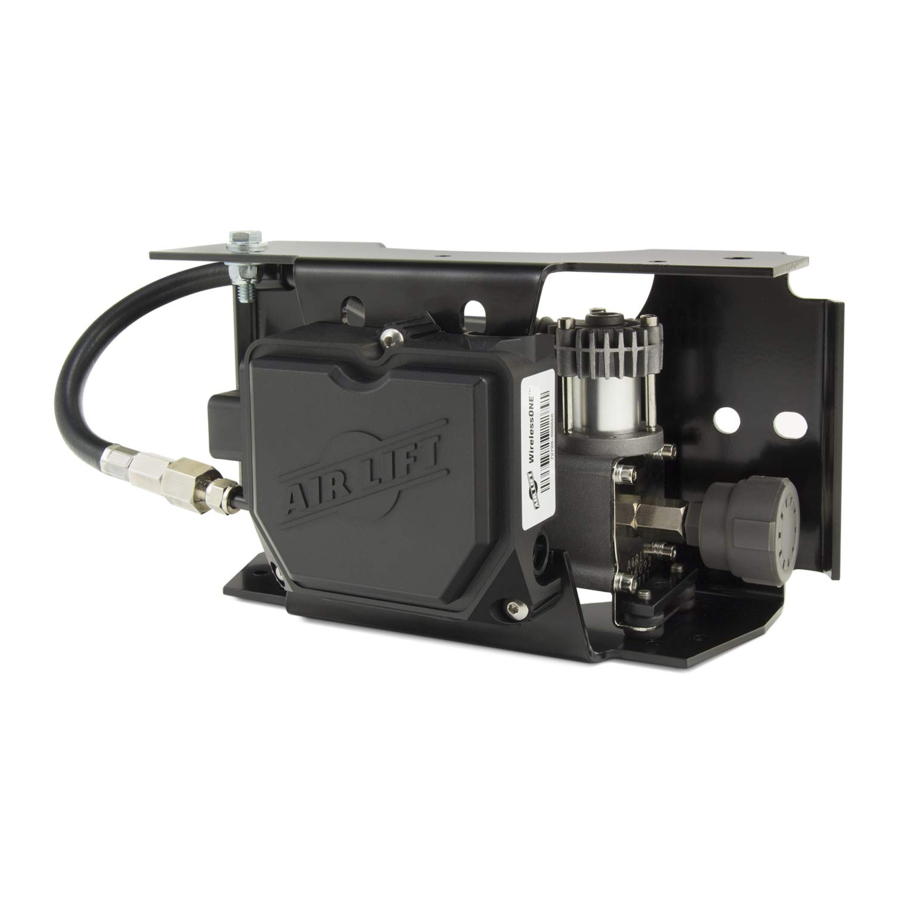
Air Lift WirelessONE 25870 Installation Manual
Key fob activated compressor system
Hide thumbs
Also See for WirelessONE 25870:
- User manual (24 pages) ,
- Installation manual (20 pages) ,
- Installation manual (20 pages)
Table of Contents
Advertisement
Quick Links
Advertisement
Table of Contents

Summary of Contents for Air Lift WirelessONE 25870
- Page 1 WirelessONE Kit 25870 Key Fob Activated Compressor System INSTALLATION GUIDE For maximum effectiveness and safety, please read these instructions completely before proceeding with installation. Failure to read these instructions can result in an incorrect installation.
-
Page 2: System Information
WirelessONE Introduction The purpose of this publication is to assist with the installation, maintenance and troubleshooting of the WirelessONE System. It is important to read and understand the entire installation guide before beginning installation or performing any maintenance, service or repair. The information here includes a hardware list, step-by-step installation information, safety information and a troubleshooting guide. - Page 3 WirelessONE Installation - Electrical Schematic fig. 1...
- Page 4 WirelessONE Installation - Pneumatic Schematic fig. 2...
-
Page 5: Hardware List
WirelessONE HARDWARE LIST Item Part # Description ....... .Qty Item Part # Description . -
Page 6: Recommended Compressor Locations
WirelessONE Installing the WirelessONE System RECOMMENDED COMPRESSOR LOCATIONS Important LOCATE COMPRESSOR IN DRY, PROTECTED AREA ON VEHICLE. DIRECT SPLASH OR EXCESSIVE MOISTURE CAN DAMAGE THE COMPRESSOR AND CAUSE SYSTEM FAILURE. Disclaimer: If you choose to mount the compressor outside the vehicle please keep in mind the compressor body must be shielded from direct splash and the intake should be snorkeled inside the vehicle. -
Page 7: Installing The Manifold
WirelessONE • One of the self tapping screws will be used as an electrical ground for the compressor and manifold ring terminals. • Another of the self tapping screws can be used to mount the compressor relay. INSTALLING THE MANIFOLD IF THE USER INSTALLS THE MANIFOLD OR COMPRESSOR IN THE CAB OF THE WARNING VEHICLE IN EXTREME WEATHER CLIMATES, DO NOT USE ANY ANTI-FREEZE... -
Page 8: Attaching The Air Lines
WirelessONE 1. Connect electrical connector to manifold (B). a. Push down till fully seated. b. Push red secondary lock down. 2.Connect compressor to harness. a. Cut off terminal on compressor red wire. b. Strip ¼” insulation off compressor red wire. c. -
Page 9: Checking The System
WirelessONE 1. Cut a section of the ¼” DOT air line (D) provided to go from manifold (B) to “T- Fitting” (F). 2. Press air line (D) into the ”1” fitting of manifold (B). 3. Press other side of air line (D) into “T” fitting (F). “T-Fitting”... - Page 10 WirelessONE Normal Mode Increasing desired pressure: 1. Initial press of any button will wake up display and not perform any function. 2. Upon wake up the LCD will display the Desired pressure. 3. Pressing the up arrow will increment the desired pressure by 1 psig, or 0.1BAR depending on the unit of measure selected.
-
Page 11: How To Sync The Receiver To The Transmitter
WirelessONE Saving and Recalling Memory 2: Recalling Memory • Initial press of any button will wake up display and not perform any function. • Upon wake up the LCD will display the Desired pressure. • Press the M2 button to set the M2 pressure as the desired pressure. •... -
Page 12: How To Remove And Install The Batteries
WirelessONE • Once the receiver has received a message it will sync with that transmitter and stop clicking the solenoid in 1 second intervals. HOW TO REMOVE AND INSTALL THE BATTERIES To remove the two CR2032 batteries use a small flat screw driver to seperate the two halves of the key fob by prying at the internal clip locations shown in fig. - Page 13 WirelessONE IMPORTANT: To Avoid Cold Weather Freeze-up Important To avoid COLD WEATHER FREEZE UP: Add 4 oz . (1/2 cup) of “GUNK” Brand AIR BRAKE ANTI FREEZE Directly into each flex member. Remove the air line and/or fitting from the air bag and fill directly. Gunk Brand Air Brake Anti-Freeze may be purchased at an automotive parts store or truck supply store.
- Page 14 CREATE HOLE BOTTOM OF CREATE HOLE COMPRESSOR 2.1000 2.0000 USE 1/4" DRILL TO CREATE HOLE 0.6300 8.0000 HOLE PATTERN FOR SIDE OF MANIFOLD 1.25 DRILL TO CREATE HOLE 2.0000 HOLE PATTERN FOR 0.6300 BRACKET (11068) AIR LIFT SYSTEMS SUSPENSION SYSTEMS...


Need help?
Do you have a question about the WirelessONE 25870 and is the answer not in the manual?
Questions and answers