
Related Manuals for Air Lift Ride Control 59516


Summary of Contents for Air Lift Ride Control 59516
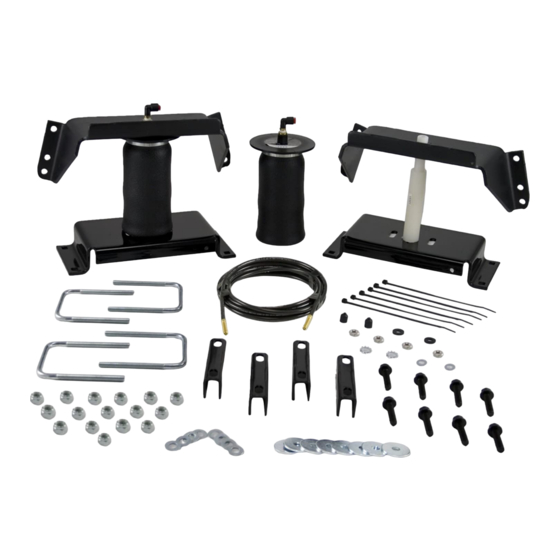
- Page 1 Kit 59516 ™ INSTALLATION GUIDE For maximum effectiveness and safety, please read these instructions completely before proceeding with installation. Failure to read these instructions can result in an incorrect installation.
-
Page 2: Table Of Contents
TABLE OF CONTENTS Introduction ........2 Important Safety Notice . -
Page 3: Introduction
Air Lift Company reserves the right to make changes and improvements to its products and publications at any time. Contact Air Lift Company at (800) 248-0892 or visit us online at www.airliftcompany.com for the latest version of this manual. -
Page 4: Installation Diagram
RideControl Installation Diagram ¼ Push-in elbow 3/8” Flat 3/8”-16 washer Lock nut Nylon nut Star washer Upper bracket 3/8”-16 X 1.5” Frame bolt Air sleeve OUTBOARD Lower bracket 3/8”-16 Lock nut Flat washer NOTE: The lower bracket must be installed with the flat edge inboard. -
Page 5: Hardware List
Spacer ..........4 21233 5/16” Hex nut ........4 18435 3/8”-16 Nyloc nut........16 Missing or damaged parts? Call Air Lift customer service at (800) 248-0892 for a replacement part. TOOLS LIST Description ..........Qty Description ..........Qty Hoist or floor jacks ..........1 Ratchet with 9/16”, metric, &... -
Page 6: Normal Ride Height
RideControl NORMAL RIDE HEIGHT This is defined as the distance between the bottom edge of the wheel well to the center point of the wheel with the vehicle in an “as delivered condition” (without a load, i.e. tool box, camper, etc.) measurements should be taken before beginning the installation. The distance from the bottom edge of the wheel well to the center point of the wheel should be recorded. - Page 7 RideControl NOTE If the upper bracket cannot be positioned in the middle of the frame, when the assembly is set onto the axle, using the threaded portion of the tool (ie. bracket falls short but is at the top of the threads) use the optional spacers noted in fig. 1 to raise the assembly back up so the threaded usable portion of the tool can be used to position the bracket correctly on the frame.
-
Page 8: Installing The Air Lines
RideControl 7. Install the elbow fitting into air port of the air sleeve. The fitting is precoated with thread sealant. Tighten finger tight plus two turns. Use a 7/16” open end wrench being careful to tighten on the metal hex nut only. Do not overtighten (fig. 6). 8. -
Page 9: Aligning The Air Spring
RideControl 5. Push the inflation valve through the hole and use the rubber washer, flat washer, and another 5/16” nut. Tighten the nuts to secure the assembly in place (fig. 8). 6. Route the air line along the frame to the air fitting on the air spring (fig. 9). Keep AT LEAST 6”... -
Page 10: Maintenance And Servicing
DO NOT CUT THE AIR LINE COMPLETELY OFF AS THIS WILL NICK THE BARB AND CAUTION RENDER THE FITTING USELESS. 3. If the preceding steps have not resolved the problem, call Air Lift customer service at (800) 248-0892 for assistance. Maintenance and Servicing... -
Page 11: Replacement Information
(elsewhere, (517) 322-2144) for a Returned Materials Authorization (RMA) number. Returns to Air Lift can be sent to: Air Lift Company • 2727 Snow Road • Lansing, MI • 48917. Product failures resulting from abnormal use or misuse are excluded from this warranty. The loss of use of the product, loss of time, inconvenience, commercial loss or consequential damages is not covered. - Page 12 Thank you for purchasing Air Lift products — the professional installer’s choice! Air Lift Company • 2727 Snow Road • Lansing, MI 48917 or PO Box 80167 • Lansing, MI 48908-0167 Toll Free (800) 248-0892 • Local (517) 322-2144 • Fax (517) 322-0240 • www.airliftcompany.com...
Need help?
Do you have a question about the Ride Control 59516 and is the answer not in the manual?
Questions and answers