
Related Manuals for Inspire FTX


Summary of Contents for Inspire FTX
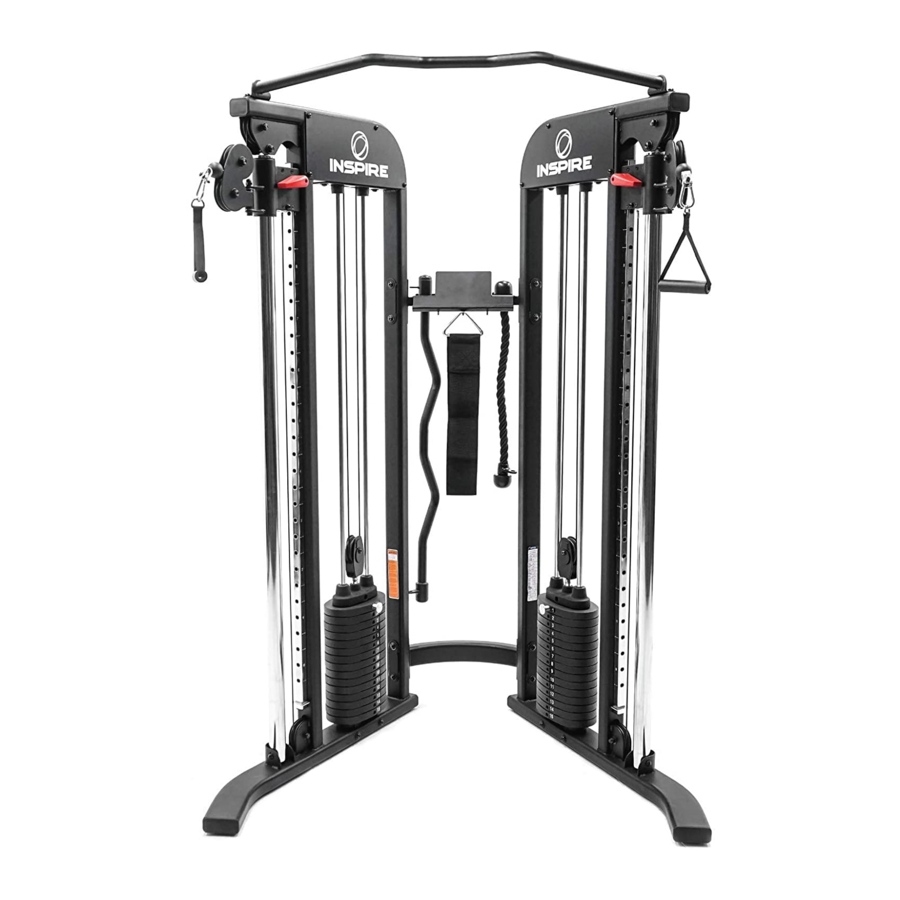
- Page 1 ASSEMBLY & OPERATION MANUAL RECORD SERIAL NUMBER HERE www.inspirefitness.com by Health In Motion LLC May 2020...
- Page 2 CONGRATULATIONS… You’ve just taken the first step to a healthier and stronger body. This multi-gym by Inspire offers the key to unlocking your body’s potential. Regular strength training on a multi-gym has been shown to deliver a host of benefits including: increased muscle tone, decreased body fat, improved energy levels, a reduction in stress, and improved cardiac output.
-
Page 3: Table Of Contents
TABLE OF CONTENTS Section Description……………………………………………………. Page Important Safety Instructions………………………………………. Tools Required………………………………………………………………… Parts & Hardware List……………………………………………………. Exploded View …………………………………………………………………. Assembly Instructions……………………………………………………. 6-11 Decal Placement……………………………………………………………… General Maintenance Information…….…………………………… Maintenance Schedule…….……………………………………………… Limited Warranty…………………………………………………………….. 05/2020... -
Page 4: Important Safety Instructions
IMPORTANT SAFETY NOTICE PRECAUTIONS This exercise machine is built for optimum safety. However, certain precautions apply whenever you operate a piece of exercise equipment. Be sure to read the entire manual before you assemble or operate your machine. In particular, note the following safety precautions: 1. -
Page 5: Parts & Hardware List
part list Q'ty Part# Description Part Number (pcs) Right Station Assembly GM692200408PZ Left Station Assembly GM692200409PZ Upper Frame Assembly GM692220002PZ02 Lower Cross Brace GM690260001PT0105 Upper Cross Brace GM692300004PT0105 GM692381001PT0105 Guide Rod Bracket & Ring Cap GM692-881-002 Guide Rod GM692-381-002 Selector Stem Assembly GM692500003PZ10 Weight Selector Pin GM692-500-004... - Page 6 HARDWARE SIZING CHART Page 3 05/2020...
- Page 7 Page 4 05/2020...
-
Page 8: Exploded View
Page 5 05/2020... -
Page 9: Assembly Instructions
FUNCTIONAL TRAINER ASSEMBLY INSTRUCTIONS STEP 1 A.) Do not tighten the Nuts and Bolts until instructed to do so. B.) Place the Lower Cross Brace (#4) between the Right & Left Stations (#1 & #2) in the mid-span. C.) Attach one end of the Lower Cross Brace to the Right Station. Secure it with two M10 x 70 Allen Bolts (#19) four Ø... - Page 10 Page 7 05/2020...
- Page 11 STEP 2 A.) Install Guide Rods (#7) into holes on bottom Frame using M10 x 80 Allen Bolt (#18) and Ø 10 Spring Washers (#25). Tighten bolts now. B.) Install Rubber Bumpers (#16) on each Guide Rod (#7). Slide fifteen 10lb Weight Plates (#10) from the top of Guide Rods (#7) down to the Rubber Bumpers (#16).
- Page 12 Page 9 05/2020...
- Page 13 STEP 3 A.) Attach the Height Adjustment Handle (#15) to the Left Lock Switch (#32) on the Pulley Carriage. (Not shown on diagram) And secure it with one M5 x 10 Allen Bolt (#22). Repeat the same procedure to install the other side. B.) Connect the Single Handle (#13) to the Cable (#1) on the Right Station (#1) with a Spring Clip (#17).
- Page 14 Page 11 05/2020...
-
Page 15: Decal Placement
DECAL PLACEMENT Page 12 05/2020... -
Page 16: General Maintenance Information
GENERAL MAINTENANCE INFORMATION • Periodically inspect the cables for splitting, cracking or fraying. Also, watch for bulging or flat areas in the cable. • Immediately replace cables at the first signs of damage or wear. Never use equipment with damaged or worn cables. •... -
Page 17: Maintenance Schedule
MAINTENANCE SCHEDULE HOME ROUTINE ENTRY DATE MAINTENANCE Inspect: Links, Pull Pins, Spring Clips, WEEKLY Swivels, Weight Stack Pins WEEKLY Clean: Upholstery Inspect: Cables and WEEKLY their Fittings Inspect: Tautness of all WEEKLY Shrouds Inspect: Accessory Bars 3 MONTHS and Handles 3 MONTHS Inspect: All Decals Inspect: All Nuts and... -
Page 18: Limited Warranty
APPLY TO YOU. This Warranty gives you specific legal rights and you may also have other rights that may vary from state to state. This is the only express warranty applicable to Health In Motion’s “Inspire” branded strength products. Health In Motion neither... - Page 19 Page 15 05/2020...
Need help?
Do you have a question about the FTX and is the answer not in the manual?
Questions and answers