Sign In
Upload
Download
Table of Contents
Contents
Add to my manuals
Delete from my manuals
Share
URL of this page:
HTML Link:
Bookmark this page
Add
Manual will be automatically added to "My Manuals"
Print this page
×
Bookmark added
×
Added to my manuals
Manuals
Brands
Mile Marker Manuals
Winches
PE2500
Installation & operator's manual
Mile Marker PE2500 Installation & Operator's Manual
Steel cable 2,500 lbs. synthetic rope 3,500 lbs.
Hide thumbs
1
Table Of Contents
2
3
4
5
6
7
8
9
10
11
12
13
14
15
16
page
of
16
Go
/
16
Contents
Table of Contents
Troubleshooting
Bookmarks
Table of Contents
Table of Contents
Safety Warnings
Precautions
Getting Started
Wiring Instructions
Winch Operation
Winching Tips & Techniques
Winch Maintenance & Troubleshooting
Parts Breakdown & Assembly
Warranty
Advertisement
Quick Links
1
Wiring Instructions
2
Parts Breakdown & Assembly
Download this manual
Installation & Operator's
PE2500
77-50105BW
2,500 lbs.
Manual
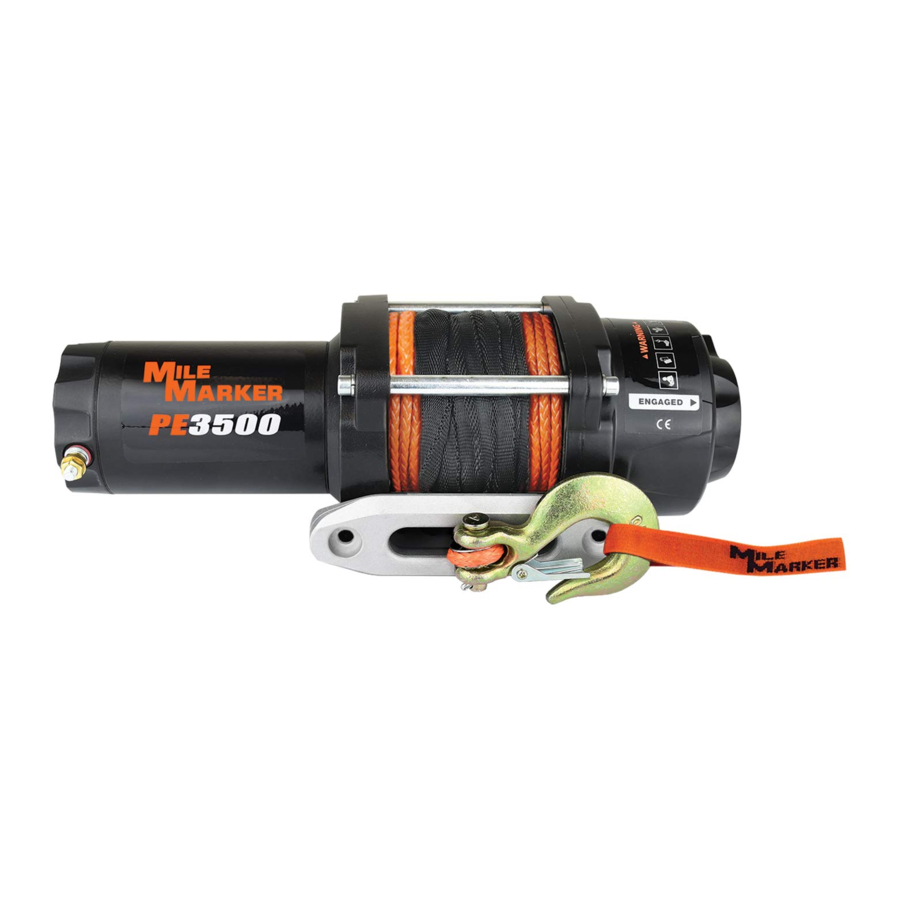
PE3500
(STEEL CABLE)
3,500 lbs.
77-50112BW
(STEEL CABLE)
77-53112BW
(SYNTHETIC ROPE)
Table of
Contents
Previous
Page
Next
Page
1
2
3
4
5
Advertisement
Table of Contents
Need help?
Do you have a question about the PE2500 and is the answer not in the manual?
Ask a question
Questions and answers
Related Manuals for Mile Marker PE2500
Winches Mile Marker PE2.5 Installation And Operator's Manual
(17 pages)
Winches Mile Marker PE2.5 ES Installation And Operator's Manual
Project es winch system (16 pages)
Winches Mile Marker PE4500 ES Installation And Operator's Manual
Project es winch system (24 pages)
Winches Mile Marker SEC8 ES Installation And Operator's Manual
(24 pages)
Winches Mile Marker PE5000 Installation & Operator's Manual
5,000 lbs., steel cable, synthetic rope (16 pages)
Winches Mile Marker H Series Installation And Operator's Manual
(14 pages)
Winches Mile Marker PE3.5 Installation And Operator's Manual
(17 pages)
Winches Mile Marker PE3500 Installation & Operator's Manual
Steel cable 2,500 lbs. synthetic rope 3,500 lbs. (16 pages)
Winches Mile Marker PEC8 Installation And Operator's Manual
Electric winch system (20 pages)
Winches Mile Marker RHINO PULL 1000 Installation & Operator's Manual
1000 lb portable electric winch (17 pages)
Winches Mile Marker PE Series Installation And Operator's Manual
Electric winch systems (40 pages)
Winches Mile Marker PE8000 Installation And Operator's Manual
Electric winch systems (40 pages)
Winches Mile Marker SEC15 Installation & Operator's Manual
(21 pages)
Winches Mile Marker SEC8 Installation & Operator's Manual
(24 pages)
Winches Mile Marker 75 Series Instructions Manual
Hydraulic winch & p.t.o. system/smooth power reversible mounting no battery drain 12 or 24 volt (15 pages)
Winches Mile Marker E9000 Installation And Operator's Manual
Electric winch systems (40 pages)
This manual is also suitable for:
Pe3500
77-50105bw
77-50112bw
77-53112bw
Table of Contents
Print
Rename the bookmark
Delete bookmark?
Delete from my manuals?
Login
Sign In
OR
Sign in with Facebook
Sign in with Google
Upload manual
Upload from disk
Upload from URL


Need help?
Do you have a question about the PE2500 and is the answer not in the manual?
Questions and answers