
Subscribe to Our Youtube Channel
Related Manuals for Mile Marker PE2.5 ES


Summary of Contents for Mile Marker PE2.5 ES
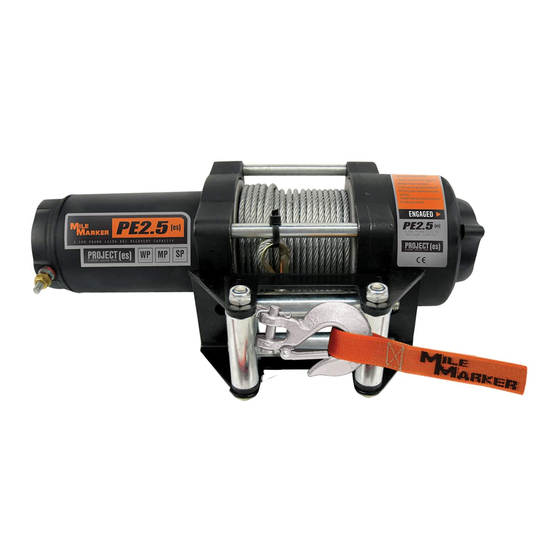
- Page 1 Installation and Operator’s Manual: Project ES Winch System: PE2.5 ES (PN 77-50105BW) PE2.5 ES w/Rope (PN 77-53105BW) PE3.5 ES (PN 77-50112BW) PE3.5 ES w/Rope (PN 77-53112BW)
-
Page 2: Table Of Contents
Table of Contents: Safety Warnings & Precautions......3 Winching Tips & Techniques.......6 Getting Started: Unpacking Your Winch......8 Winch Mounting........8 Wiring Instructions........9 Operation Instructions........10 Maintenance...........12 Troubleshooting..........12 Parts List............13 Warranty............17... -
Page 3: Safety Warnings & Precautions
Any substitute must be IDENTI- NEVER HOOK THE ROPE BACK ONTO ITSELF: CAL in strength, quality, lay and stranding to the Mile Marker Hooking the rope back onto itself creates an excessive strain that could break individual strands; this, in effect, weakens cable originally supplied. - Page 4 Safety Warnings-Cont’d When using this winch, safety precautions should always be followed to reduce the risk of personal injury and damage to the winch. STAY ALERT: DO NOT OVERLOAD: Watch what you are doing. Use your common sense. Do For your safety and efficient performance, always use this not use this winch when you are tired, stressed or WHEN winch at or under its rated capacity for your safety and for UNDER THE INFLUENCE OF DRUGS, ALCOHOL OR MEDI-...
- Page 5 Precautions When using this winch, safety precautions should always be followed to reduce the risk of personal injury and damage to the winch. Never fully extend cable while under load. Keep 5 Keeps hands and body away from Fairlead (cable COMPLETE TURNS of cable around the winch drum.
-
Page 6: Winching Tips & Techniques
•NEVER DISENGAGE CLUTCH LEVER WHEN THERE IS A ment of a tow strap or winch cable. Warning: Never use a ball and LOAD ON THE WINCH. Mile Marker electric winches utilize /or ball mount as an anchor point for tow strap or winch cable. - Page 7 Always replace the modes. First mode is attached to the load and second is secured to cable with a Mile Marker recommended replacement part. an anchor point. Any substitution must be IDENTICAL in strength, quality, lay and stranding.
-
Page 8: Getting Started
NOTE: If you find any missing or broken parts, please call enough to meet the maximum rated load of the winch in Mile Marker as soon as possible at the number present on use. the cover page of this manual. -
Page 9: Wiring Instructions
Be sure to mount control box in a location that: (a) does not interfere with any vehicle’s moving / functioning parts, and (b) use electrical cables with similar or better specifications as that provided by Mile Marker if a substitution is required. -
Page 10: Operation Instructions
3-1: Clutch Function Diagram “Freespool” position. Always wear heavy gloves when han- dling winch cable. Using a Mile Marker hook strap, pull about two feet of cable off the winch drum, and place the clutch handle in the “Engaged” position (fig. 3-1). - Page 11 Motor Temperature: CAUTION: Before you start using your new Mile Marker winch, you will have to re-wind the entire cable on the drum ELECTRIC WINCHES ARE DESIGNED FOR INTERMITTENT under a load of at least 100 lbs starting with at least 5 wraps USE ONLY.
-
Page 12: Maintenance
CAUTION: It is recommended that you replace the cable with superior Mile Marker cables. If replacing from other sources, carefully compare for the maximum load capacity of the cable with that mentioned in the Specifications Section of this manual. -
Page 13: Parts List
Driven axle Ring Cable Gear Carrier-input Washer Hand Strap Roller Fairlead Gear Carrier-Output Parts Breakdown & Assembly: PE 2.5 Handle Bar Clamp Nylon Retaining Ring Gear Disc-output Solenoid Assy +Remote Control (Optional) Washer Item Quantity Part Number Description Item Quantity Part Number Description 77-50105-01... - Page 14 Parts Breakdown & Assembly: PE 2.5 w/Rope Item Quantity Part Number Description Item Quantity Part Number Description 77-50105-01 Screw 77-50105-21 Cover-gearbox 77-50105-02 Spring Washer 77-50105-22 Screw 77-50105-03 Clutch Knob 77-50105-23 Motor End 77-50105-04 O Ring 77-50105-24 Connector 77-50105-05 Coil 77-50105-25 O Ring 77-50105-06 Spacer...
- Page 15 Clutch Driven Disc Washer Dual Gear Ring Screw Driven axle Ring Cable Gear Carrier-input Parts Breakdown & Assembly: PE 3.5 Washer Hand Strap Roller Fairlead Gear Carrier-Output Handle Bar Clamp Nylon Retaining Ring Gear Disc-output Solenoid Assy +Remote Control (Optional) Washer Item Quantity Part Number...
- Page 16 Parts Breakdown & Assembly: PE 3.5 w/Rope Item Quantity Part Number Description Item Quantity Part Number Description 77-50105-01 Screw 77-50105-21 Cover-gearbox 77-50105-02 Spring Washer 77-50105-22 Screw 77-50105-03 Clutch Knob 77-50105-23 Motor End 77-50105-04 O Ring 77-50105-24 Connector 77-50105-05 Coil 77-50105-25 O Ring 77-50105-06 Spacer...
Need help?
Do you have a question about the PE2.5 ES and is the answer not in the manual?
Questions and answers