
Related Manuals for hattrick Synergy


Summary of Contents for hattrick Synergy
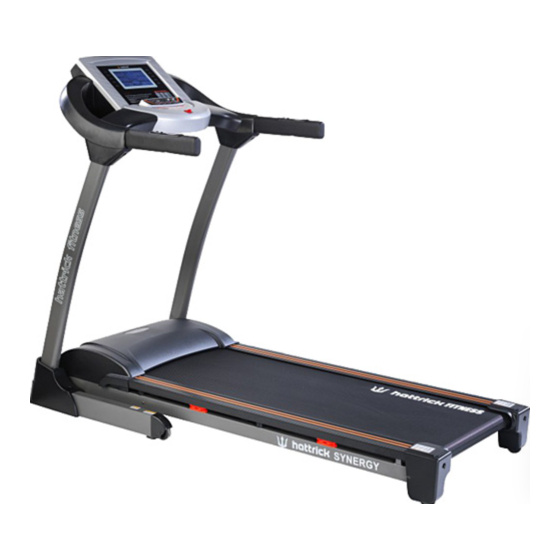
- Page 1 SYNERGY MOTORIZED TREADMILL USER MANUAL Special tips: Before installation and operation, please read this operation manual carefully and save this manual for future reference.
-
Page 2: Table Of Contents
Table of Contents CONTENT PAGE 1、Warranty 2、Tips for Safety 3、Packing Details 4、Explosive View 5、List of Components 6、Treadmill Structure 7、Installation 8、Use Instructions 9、Guides for Console Operation 10、Detailed Instructions 11、Maintenance 12、Guides for Malfunction... -
Page 3: 1、Warranty
Acknowledgement Thank you for purchasing this item which can improve your health. 1、Warranty We make sure that this item is made of high-quality materials. In normal use, we will take charge of maintenance if any problem occurs. If the item you purchased meets problems as follows, the manufacturer’s warranty is not effective: ... -
Page 4: 3、Packing Details
Please place the item on the clean, flat and solid floor. Make sure there is nothing sharp, no source of water or hear around the machine. Please stop exercising immediately and consult your doctor or fitness coach if you’re feel giddy, surfeit, thorax ache or other symptoms. -
Page 5: 4、Explosive View
4、Explosive View: These are all the components used in installation. All components are listed in the following form. - 3 -... -
Page 6: 5、List Of Components
5、List of Components Component Quantity No. Component Quantity Base frame Locating pad of footplate Main frame Rubber transporting wheel Left meter pillar Upper cover of the meter Right meter pillar Panel of the meter Right decorative cover of the Meter frame pillar Left decorative cover of the Incline frame... -
Page 7: 6、Treadmill Structure
6、Treadmill Structure Meter Buttons on the handlebar Handlebar Safety key Meter pillar Motor cover Footplate Running belt Decorative cover Base frame Back cover - 5 -... -
Page 8: 7、Installation
7、Installation Step 1: Install meter pillars Communication line Screw M8*60 Washer Screw M8*20 a) Let the communication line pass through the right meter pillar. b) Put meter pillars on the base frame. First, use 2 Screw M8*20 and 2 washers; second, use 2 Screw M8*60, 2 washers and 2 nuts to fasten meter pillars. - Page 9 fasten the meter. (Don’t tighten screws at first) d) Turn power on and start the machine. If all functions work well, tighten all screws in Step 1 and 2. e) Use 4 Screw M4.2*15 to fasten left and right decorative covers of pillars. Step 3: Install decorative covers.
-
Page 10: 8、Use Instructions
8、Use Instructions Power: Insert the power plug and switch on the machine. The switch light will be on and you will hear a sound like “Di”. Then you will find the meter is on. Power switch Safety key: The machine can work only when safety key is put at the appointed position. Nip the other end of the safety key to clothes. -
Page 11: 9、Guides For Console Operation
9、Guides for Console Operation Specifications Time 00:00-99:59 min Speed 1.0-20.0 km/h Incline 0-20% Distance 0.00-99.9 km Calories 0-999 kcal Heart rate 50-200 / min Built-in program P1-P99 Count-down mode Time/Distance/Calories Program Body measurement 1/0 (Man/Woman) - 9 -... - Page 12 Panel buttons and functions START button: Press “Start” button, the system will count down in 3 seconds, which displays on the screen! The machine will run at the speed of 1.0km/h. STOP button: Press this button to stop the running machine. Reset: Press “Stop”...
- Page 13 SPEED direct button In running condition, press these buttons to set the speed to be 3km/h, 6km/h and 9km/h directly. INCLINE direct button In running condition, press these buttons to set the incline to be 3%, 6% and 9% directly. “...
-
Page 14: 10、Detailed Instructions
Screen Display distance Display mimic diagram Display time Display speed Display calories Display pulse Display incline 10、Detailed Instructions a. Quick start (Manual mode) 1. Switch power on and put the safety key at the appointed position. 2. Press “Start” button, the system will count down in 3 seconds, which displays on the screen! The machine will run at the speed of 1.0km/h. - Page 15 b. Count-down mode: In ready condition, press “MODE” button to select countdown modes. After finish selection and reset “Time/Distance/Calories”, press “Start” button to start the machine! 1. In “Time Mode”, the screen displays flashing “15:00”. Then press “SPEED △ or ▽...
-
Page 16: 11、Maintenance
e. Power saving: When the power is on, if the machine doesn’t work for 10 minutes, it will sleep and the screen will be off. Press any key to wake up the machine. 11、Maintenance Maintain the machine Proper maintenance can always keep the machine in good condition. 1. - Page 17 Lubricant (White bottle) All treadmills were added lubricant before packed. However, it is still necessary to add lubricant after using the machine for 30 hours or 30 days. How to add lubricant: a) Cut a small hole at the head of the lubricant bottle. Make sure that the lubricant can be shot out from the hole.
-
Page 18: 12、Guides For Malfunction
12、Guides for Malfunction Analyzing and eliminating malfunction Item Malfunction Reason Solution The safety key is missing Put the safety key at the right position The machine The power switch is in “0” doesn’t work Turn power switch to “1” position The meter and upper Disassemble the meter and make sure communication line are...
Need help?
Do you have a question about the Synergy and is the answer not in the manual?
Questions and answers