Advertisement
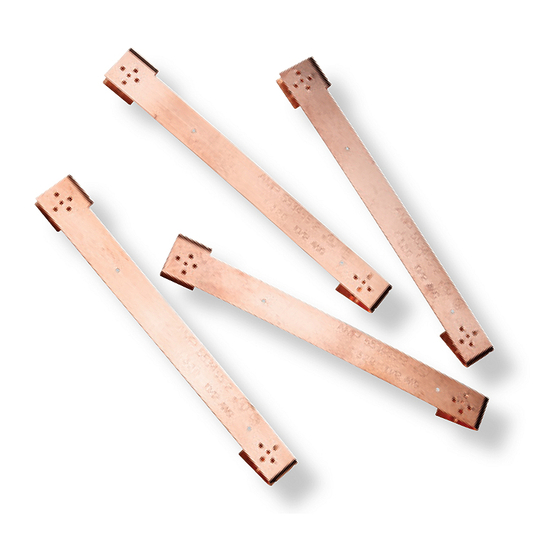
Splice Connector
553454-1
Figure 1
1. INTRODUCTION
Undercarpet Power Splice Connector 553454-1 and
Power Tap Connector 553455-2 are designed to
electrically and mechanically connect two pieces of
undercarpet power cable. These connectors can be
used with cable sizes 12 AWG having 3 or 5
conductors.
Dimensions in this instruction sheet are in metric
NOTE
units [with U.S. customary units in brackets].
Figures are not drawn to scale.
i
Reasons for reissue of this instruction sheet are
provided in Section 5, REVISION SUMMARY.
To obtain information on AMP NETCONNECT®
products, contact your local CommScope® account
representative, PartnerPRO™ Network Partner or
visit our website at www.commscope.com.
2. DESCRIPTION
The splice connector connects one conductor at the
end of a cable to one conductor at the beginning of
another cable.
The tap connector connects one conductor of a tap
cable to one conductor of a main run cable.
3. INSTALLATION PROCEDURE
IMPORTANT: It is recommended that a qualified
electrician install undercarpet power splice and
power tap connectors.
To avoid personal injury, ALWAYS DISCONNECT
DANGER
the electrical power before beginning work on any
circuit.
STOP
AMP NETCONNECT logo is a trademark of CommScope.
®
AMP NETCONNECT
Cabling System Splice Connector 553454-1
and Tap Connector 553455-2
Tap Connector
3.1. Splice Connector
553455-2
© 2016 CommScope, Inc.
All Rights Reserved
Undercarpet Power
At each splice and tap connector location, use 3
NOTE
power connectors for 3-conductor power cable and
5 power connectors for 5-conductor power cable.
i
1. Align one cable end with the other cable end.
Trim both cables evenly across the ends allowing
a 3.18-mm [.125-in.] gap between them. Fold
back the top blue vinyl shield. See Figure 2.
2. Carefully separate the cable conductors along
the perforations for a length of 50.8 mm [2.0 in.].
3. Maintaining the gap between the two cables
(specified in Step 1), tape the cable ends with
standard electrical tape.
The electrical tape is used to keep the cable ends
NOTE
from shifting during installation.
i
.
Installing Splice Connector to Undercarpet Power Cable
Fold Back
Top Blue Vinyl Shield
50.8 mm
[2.0 in.]
Figure 2
4. Ensure that the cable is clean by wiping it with
a dry, clean, soft cloth. DO NOT remove the
electrical tape.
5. Position a splice connector around the
appropriate conductor on each cable starting with
position 1 of the crimping order shown in
Figure 3. Then using Hand Tool 91392-1, crimp
each connector as follows.
This product is covered by one or more U.S.
patents or their foreign equivalents. For patents, see
www.commscope.com/ProductPatent/ProductPatent.aspx
Instruction Sheet
408-3128
Dec. 2016, Rev D
3.18-mm
[.125-in.] Gap
Electrical
Tape
1 of 3
Advertisement
Table of Contents

Related Manuals for CommScope AMP NETCONNECT 553454-1


Summary of Contents for CommScope AMP NETCONNECT 553454-1
- Page 1 1 of the crimping order shown in Figure 3. Then using Hand Tool 91392-1, crimp each connector as follows. AMP NETCONNECT logo is a trademark of CommScope. © 2016 CommScope, Inc. This product is covered by one or more U.S.
- Page 2 408-3128 Refer to 408-10267, included with the tool, for Installing Tap Connector to Undercarpet Power Cable CAUTION instructions on how to use the tool. It is recommended not to use any other crimping Cut and Separate Top Blue Vinyl Shield method.
- Page 3 DO NOT use any defective or damaged Connector 3-Conductor Cable connectors. Cover Paper 5. REVISION SUMMARY Revisions to this instruction sheet include: Adhesive • Film Rebranded to CommScope. 5-Conductor Cable Figure 5 VERSA-TRAK is a trademark. Rev D 3 of 3...
Need help?
Do you have a question about the AMP NETCONNECT 553454-1 and is the answer not in the manual?
Questions and answers