Table of Contents
Advertisement
Quick Links
Download this manual
See also:
User Manual
A
V
e
r
M
e
d
i
a
®
A
V
e
r
M
e
d
i
a
®
Connection Diagram
A
A
V
V
e
e
r
r
V
V
i
i
s
s
i
i
o
o
n
n
S
S
P
P
C
C
3
3
0
0
0
0
Q
u
i
c
k
G
u
i
d
e
Q
u
i
c
k
G
u
i
d
e
Making the Connection :
1. Connect the power
adapter and the LED
power button will turn
orange.
2. Connect the video display
output. You may choose
to output video from
RGB, DVI-I, S-Video, or
Video output port.
3. To display computer
material, connect the
VGA cable from the
computer VGA OUT port
to RGB input port.
4. To use the AVerVision as
USB camera or transfer
file, connect the USB
cable to the computer
USB port.
5. To control SPC300 using
a computer, connect the
RS-232 cable to the
computer RS-232 port.
6. Attach a Kensington
compatible anti-theft
device.
1
Wall outlet
Power adapter
Power cord
6
Anti-theft
security lock
3
Monitor Adapter
MAC
(not supplied)
Computer extension cable
(VGA cable)
Computer
5
RS-232 cable
Laptop
(not supplied)
RGB (VGA) cable
LCD/DLP projector
(not supplied)
CRT monitor
LCD monitor
MAC monitor
2
S-Video/RS-232
cable
S-Video to SCART cable
Monitor Adapter
(not supplied)
4
USB cable
LCD Monitor
with DVI interface
DVI cable
LCD/DLP projector
(not supplied)
with DVI interface
I N P U T
RCA to SCART cable
(not supplied)
SCART
RCA cable
VIDEO
S-Video cable
S-VIDEO
(not supplied)
SCART
Computer
Laptop
MAC
P r o j e c t o r
Te l e v i s i o n
V C R
Advertisement
Table of Contents

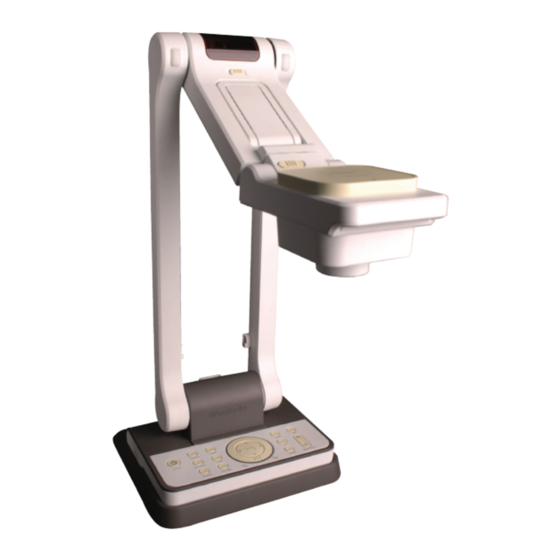
Summary of Contents for Avermedia AVerVision SPC300
- Page 1 4. To use the AVerVision as USB camera or transfer file, connect the USB Computer cable to the computer USB port. 5. To control SPC300 using a computer, connect the RS-232 cable to the Laptop computer RS-232 port. 6. Attach a Kensington compatible anti-theft device.
-
Page 2: Control Panel
(1) Turn the unit on or standby mode. (2) Display video signals from RGB input port. (10) (3) Display captured images. (11) (4) Display live video from SPC300 camera. (12) (5) Show/hide a dot like a laser (13) pointer on the screen in camera mode.


Need help?
Do you have a question about the AVerVision SPC300 and is the answer not in the manual?
Questions and answers