Advertisement
Quick Links
Advertisement

Summary of Contents for Lockly VISION
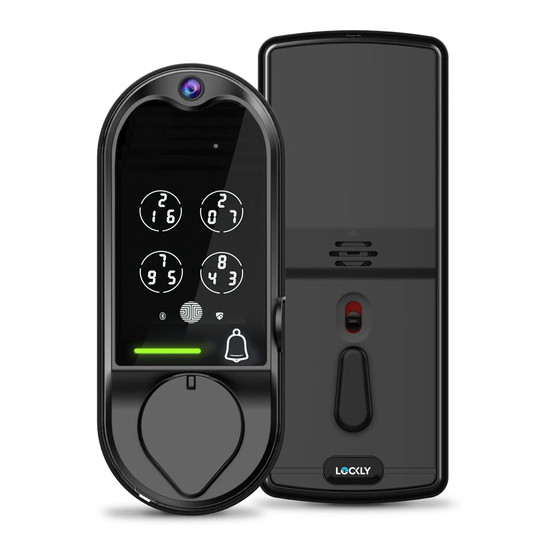
- Page 1 VISION SMART LOCK w/ HD VIDEO DOORBELL INSTALLATION GUIDE DEADBOLT EDITION...
- Page 3 STEP 1: PREPARE DOOR FOR INSTALLATION 1.1: To complete installation, you would need the following: Flathead Screwdriver Phillips Screwdriver Screwdriver with drill bits (optional) Ruler 1.2: Prepare door and remove existing lock. If necessary, use provided Installation Template to prepare door. 2-⅜"...
- Page 4 STEP 2. ADJUST DEADBOLT AND INSTALL 2.1: Deadbolt slit hole must be aligned to the center of the door hole. If not adjust as shown below: 2.1.1: Wear gloves during adjustment to prevent pinching your hands) (a) Push the crank (a) to extend the deadbolt (b) (c)...
- Page 5 STEP 2. ADJUST DEADBOLT AND INSTALL 2.2: Extend the deadbolt by inserting a 2.3: Insert the Deadbolt to the edge flat head screwdriver on the slit hole or door hole, make sure that its right side by pushing the crank towards the metal up and the slit hole is in vertical position, face plate.
- Page 6 STEP 3. INSTALLING THE EXTERIOR ASSEMBLY 3.1: To secure Exterior 3.2: Before placing the exterior assembly on the Assembly of lock, peel the door, make sure the torque blade is in vertical cover off the adhesive strips position and the deadbolt is extended. Vertical When installing the exterior assembly, make sure the deadbolt is fully...
- Page 7 STEP 4. INSTALLING THE INTERIOR ASSEMBLY 4.1: Peel of the cover 4.2: Place the mounting plate on the off the adhesive strip on interior side of the door. Guide the cable the mounting plate. to the opening ear on the side of mounting plate and make sure the torque blade is at the center of the mounting plate.
- Page 8 STEP 4. INSTALLING THE INTERIOR ASSEMBLY 4.5: Plug the cable that is coming through the door into the Interior lock. Make sure you match the direction of the plug correctly and matching the red side of the plug with the red side on the lock.
-
Page 9: Step 5. Installing Batteries
PROGRAM button while installing the last battery until you hear a beep from Lockly. Lockly will then perform a self check and the keypad screen will start to initiate. This self check will automatically determine and set your door lock to a left open or right open door. - Page 10 Congratulations! You have completed the Lockly Vision installation. To complete the setup of Lockly Vision smart lock and video doorbell, download the Lockly App and follow on-screen instructions to complete your setup and installation. Scan or visit Lockly.com/app...
- Page 11 Certified FCC Warning: This device complies with Part 15 of the FCC Rules. Operation is subject to the following two conditions: (1) This device may not cause harmful interference, and (2) this device must accept any interference received, including interference that may cause undesired operation. NOTE 1: This equipment has been tested and found to comply with the limits for a Class B digital device, pursuant to part 15 of the FCC Rules.
-
Page 12: We're Here To Help
WARNING: This product contains DEHP and other chemicals known to the State of California to cause cancer and birth defects, or other reproductive harm. For more information go to www.P65Warnings.ca.gov VISION We’re here to help! help@lockly.com https://lockly.com/help... - Page 13 VISION For an online version of this installation guide and videos, visit: http://lockly.com/help...


Need help?
Do you have a question about the VISION and is the answer not in the manual?
Questions and answers