Sign In
Upload
Download
Table of Contents
Contents
Add to my manuals
Delete from my manuals
Share
URL of this page:
HTML Link:
Bookmark this page
Add
Manual will be automatically added to "My Manuals"
Print this page
×
Bookmark added
×
Added to my manuals
Manuals
Brands
Formax Manuals
Folding Machines
FD 38Xi
Operator's manual
Formax FD 38Xi Operator's Manual
Hide thumbs
1
2
Table Of Contents
3
4
5
6
7
8
9
10
11
12
13
14
15
16
17
18
19
20
21
22
23
24
25
26
27
28
29
page
of
29
Go
/
29
Contents
Table of Contents
Troubleshooting
Bookmarks
Table of Contents
Table of Contents
Description
Specification
Unpacking & Setup
Control Panel
Operation
Autobatch BATCH COUNTING
Fd 386 Custom Fold Setup
FD 38Xi CUSTOM FOLD SETUP
Measuring Fold Lengths
Recalling, Editing, & Deleting Custom Folds
Operator Settings
Metric/Standard Fold Selection
Standard Fold Override
Test Sheet Setting
Default Settings
Multi-Sheet Feeding
Cross Folding
Fd 386 Stacker Wheel Positioning Chart
Removing Infeed Tires
Operator Maintenance
Error Screens
Trouble Shooting
Advertisement
Quick Links
1
Trouble Shooting
Download this manual
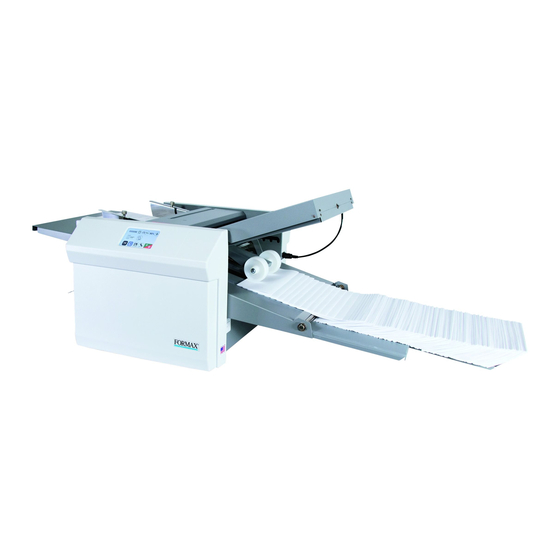
FD 38Xi / FD 386
Document Folder
8/2020
OPERATOR MANUAL
FIRST EDITION
Table of
Contents
Previous
Page
Next
Page
1
2
3
4
5
Advertisement
Table of Contents
Need help?
Do you have a question about the FD 38Xi and is the answer not in the manual?
Ask a question
Questions and answers
Related Manuals for Formax FD 38Xi
Folding Machines Formax FD 380 Operator's Manual
Document folder (11 pages)
Folding Machines Formax FD 380 Operator's Manual
(16 pages)
Folding Machines Formax FD 38X Operator's Manual
Document folder (28 pages)
Folding Machines Formax FD 386 Operator's Manual
(29 pages)
Folding Machines Formax FD 340 Operation Manual
Document folder (10 pages)
Folding Machines Formax FD 340 Operator's Manual
Document folder (13 pages)
Folding Machines FORMAX FD 332 Operator's Manual
Document folder (20 pages)
Folding Machines Formax FD 320 Operator's Manual
Document folder (7 pages)
Folding Machines Formax FD 390 Operator's Manual
Document folder (12 pages)
Folding Machines Formax FD 314 Operator's Manual
Tabletop paper folder (13 pages)
Folding Machines Formax FD 3200 Instruction Manual
Tabletop air feed folder (94 pages)
Folding Machines Formax FD 3302 Operator's Manual
Tabletop air suction document folder (107 pages)
Folding Machines Formax FD 3302 Installation Manual
Tabletop air suction document folder (10 pages)
Folding Machines Formax FD 300 Operator's Manual
Tabletop paper folder (10 pages)
Folding Machines Formax FD 372 Operator's Manual
Document folder (26 pages)
Folding Machines Formax FD 396 Operating Manual
Right angle folder (123 pages)
This manual is also suitable for:
Fd 386
Table of Contents
Print
Rename the bookmark
Delete bookmark?
Delete from my manuals?
Login
Sign In
OR
Sign in with Facebook
Sign in with Google
Upload manual
Upload from disk
Upload from URL


Need help?
Do you have a question about the FD 38Xi and is the answer not in the manual?
Questions and answers