Table of Contents
Advertisement
Quick Links
Advertisement
Table of Contents

Related Manuals for Formax FD 372


Summary of Contents for Formax FD 372
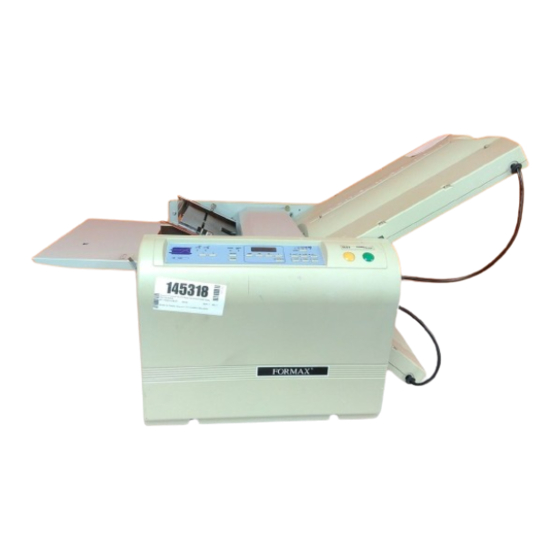
- Page 1 FORMAX â FD 372 Document Folder Operator Manual First Edition...
-
Page 2: Table Of Contents
Introduction Thank you very much for purchasing the FD 372 Document Folder. This machine enables users to achieve greater efficiency at work by releasing them from paper-folding work that has manually been performed in the past. Please read this Operation Manual carefully before using this machine. -
Page 3: Specifications
(1) Specifications Model: FD 372 Paper sizes: 3.5” x 5.0” to 11” x 17” Smaller size for single fold only. Paper quality: High-quality paper, high-quality paper for stencil printing, medium-quality paper Fold types: Single, Gate, Letter, Zigzag, Double Parallel, and Fold-out In addition, irregular folds and cross fold using double fold are available. -
Page 4: Accessories
(2) Accessories Make sure that the following accessories are included in the package after opening it. Contact your sales agency immediately if there are missing accessories. Accessories Number Figure Table 1 Table 2 Power source cord Paper support guides (right and left) Machine cover Operation Manual... - Page 5 (3) Description of Parts Number Name Number Name Roller cover Paper feed table Left side cover Table 2 Paper feed roller Right side cover Paper guide Paper feed table Auxiliary feed table Table 1 socket Paper discharge roller Table 2 socket Paper discharge table Power source switch Stopper fine adjustment knob...
-
Page 7: Designation And Functions Of Operation Panel
(4)Designation and Functions of Operation Panel Designation/Indication Function Fold type key Six folding types can be input and stored. Test key Test folding of two sheets is performed. Operation starts and if pushed again, the machine Start/Stop key stops. Clearing the indication of the counter / resetting Clear/Reset key an error. -
Page 8: Counter Indication
Table 2 stopper move It is on when the position of stopper of Table 1 is mode lamp adjusted. Paper size paper size It is on when paper size is indicated. input mode lamp (5)Counter Indication (A)Addition As a sheet is folded, the number indicated on the counter increases by one. - Page 9 (B) Batch Counting As a sheet is folded, the number indicated on the counter decreases by one. Press the Select key and select the Counter Input Mode Lamp. Batch Counting Mode Lamp Input the desired number using the Numerical key. (20 is input in this case) The Batch Counting Mode Lamp will be on.
-
Page 10: Preparation
(6)Preparation Install Table 1 and 2. Insert the front cut-away section of Table 1 onto the stud (1) of the machine and drop its rear cut-away section on the stud (2). Insert the plug into the connector (3). Caution: The connector will only go in one way, Insertion by force may cause trouble. - Page 11 Insert the power cord into the outlet. Caution: Be sure to unwind cord before use. Do not use any power cord other than provided as an accessory. Insert the power cord into the inlet. When the power switch is on, the stoppers of Table 1 and 2 move to the home position.
-
Page 12: Operation
(7) Operation (A) Standard folding of standard-size paper How to perform standard folding of standard-size paper: Flip power switch to on position. Loosen the paper guide sets-crew and set the paper guide to fit the width of the paper. Neatly arrange paper and place it on the paper feed table with its printed side facing up (its printed side down in case of fold-out). - Page 13 Choosing a fold type: One of the six folding types (Single, Gate, Letter, Zigzag, Double Parallel, Fold-out) can be chosen by pressing the desired fold type key. Example: Single folding using C3 (Legal Size) Paper Test folding: If the Test key is pressed, two sheets will be folded while not affecting the indication of the counter.
- Page 14 (B) Manually Setting Standard Folding of Non-standard-size Paper (INCHES) (INCHES) (INCHES) (INCHES) Determine the Paper Length Measure the paper length in inches. The arrow indictes the direction of paper Feeding Setting Table 1 Press the select key and select the Stopper Move mode of table 1.
- Page 15 Fold -Stopper Position Chart Table 1 Table 2 Original Note: SINGLE position Positioning of the paper length and the stoppers of GATE Table 1 and 2 LETTER (Example) In the case of performing the zigzag fold using sheets of paper 12” in length: ZIGZAG Table 1 = 12”...
- Page 16 Setting the paper discharge roller: The discharge roller should be moved to the proper position that suits the paper size. Note: Refer to “Roller position indication” label. If ejection is not performed properly, set to a different position. Roller position indication label Continuous folding: When the Start/Stop key is pressed, the machine will continuously fold the paper.
-
Page 17: (C) Cross Folding
(C) Cross Folding Cross folding refers to performing the double parallel, letter, or other types of folds for the sheets of paper folded using the single fold method. Example: 11”x 17” folded in half and then letter folded to fit into a standard # 10 envelope. Note: The maximum weight of paper that can be used for cross folding is 28 #. -
Page 18: Adjustments
(8) Adjustments (A) Feed Angle /Skew Adjustments Feed angle adjustment knob If the folding position is slanted because the edges of the paper are slanted or for other reasons, it can be adjusted using the feed angle adjustment knob. (B) Fine Adjustment Move the stopper using the stopper fine adjustment knob. - Page 19 Adjusting Table 2 Press the Select key and select the Table 2 stopper move mode. Next press the +/- key and move the stopper to the desired position.
-
Page 20: Fine Adjustments For Table 1
Fine Adjustments for Table 1 Direction to turn the Table 1 Fold type Plane (A) fine adjustment knob Single Table 1 is not used fold Long Gate fold Short Long Letter fold Short Zigzag Long fold... - Page 21 Short Long Double parallel fold Short Long Fold-ou Short...
-
Page 22: Fine Adjustments For Table 2
Fine Adjustments for Table 2 Direction to turn the Table 2 fine Fold type Plane (B) adjustment knob Long Single fold Short Long Gate fold Short Long Letter fold Short Long Zigzag fold Short Long Double parallel fold Short Long Fold-ou Short... -
Page 23: Storing Custom Folds In Memory
(9)Storing Custom Folds in Memory (A)Memory Storage Custom fold types can be stored into the fold type keys in replacement of the factory set fold types. Adjust Table 1 and 2 for desired fold Setting Table 1 Press the select key and select the Stopper Move mode of table 1. -
Page 24: (B)Cancellation Of Memory
Storing the fold into Memory Select the fold type key the storage will be input. Press and hold the Store key, release immediately when the alarm rings once. The lamp of the fold type key selected will be blinking. (B)Cancellation of Memory Canceling the storage of a custom fold: Note: If the memory is cancelled, the... - Page 25 Press and hold the Clear/Reset key, release immediately when the alarm rings once. The lamp for the fold key will stop blinking when the memory has been cancelled. Note: To return to the factory setting turn the machine “on” and “off”, select a different fold type or press that key again.
Need help?
Do you have a question about the FD 372 and is the answer not in the manual?
Questions and answers